


DESIGN SKILLS TO LEARN:
- painting a grid using washi tape
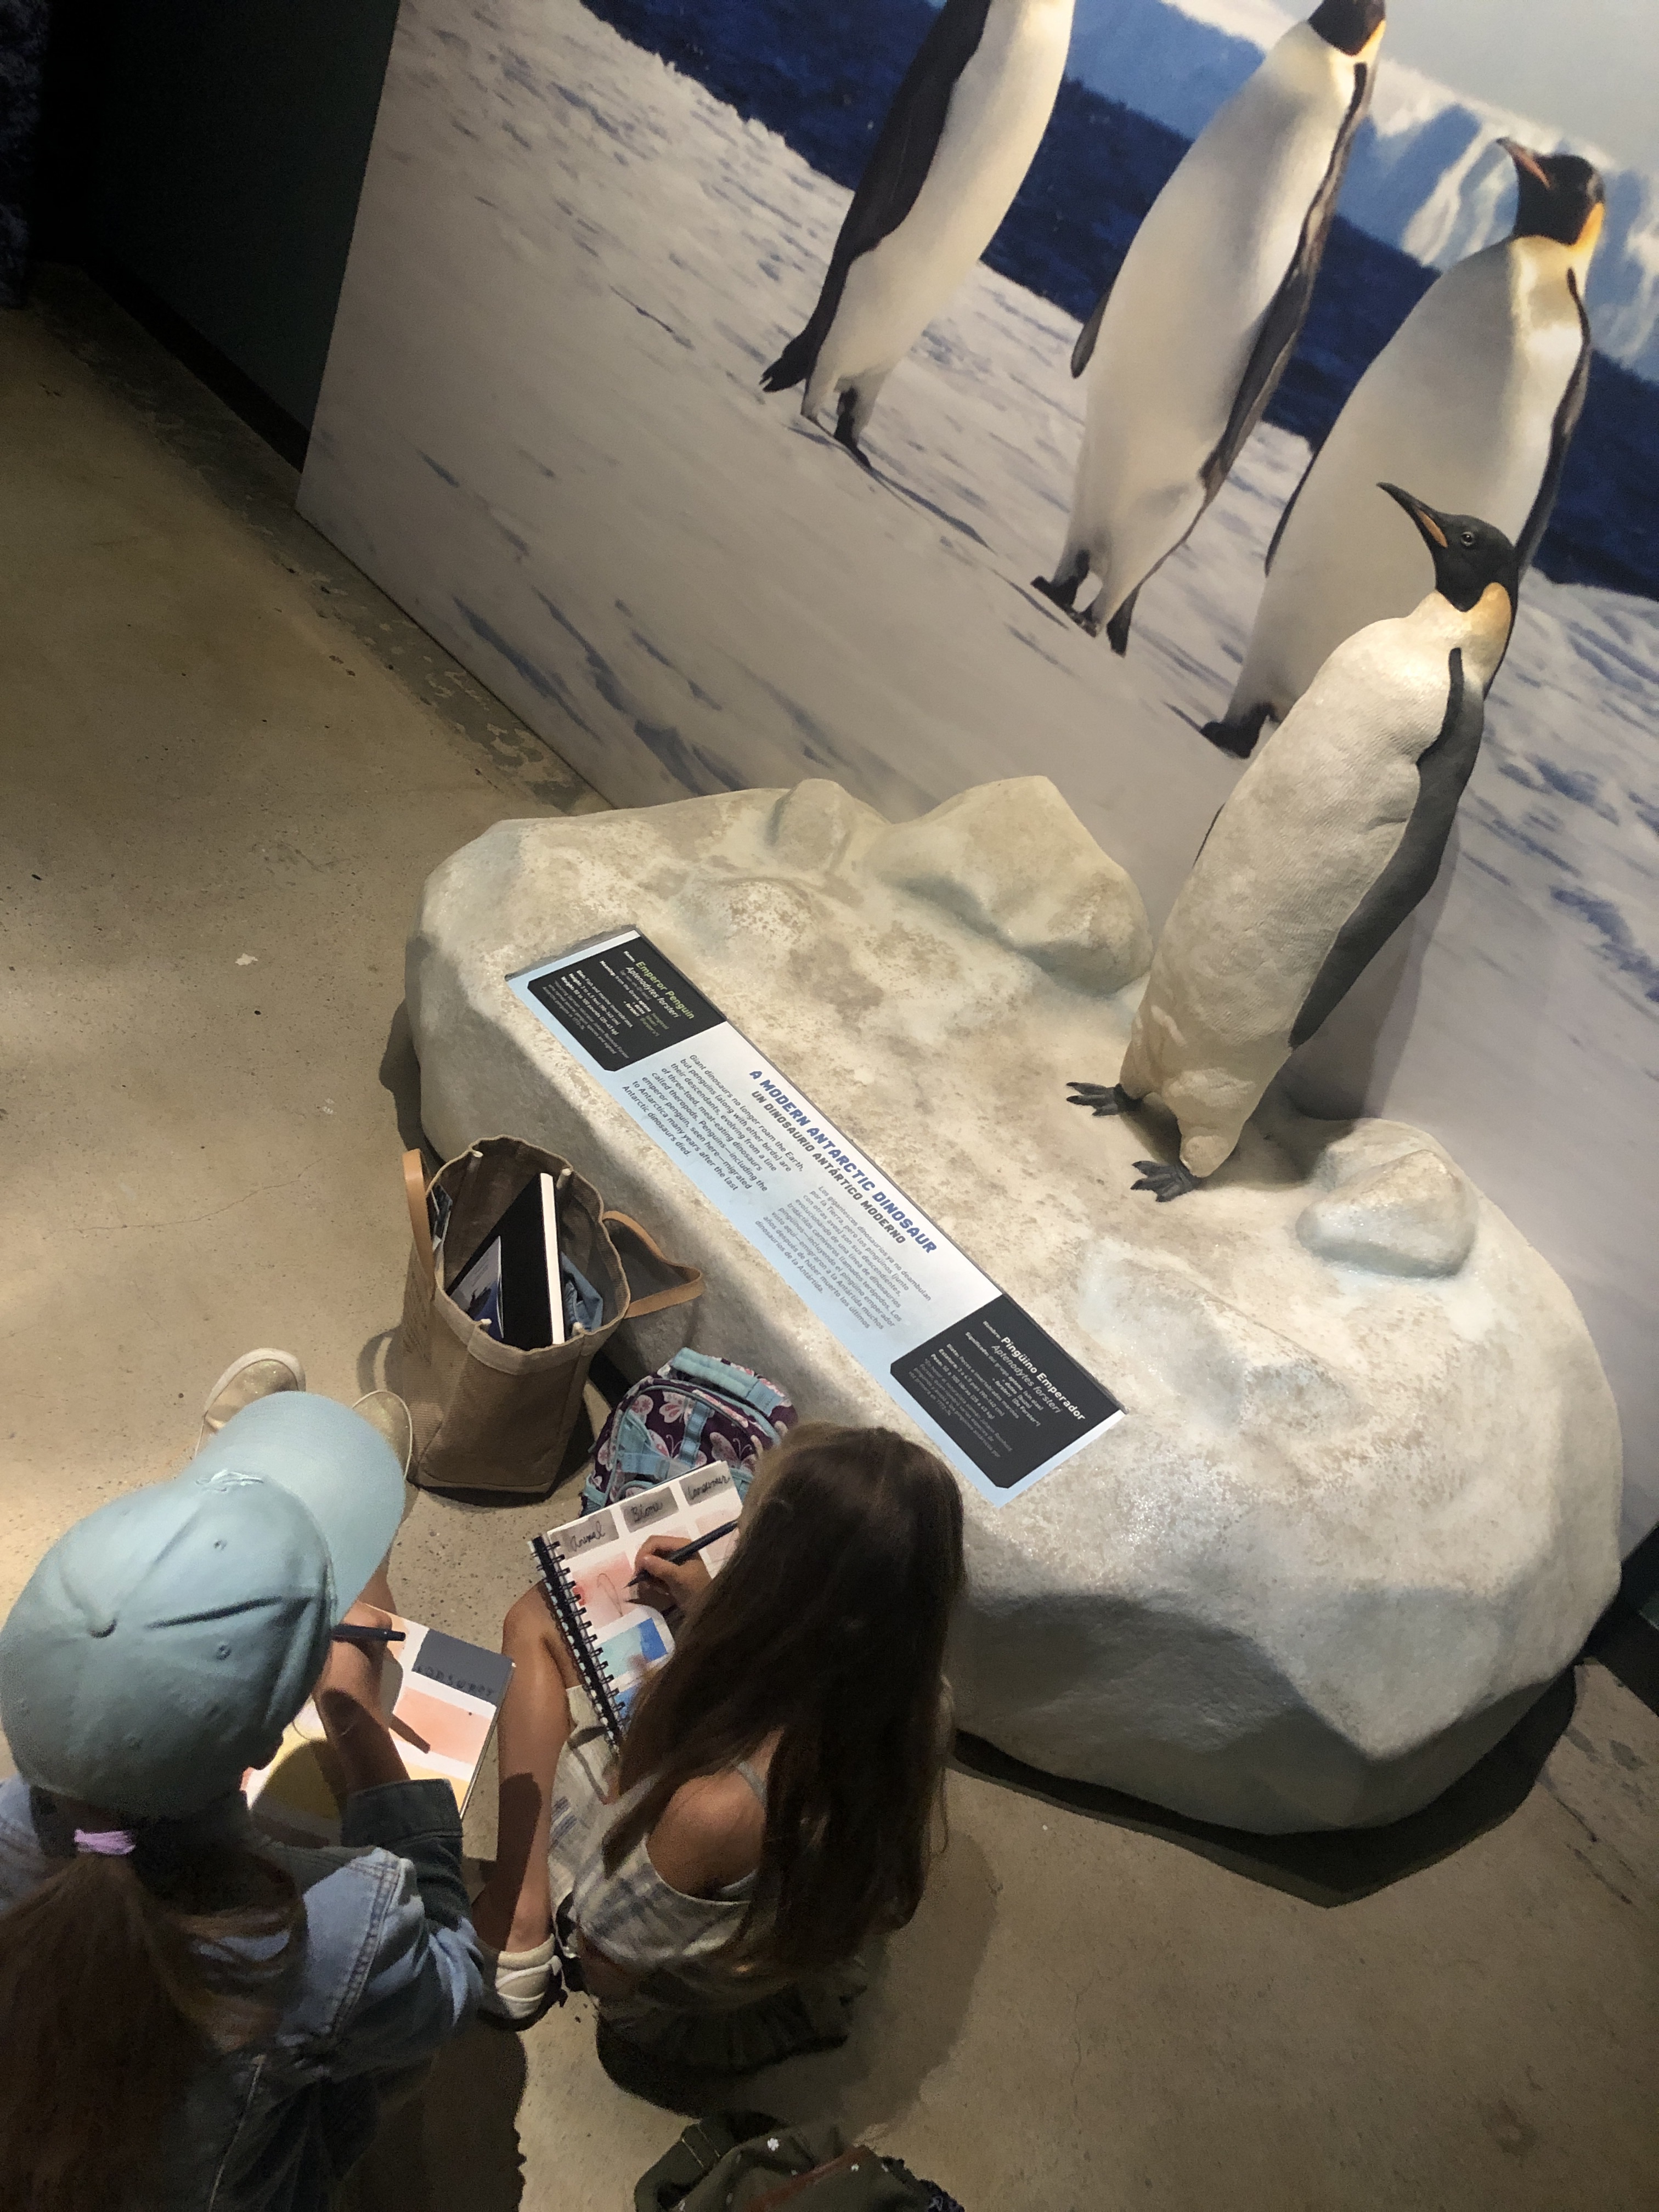
- sketching on a field trip (optional)
- pen and ink drawing: in fine art, the term ‘pen and ink’ denotes a drawing technique involving the use of black ink.
- obstacles and mistakes are an opportunity to be creative!
MATERIALS: (SEE ART TOOLS IN MENU FOR DETAILS + LINKS)
- watercolor sketchbook or watercolor paper
- washi tape (apx. 1/2″ thick)
- watercolor paint pan
- medium size flat brush
- thin and medium size black felt tip pens (we used pilot razor point and pentel sign pen)
- fun paper your kiddos like for field trip title page (optional) and glue stick

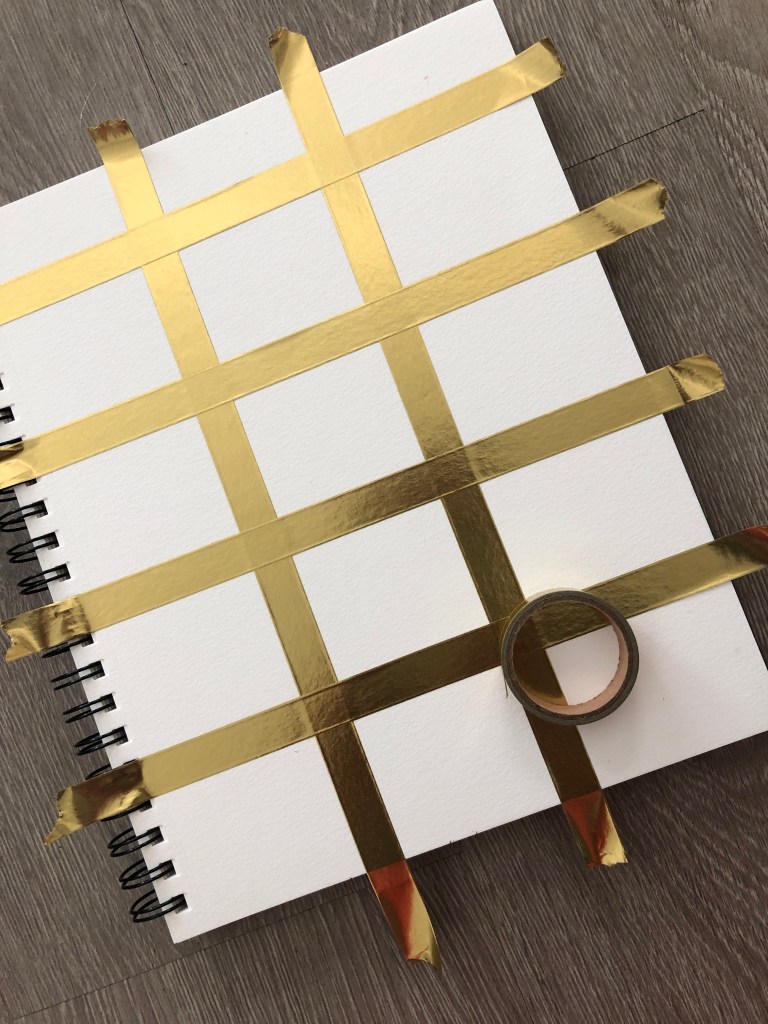
STEP NO.1
- make a grid using washi tape
- we made the top bay shorter in height for the titles. the rest of the bays are some what equal in size.
STEP NO.2
- paint the grid using your watercolor paint pan
- we took our sketchbooks to the natural history museum so i encouraged my kiddos to be inspired by the colors they thought would reflect the museum
- let your paint dry
step no.3
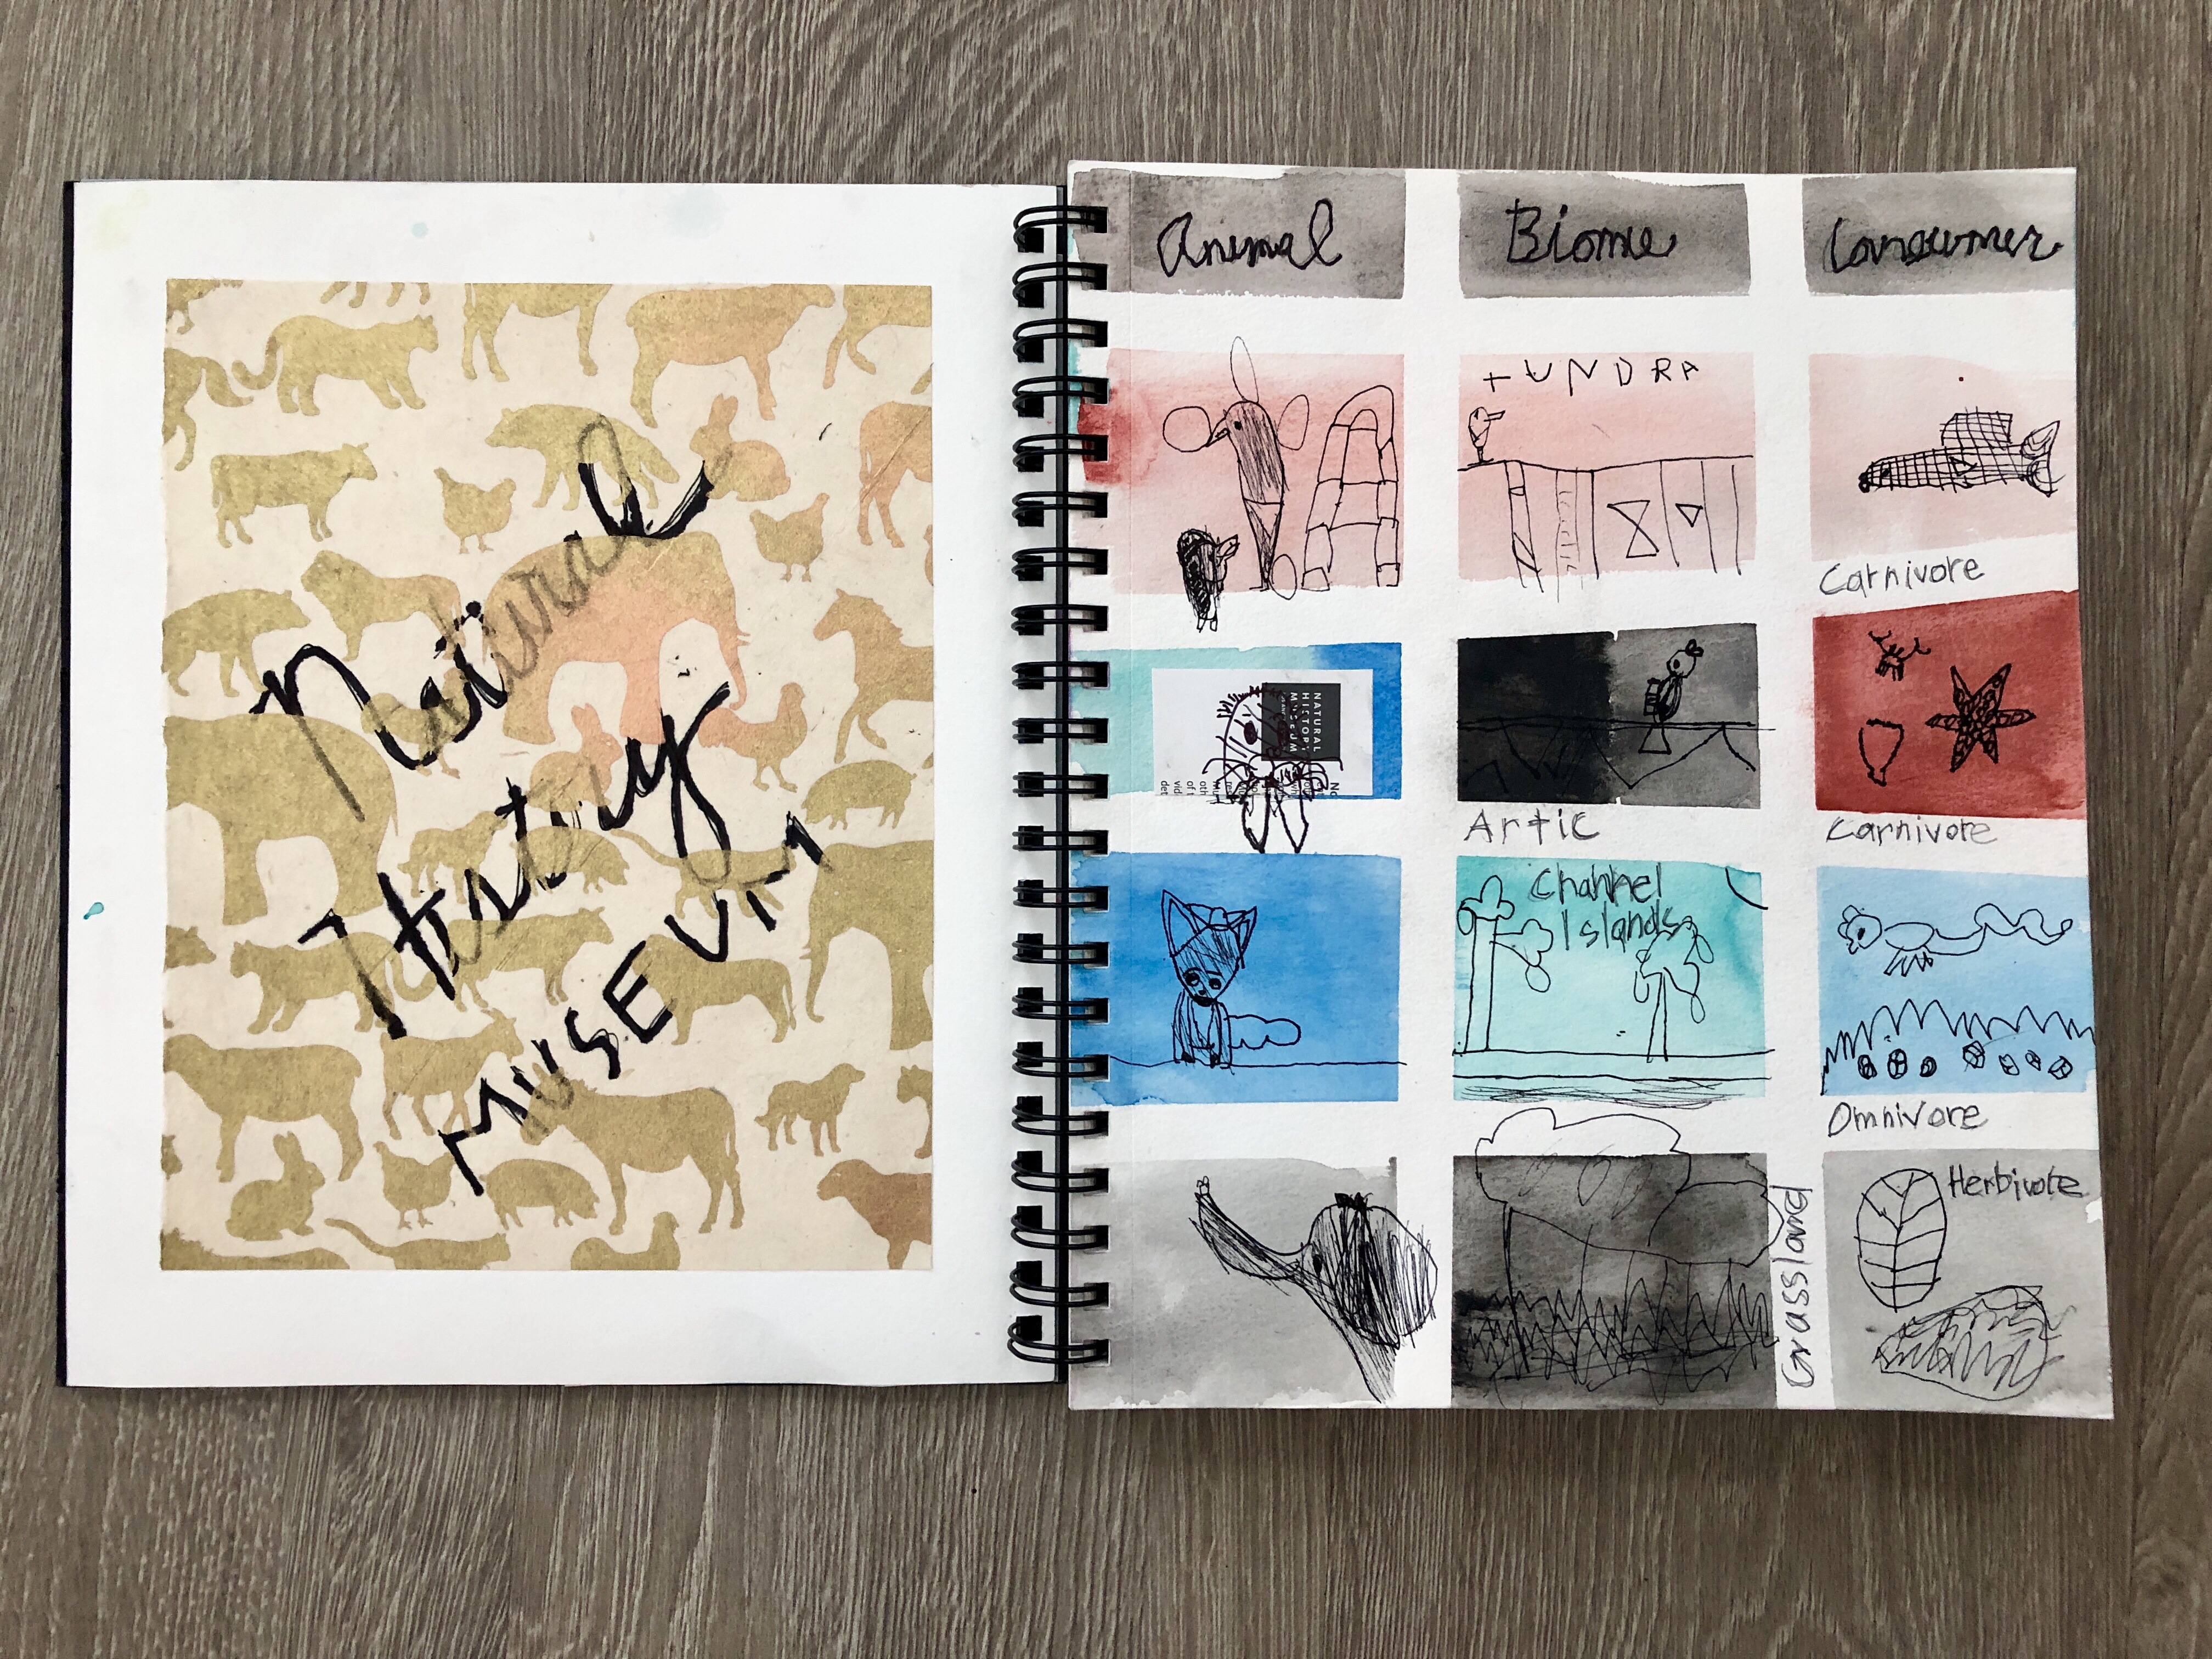
- remove your washi tape and watch the magic happen!
- you now have an awesome grid!
- label the top bays in the grid: animal, biome, consumer
- this week we are studying types of consumers, but we added a biome section

STEP NO.4
- we combined this project with a field trip and took our painted grid to the natural history museum. we had the best time looking at the animals, reading about their biomes, and what types of consumers they are. this project would be great to take to the zoo, california science center, ect…. or it could be done at home with a book on animals.
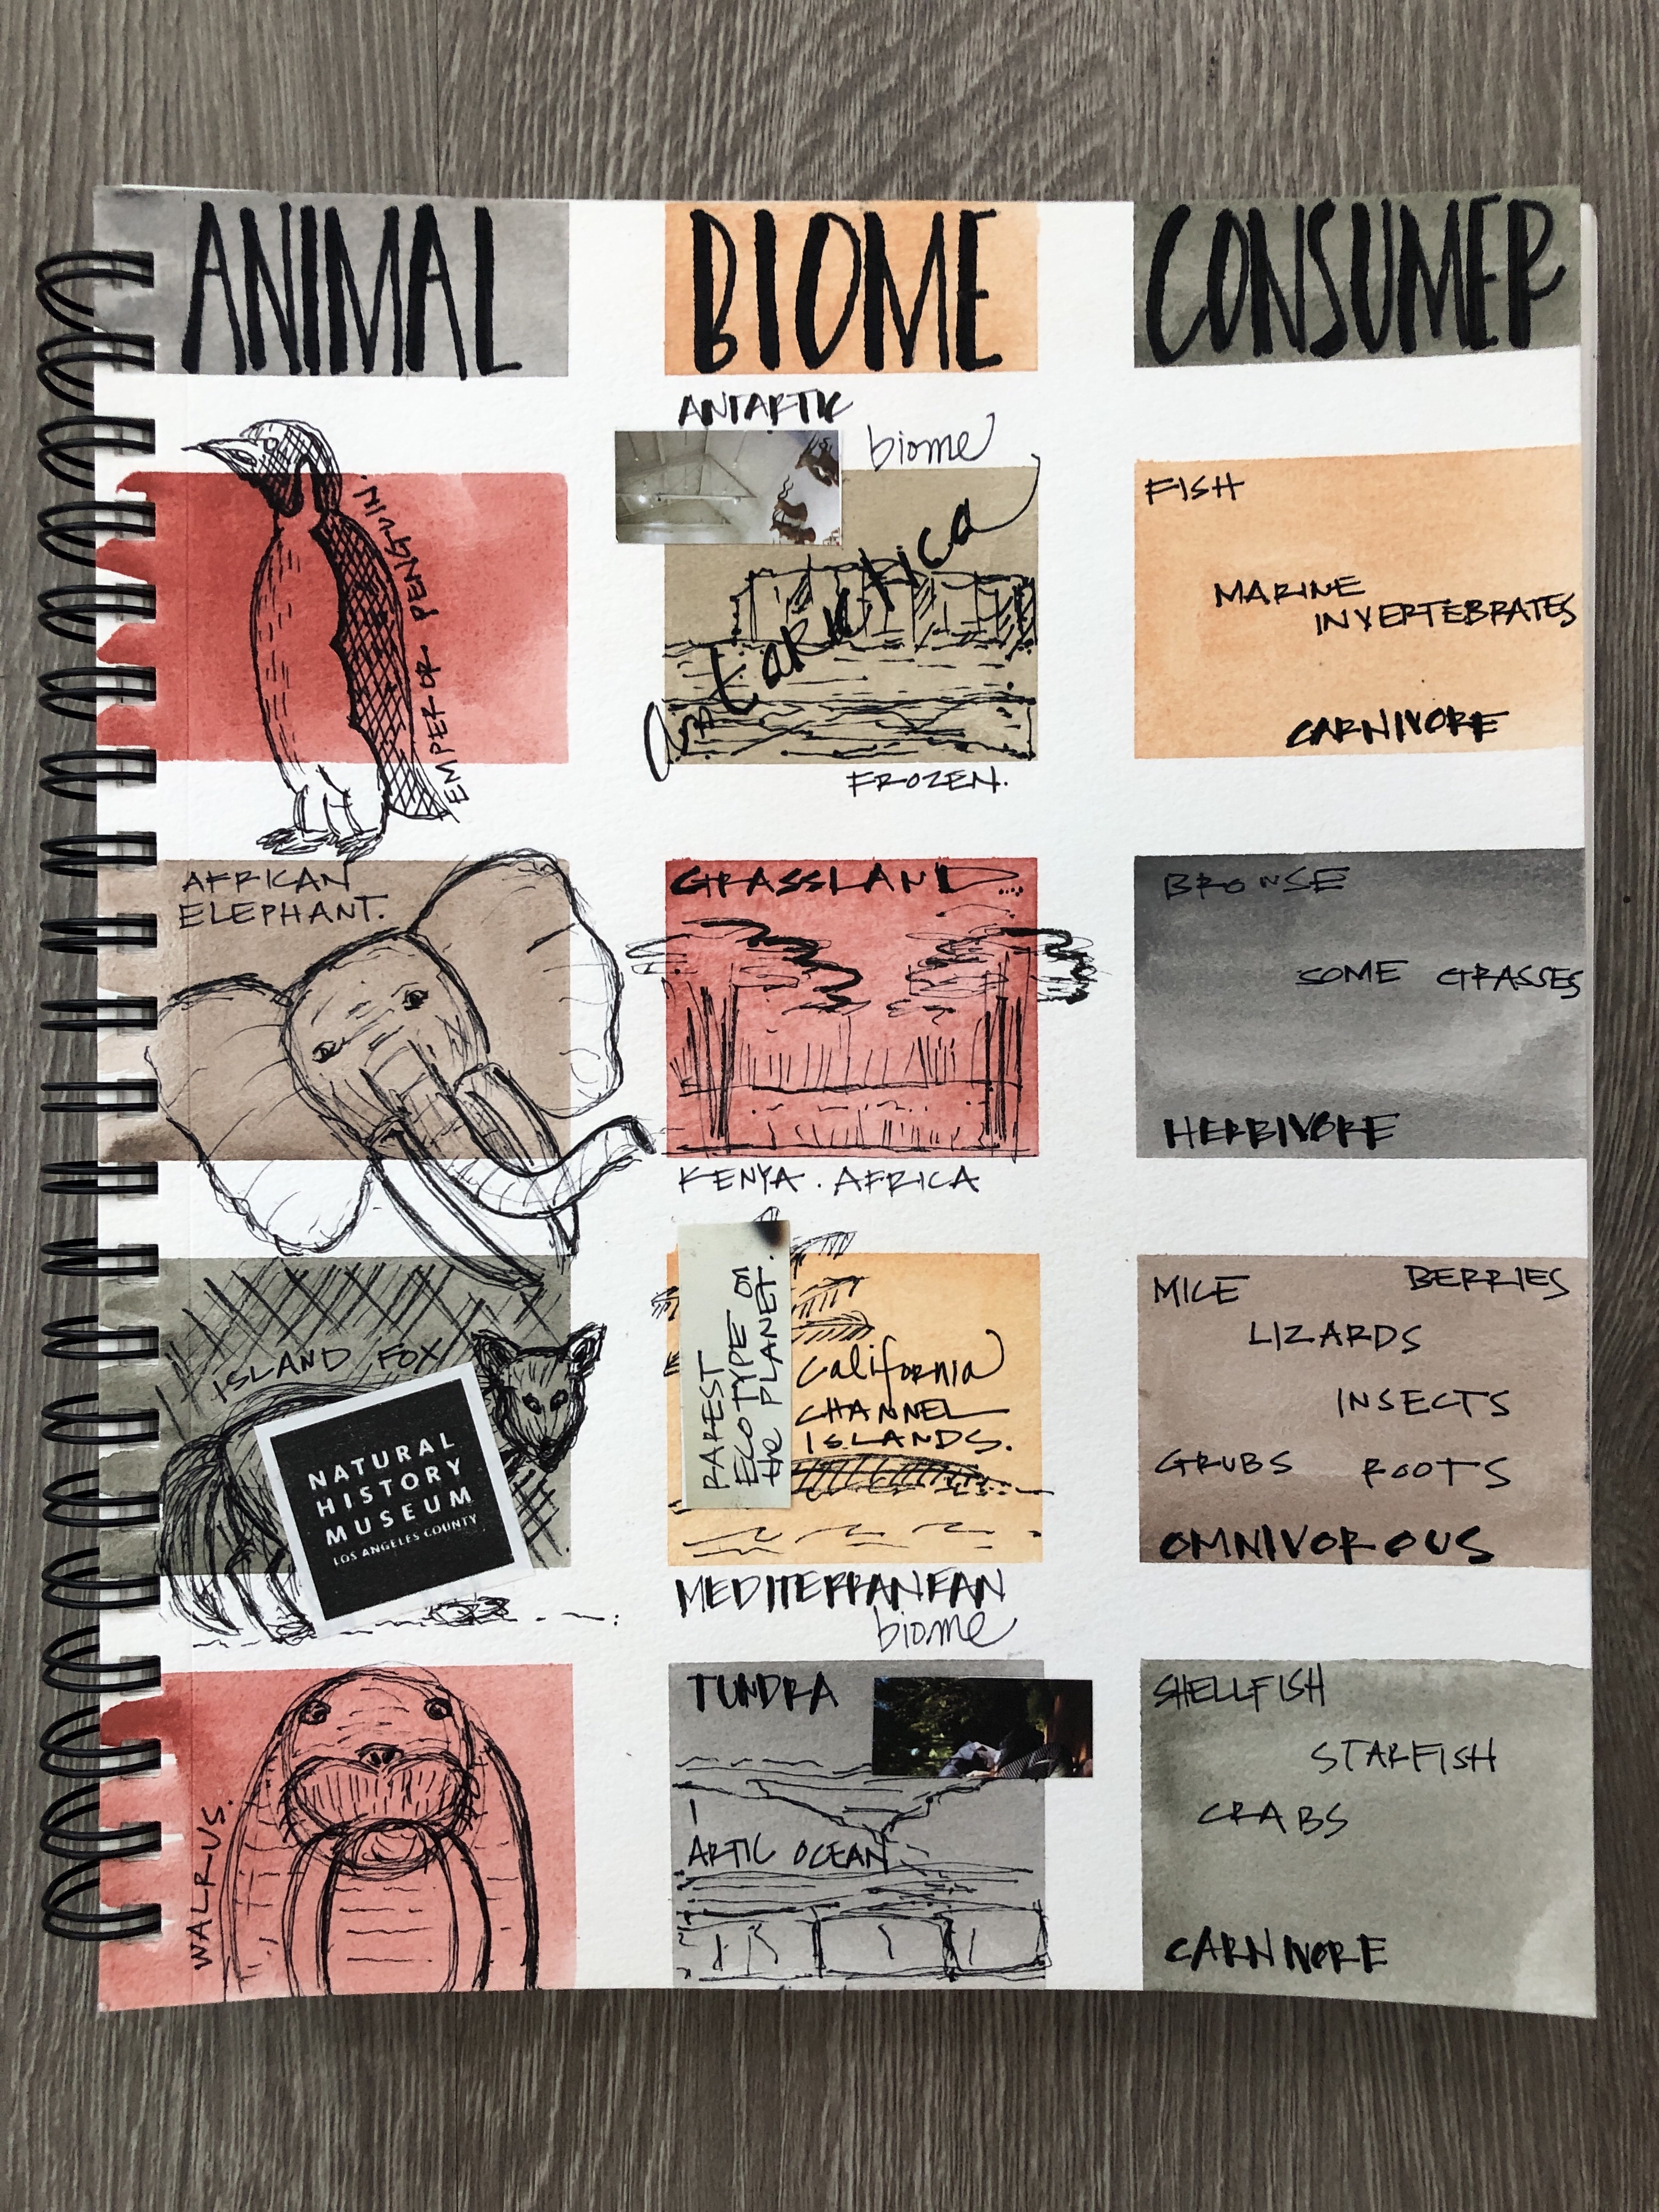
- we each picked and animal that we would all draw and write about in the museum.
- we took our thin and medium size black felt tip pens with us. we used pilot razor point pens and pentel sign pens to draw and write.
- when drawing with pen and ink you will use hatch marks, crosshatch marks, and stippling to create shape, texture, and dimension.
- this website gives great direction on pen and ink drawings. https://www.mybluprint.com/article/these-basic-pen-and-ink-techniques-will-take-you-from-beginner-to-boss
- if your student needs a little help drawing animals use art for kids hub for tutorials on drawing the animals he or she chooses. there are so many tutorials for drawing animals on art for kids hub. i will link to a tutorial for drawing an elephant below.
- this is a good time to discuss that obstacles and mistakes are an opportunity to be creative! you will notice on my sketchbook page there is some random museum memorabilia cut and pasted. i often turn mistakes into an opportunity for some mix medium. i didn’t care for the way i drew my island fox so i glued a piece of my NHM receipt over it. i wanted to make it look intentional so i glued some rectangular pieces from the map in other places. if you or your kiddos make a mistake try to find ways to be creative and fix it up rather than tossing in the trash. these “mixed medium” (winky face) pieces have become some of my favorites.

STEP NO.5
- if you take this project to a museum or the zoo write a title page on some fun paper as a little memory for the future. use glue stick to glue it in your sketchbook.

