MODERN ARTIST

NO.1 GRANDMA MOSES 1860-1961


THE PROJECT+THE ARTIST
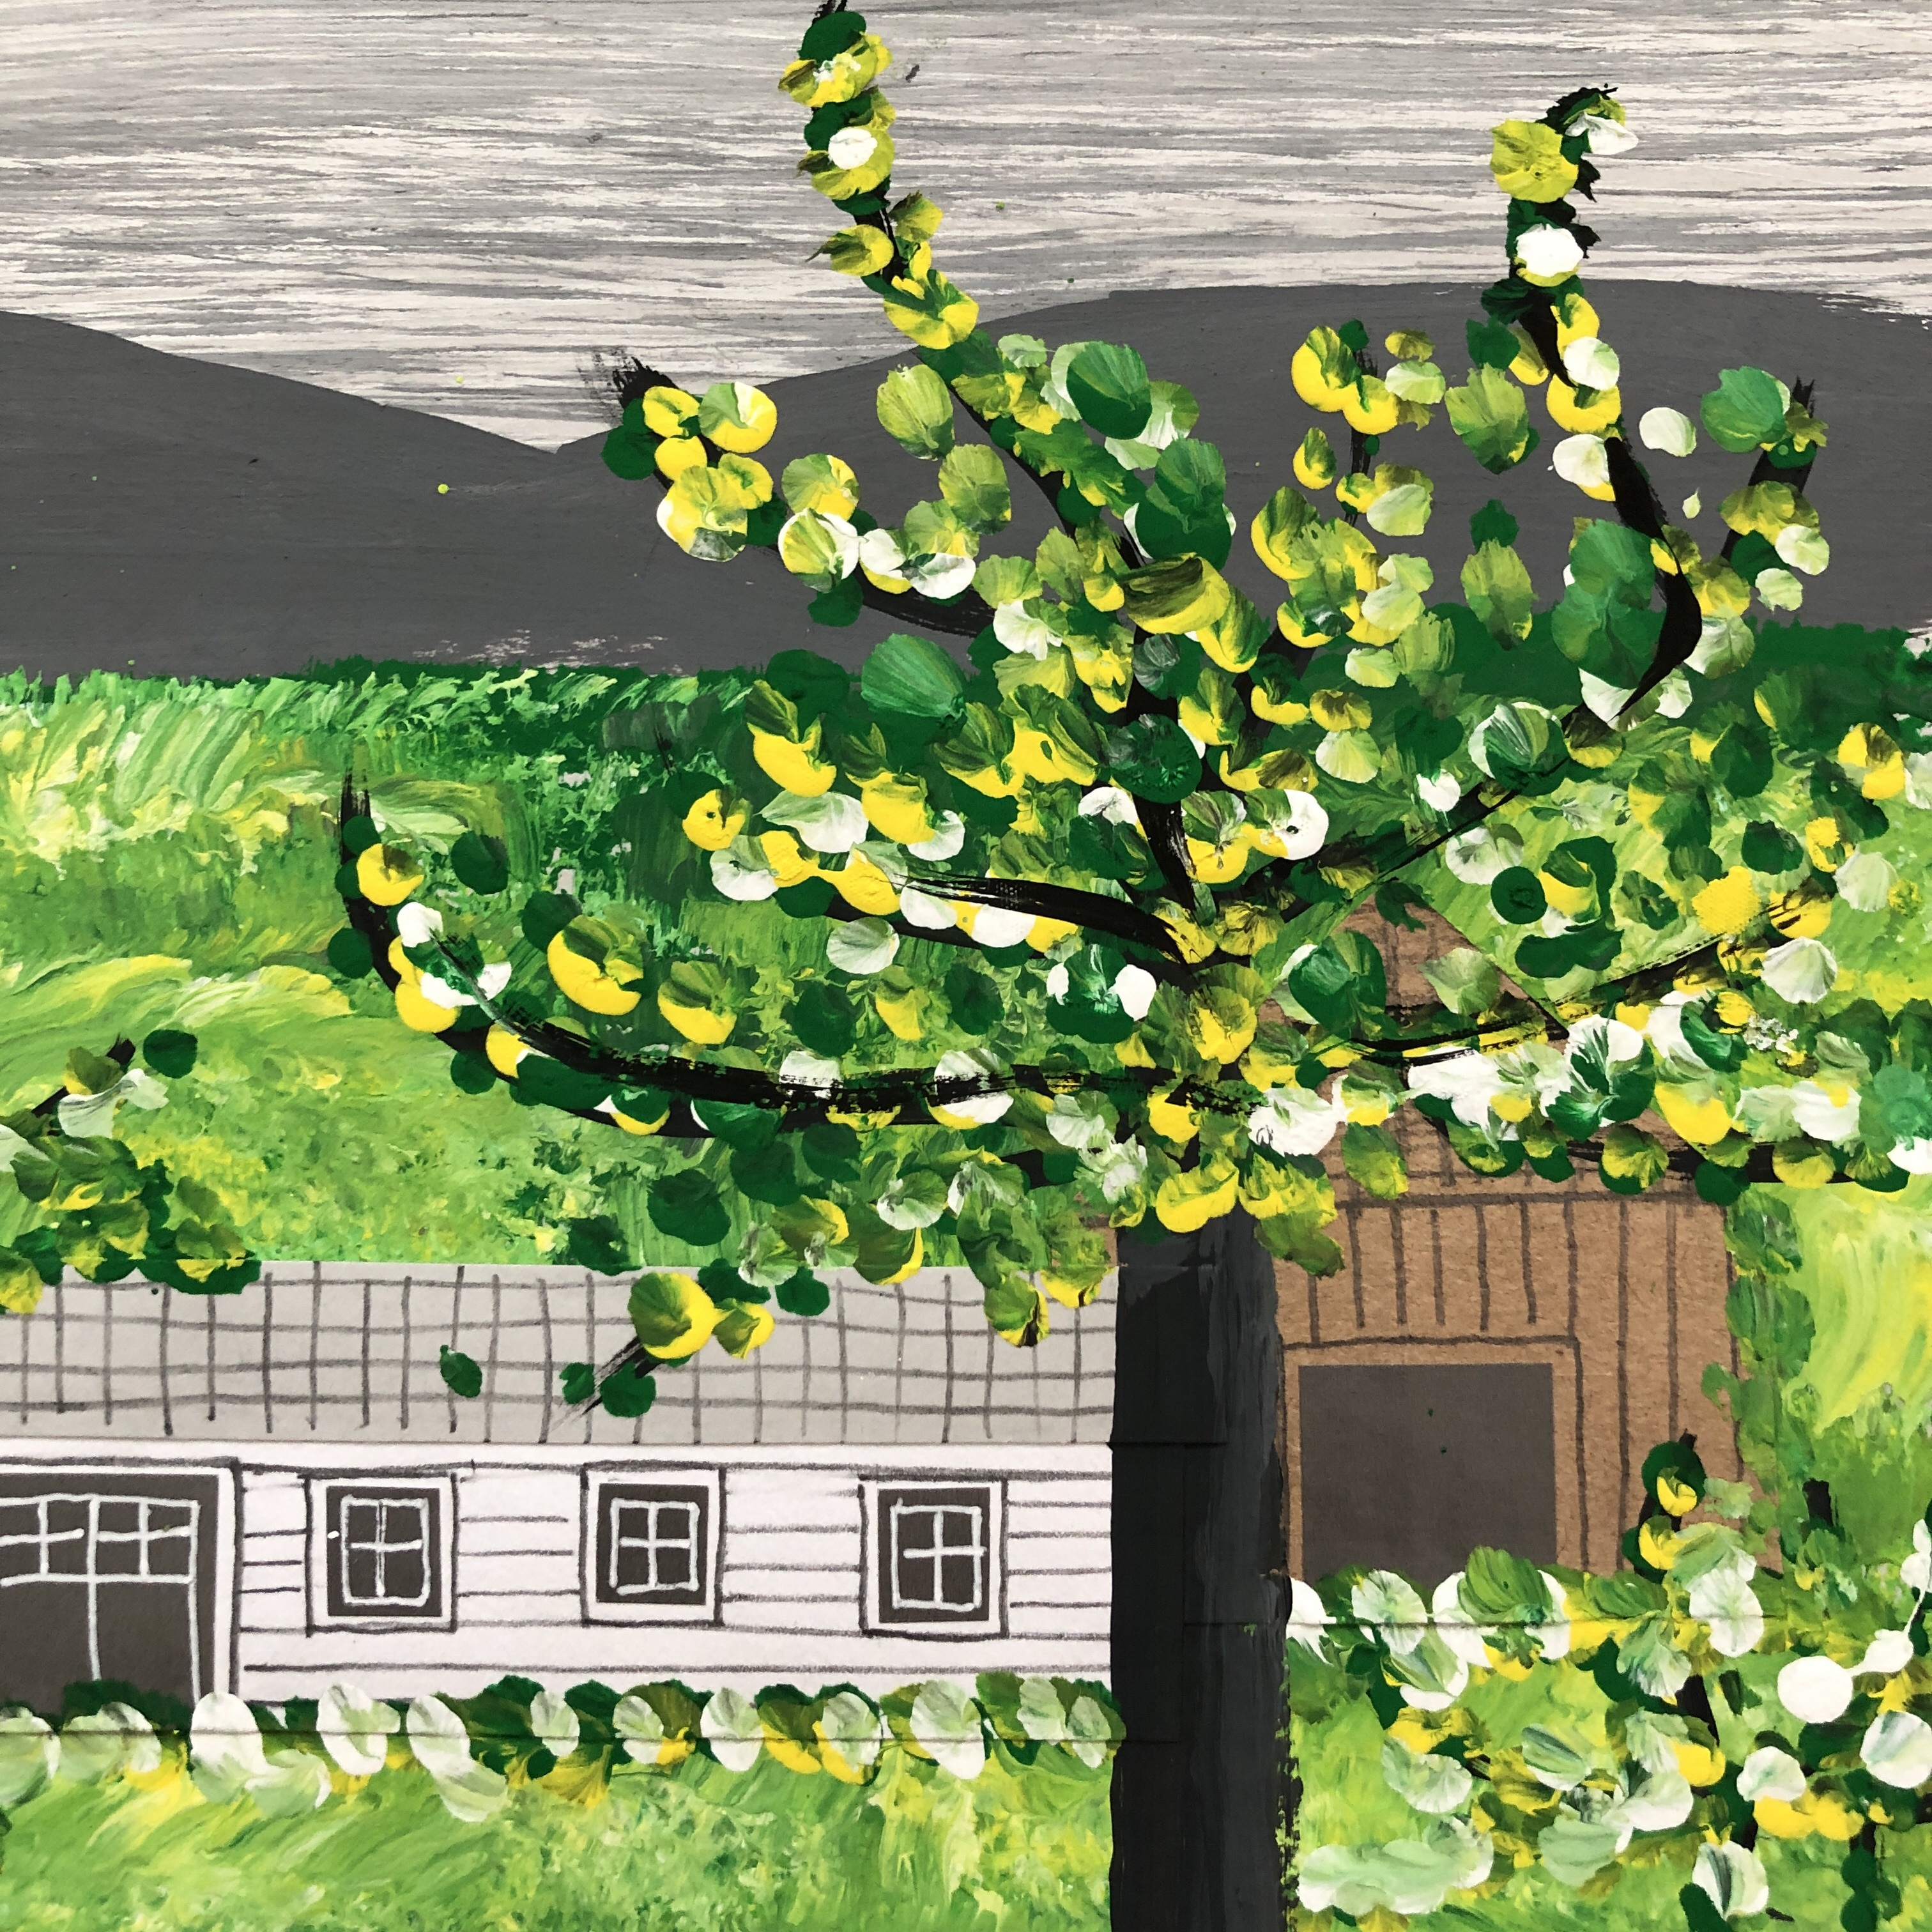
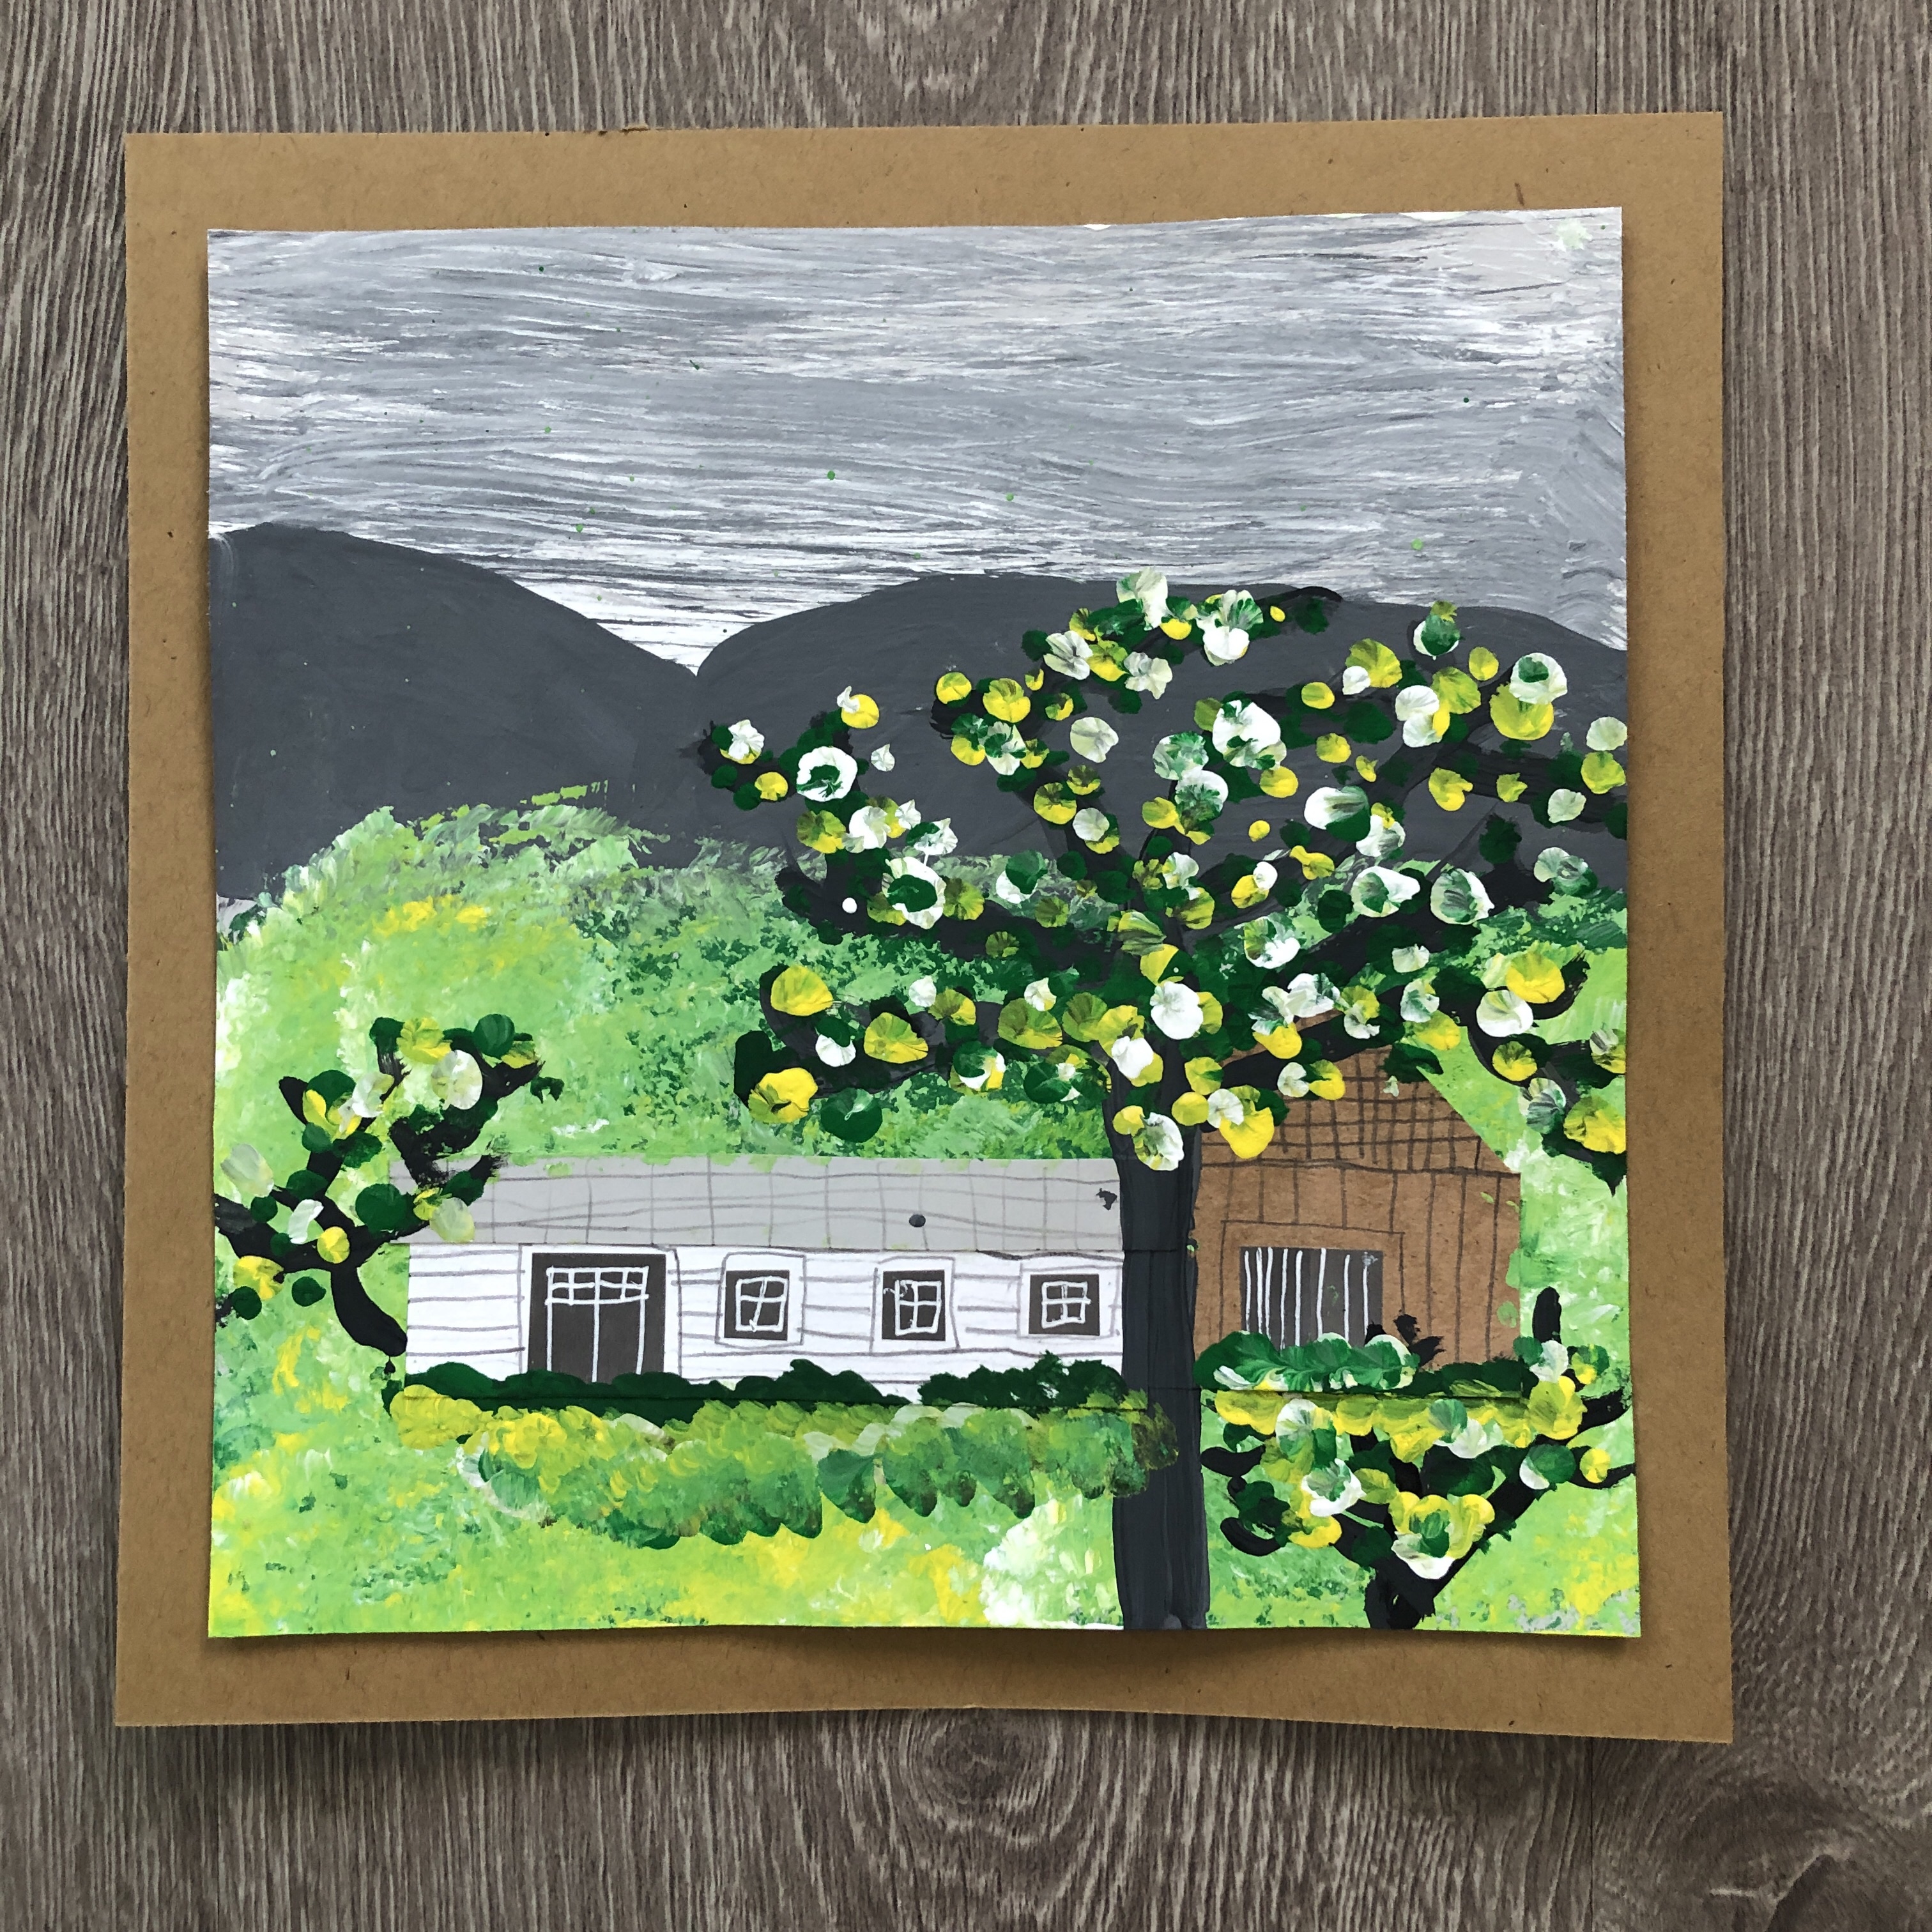
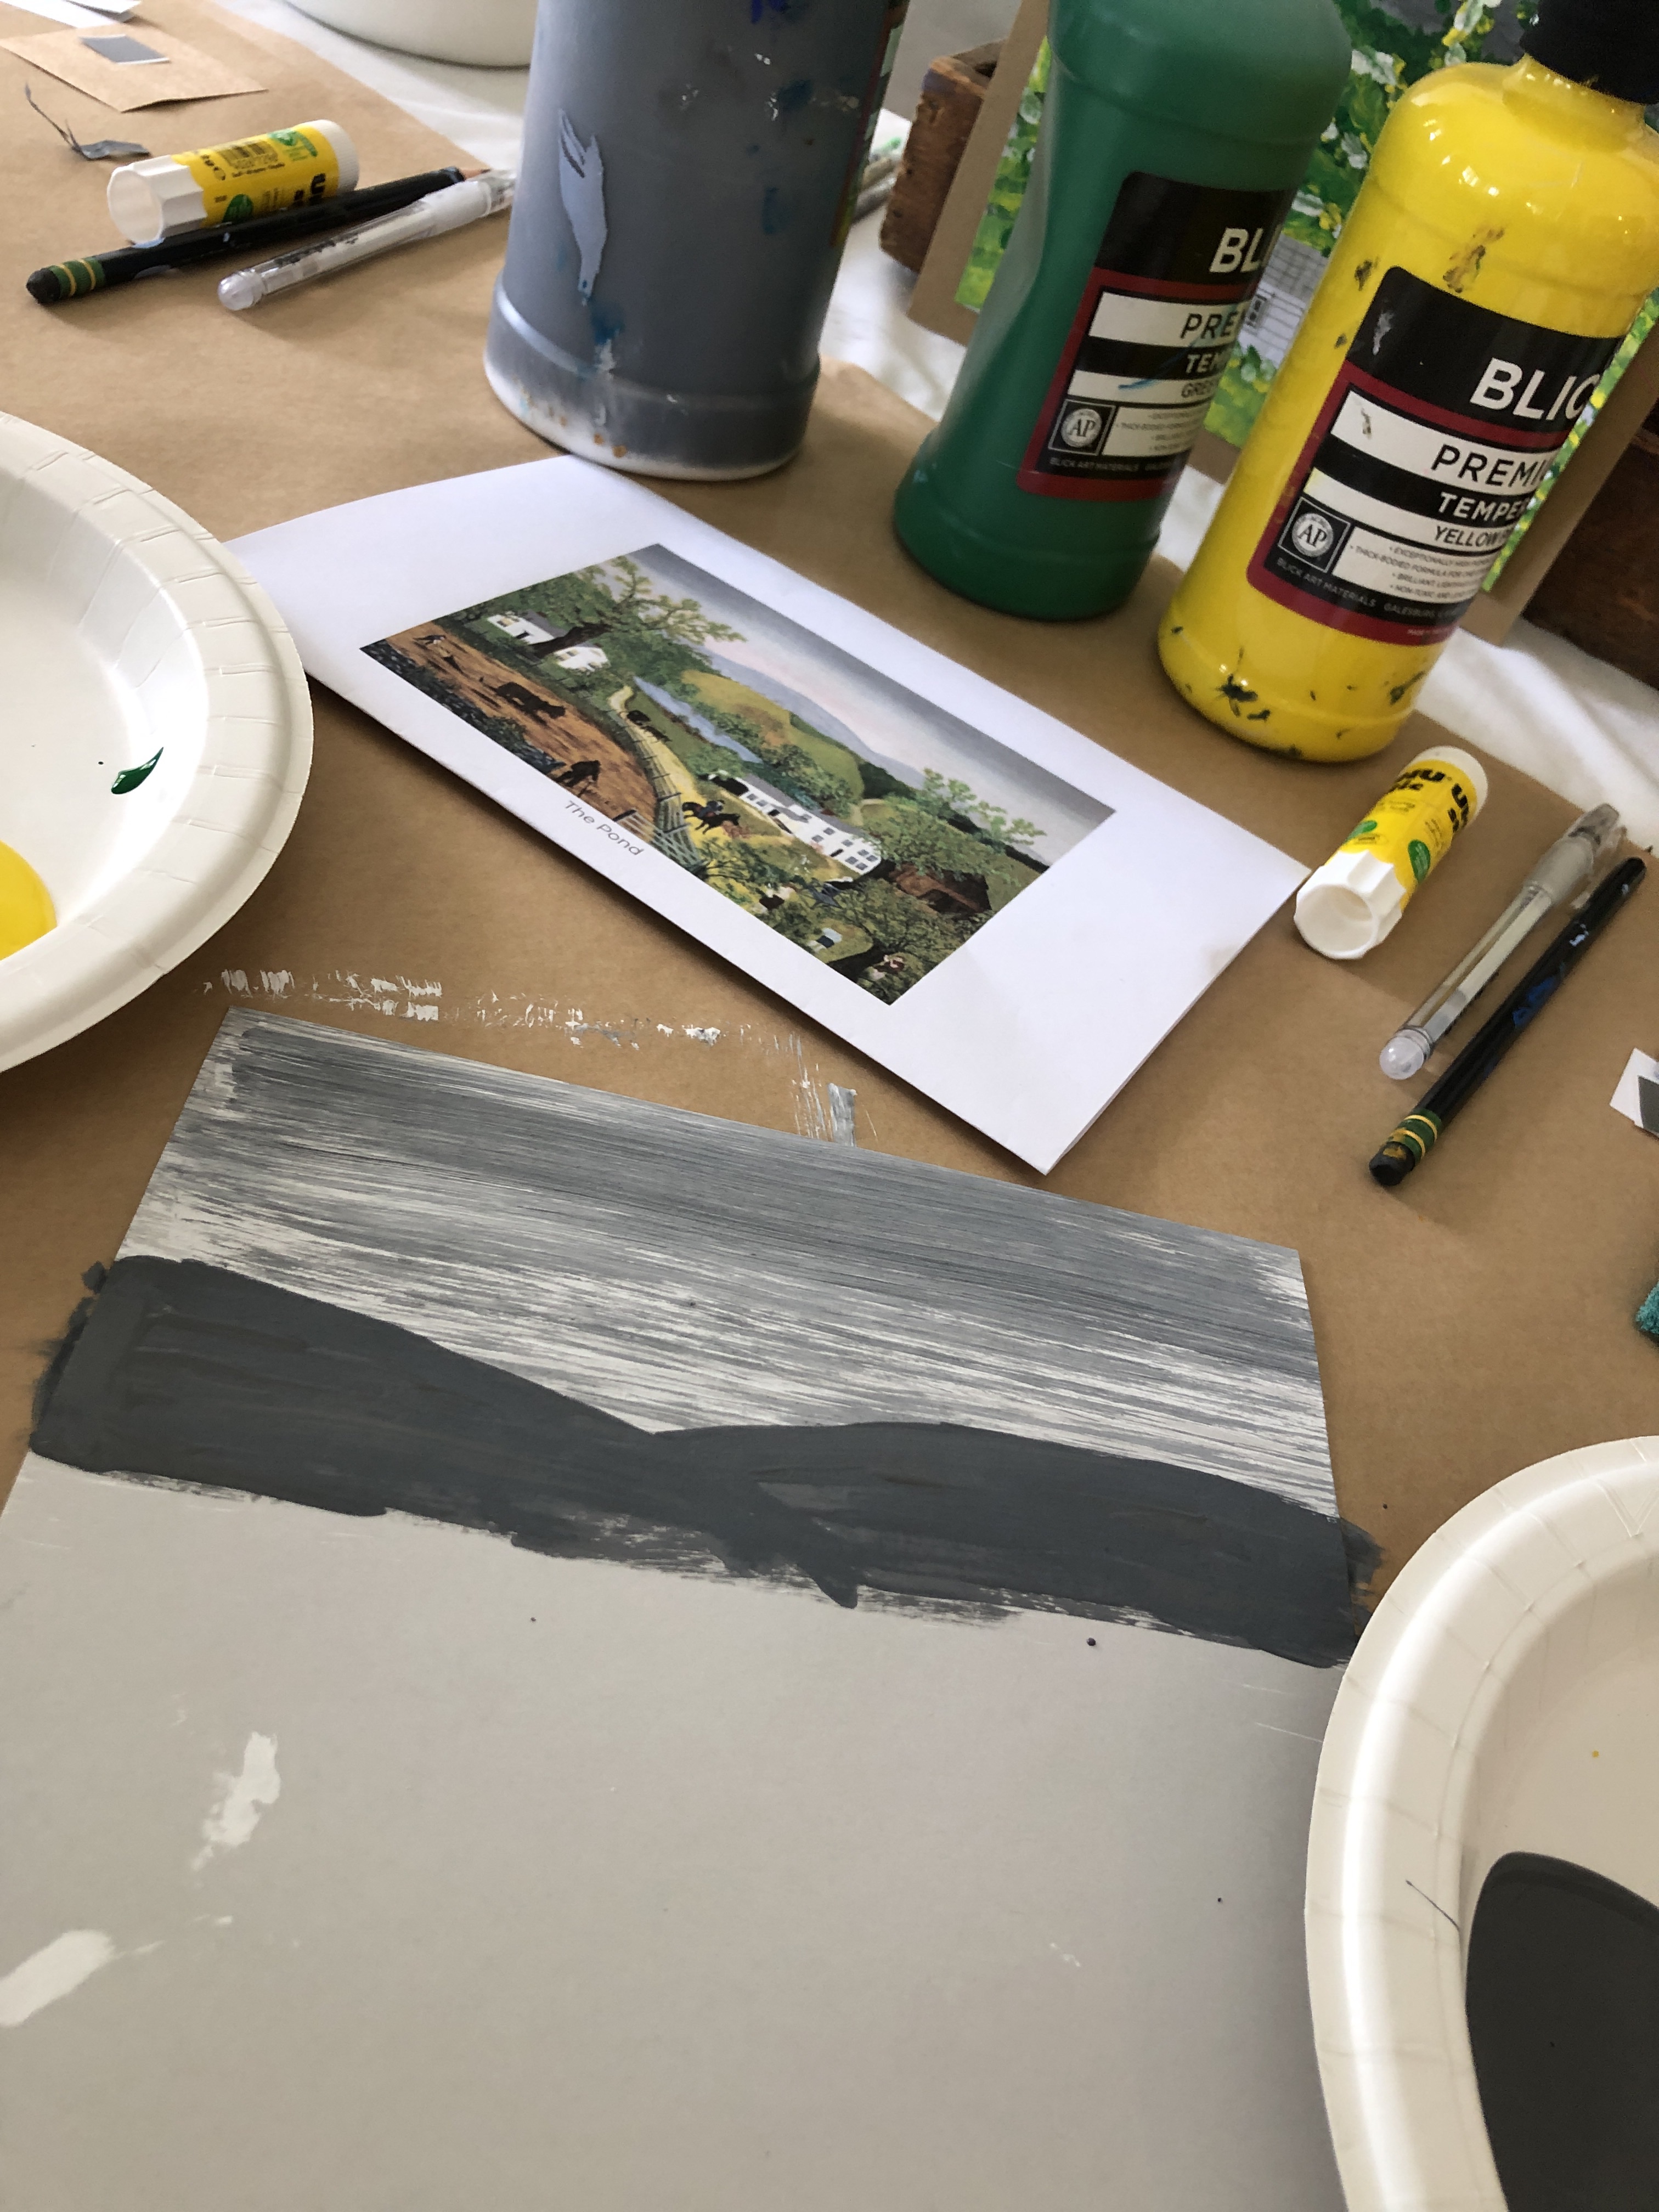
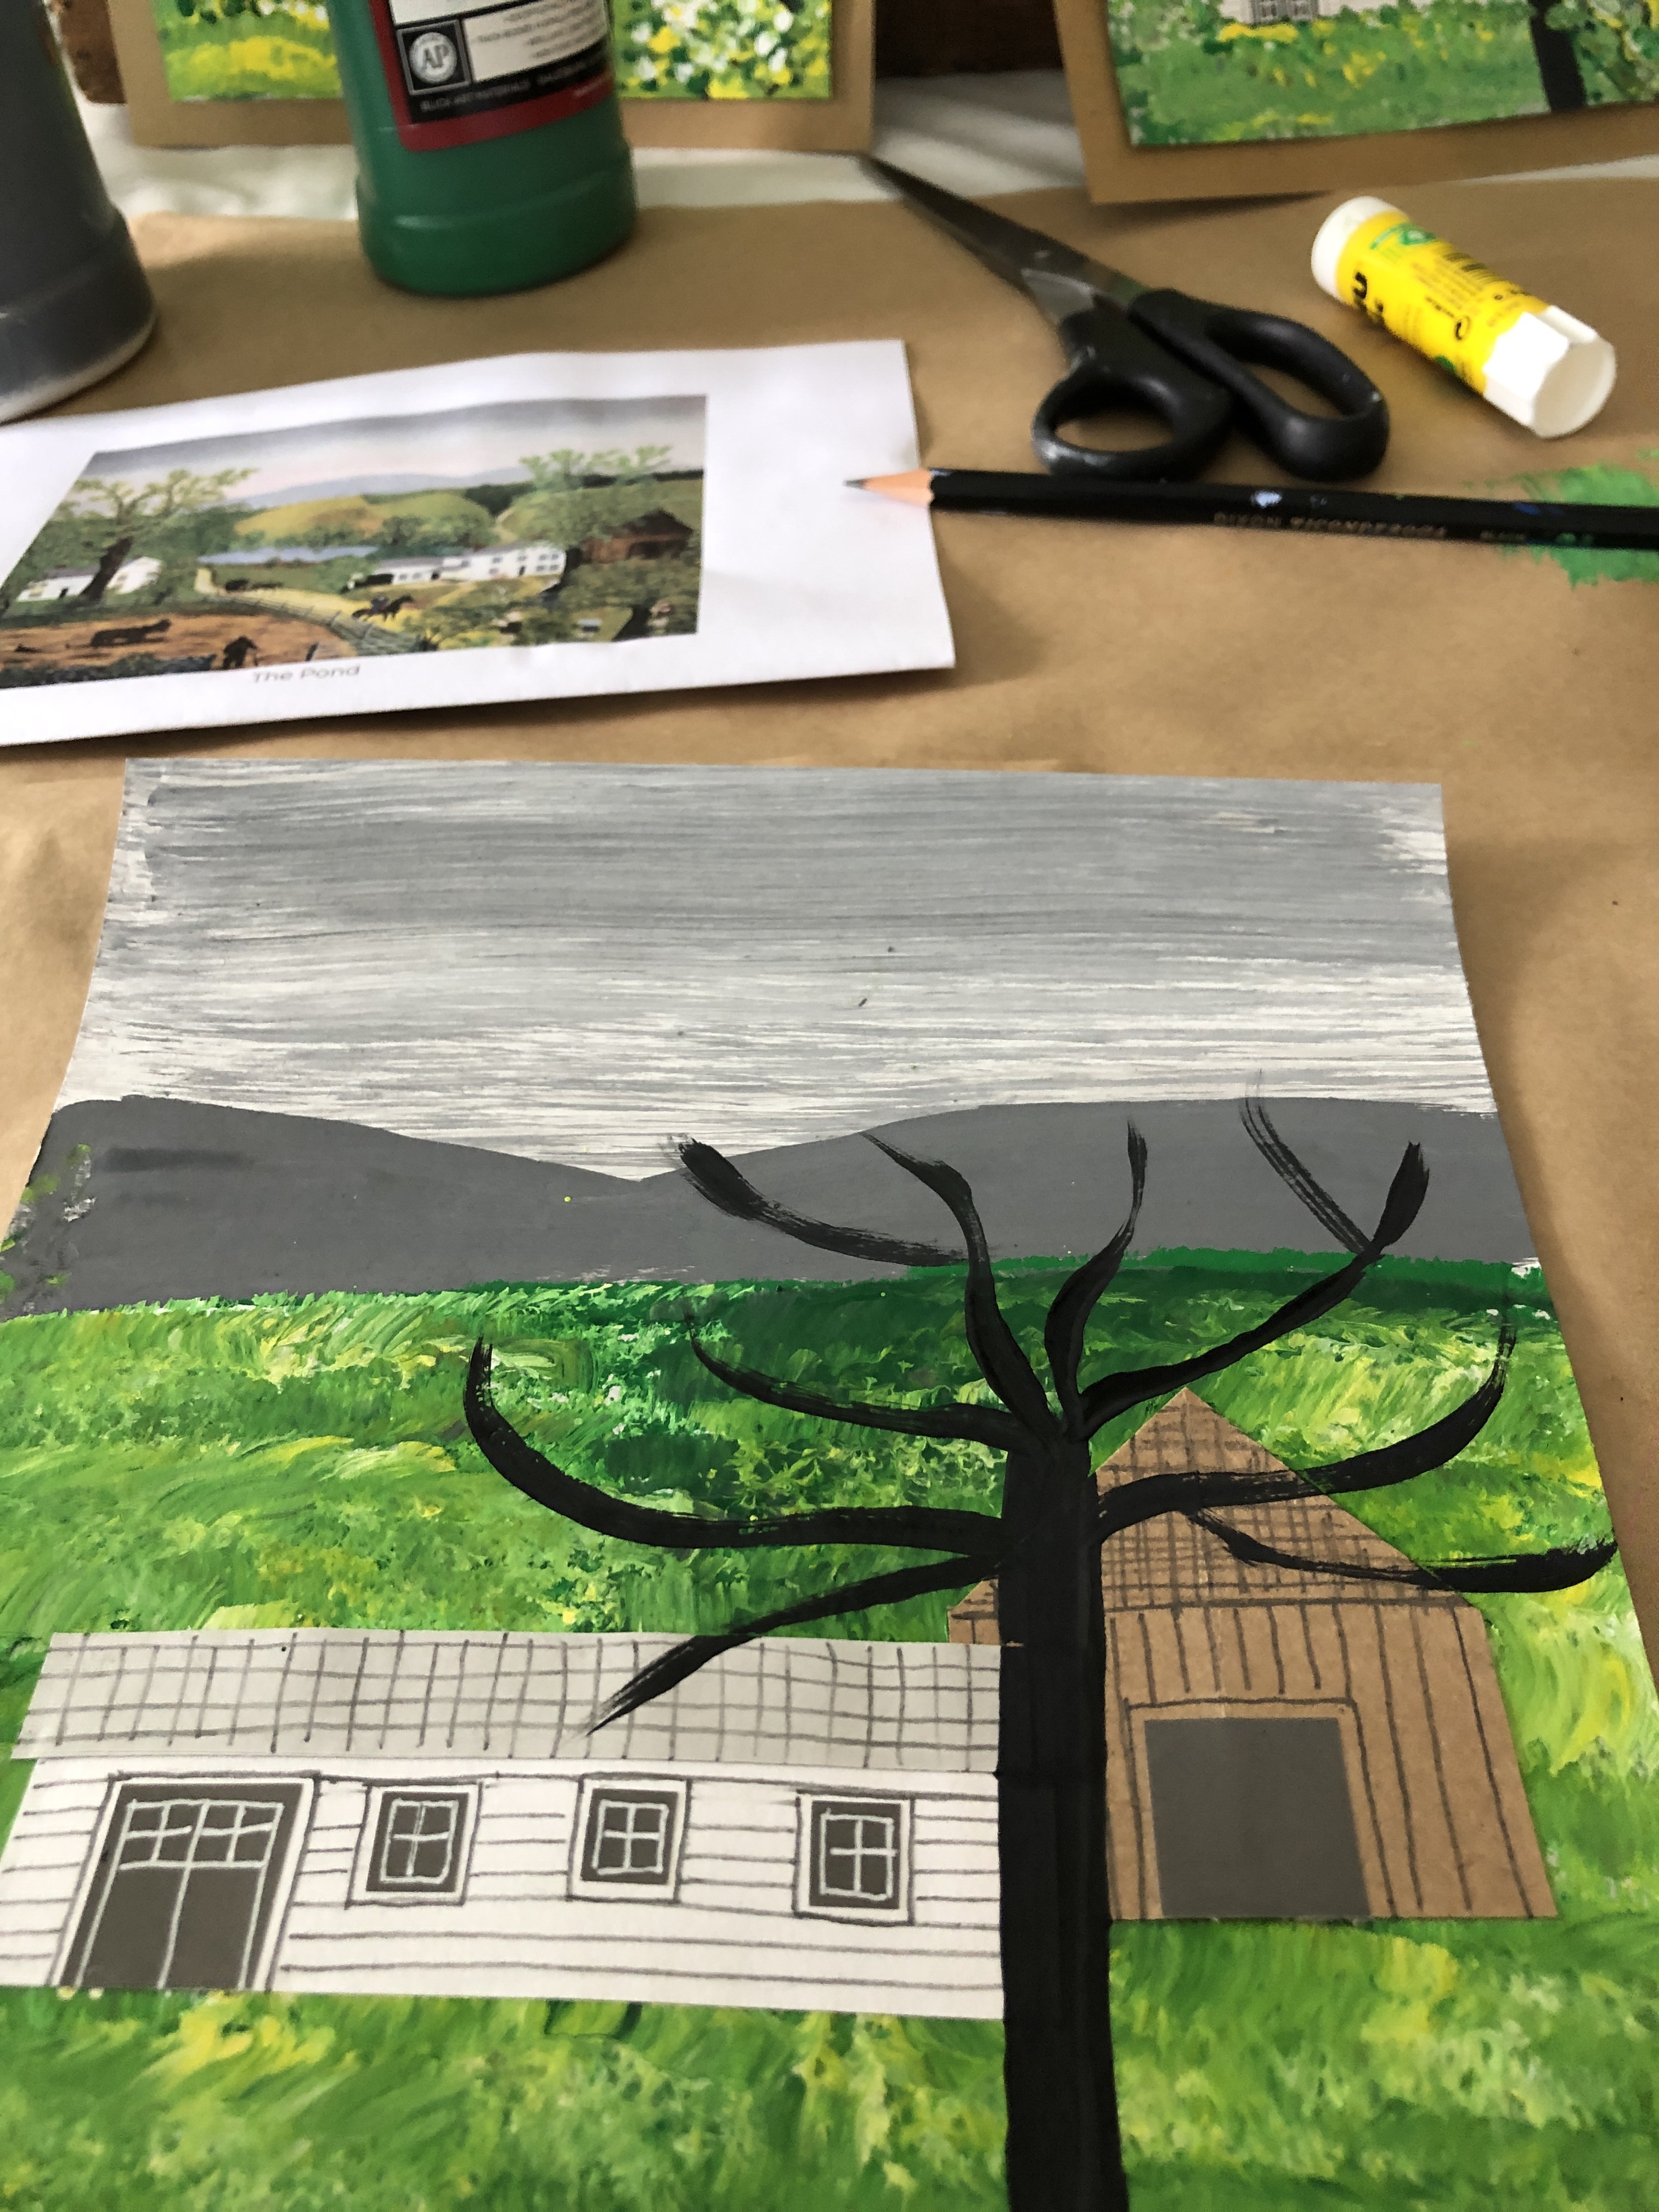
- create a folk art piece inspired by grandma moses’ “the pond” painting
- note: grandma moses starting painting at age 78 with personality and spunk!
- observe how grandma moses’ paintings are narrative art: a nostalgic visual journal of her youth
- notice how she painted complicated images of rural life with no main focal point
- be inspired by her vibrant, optimistic, and cheerful art
FROM THE LIPS OF GRANDMA MOSES:
- “I look back on my life like a good day’s work, it was done and I am satisfied with it.” -Grandma Moses
SEE VIDEO FOR HISTORY + PROJECT INSPIRATION


MATERIALS
- Pre cut 8.5″ x 8.5″ brown cardstock
- Pre cut 7.5″ x 7.5″ gray cardstock
- Scour pad
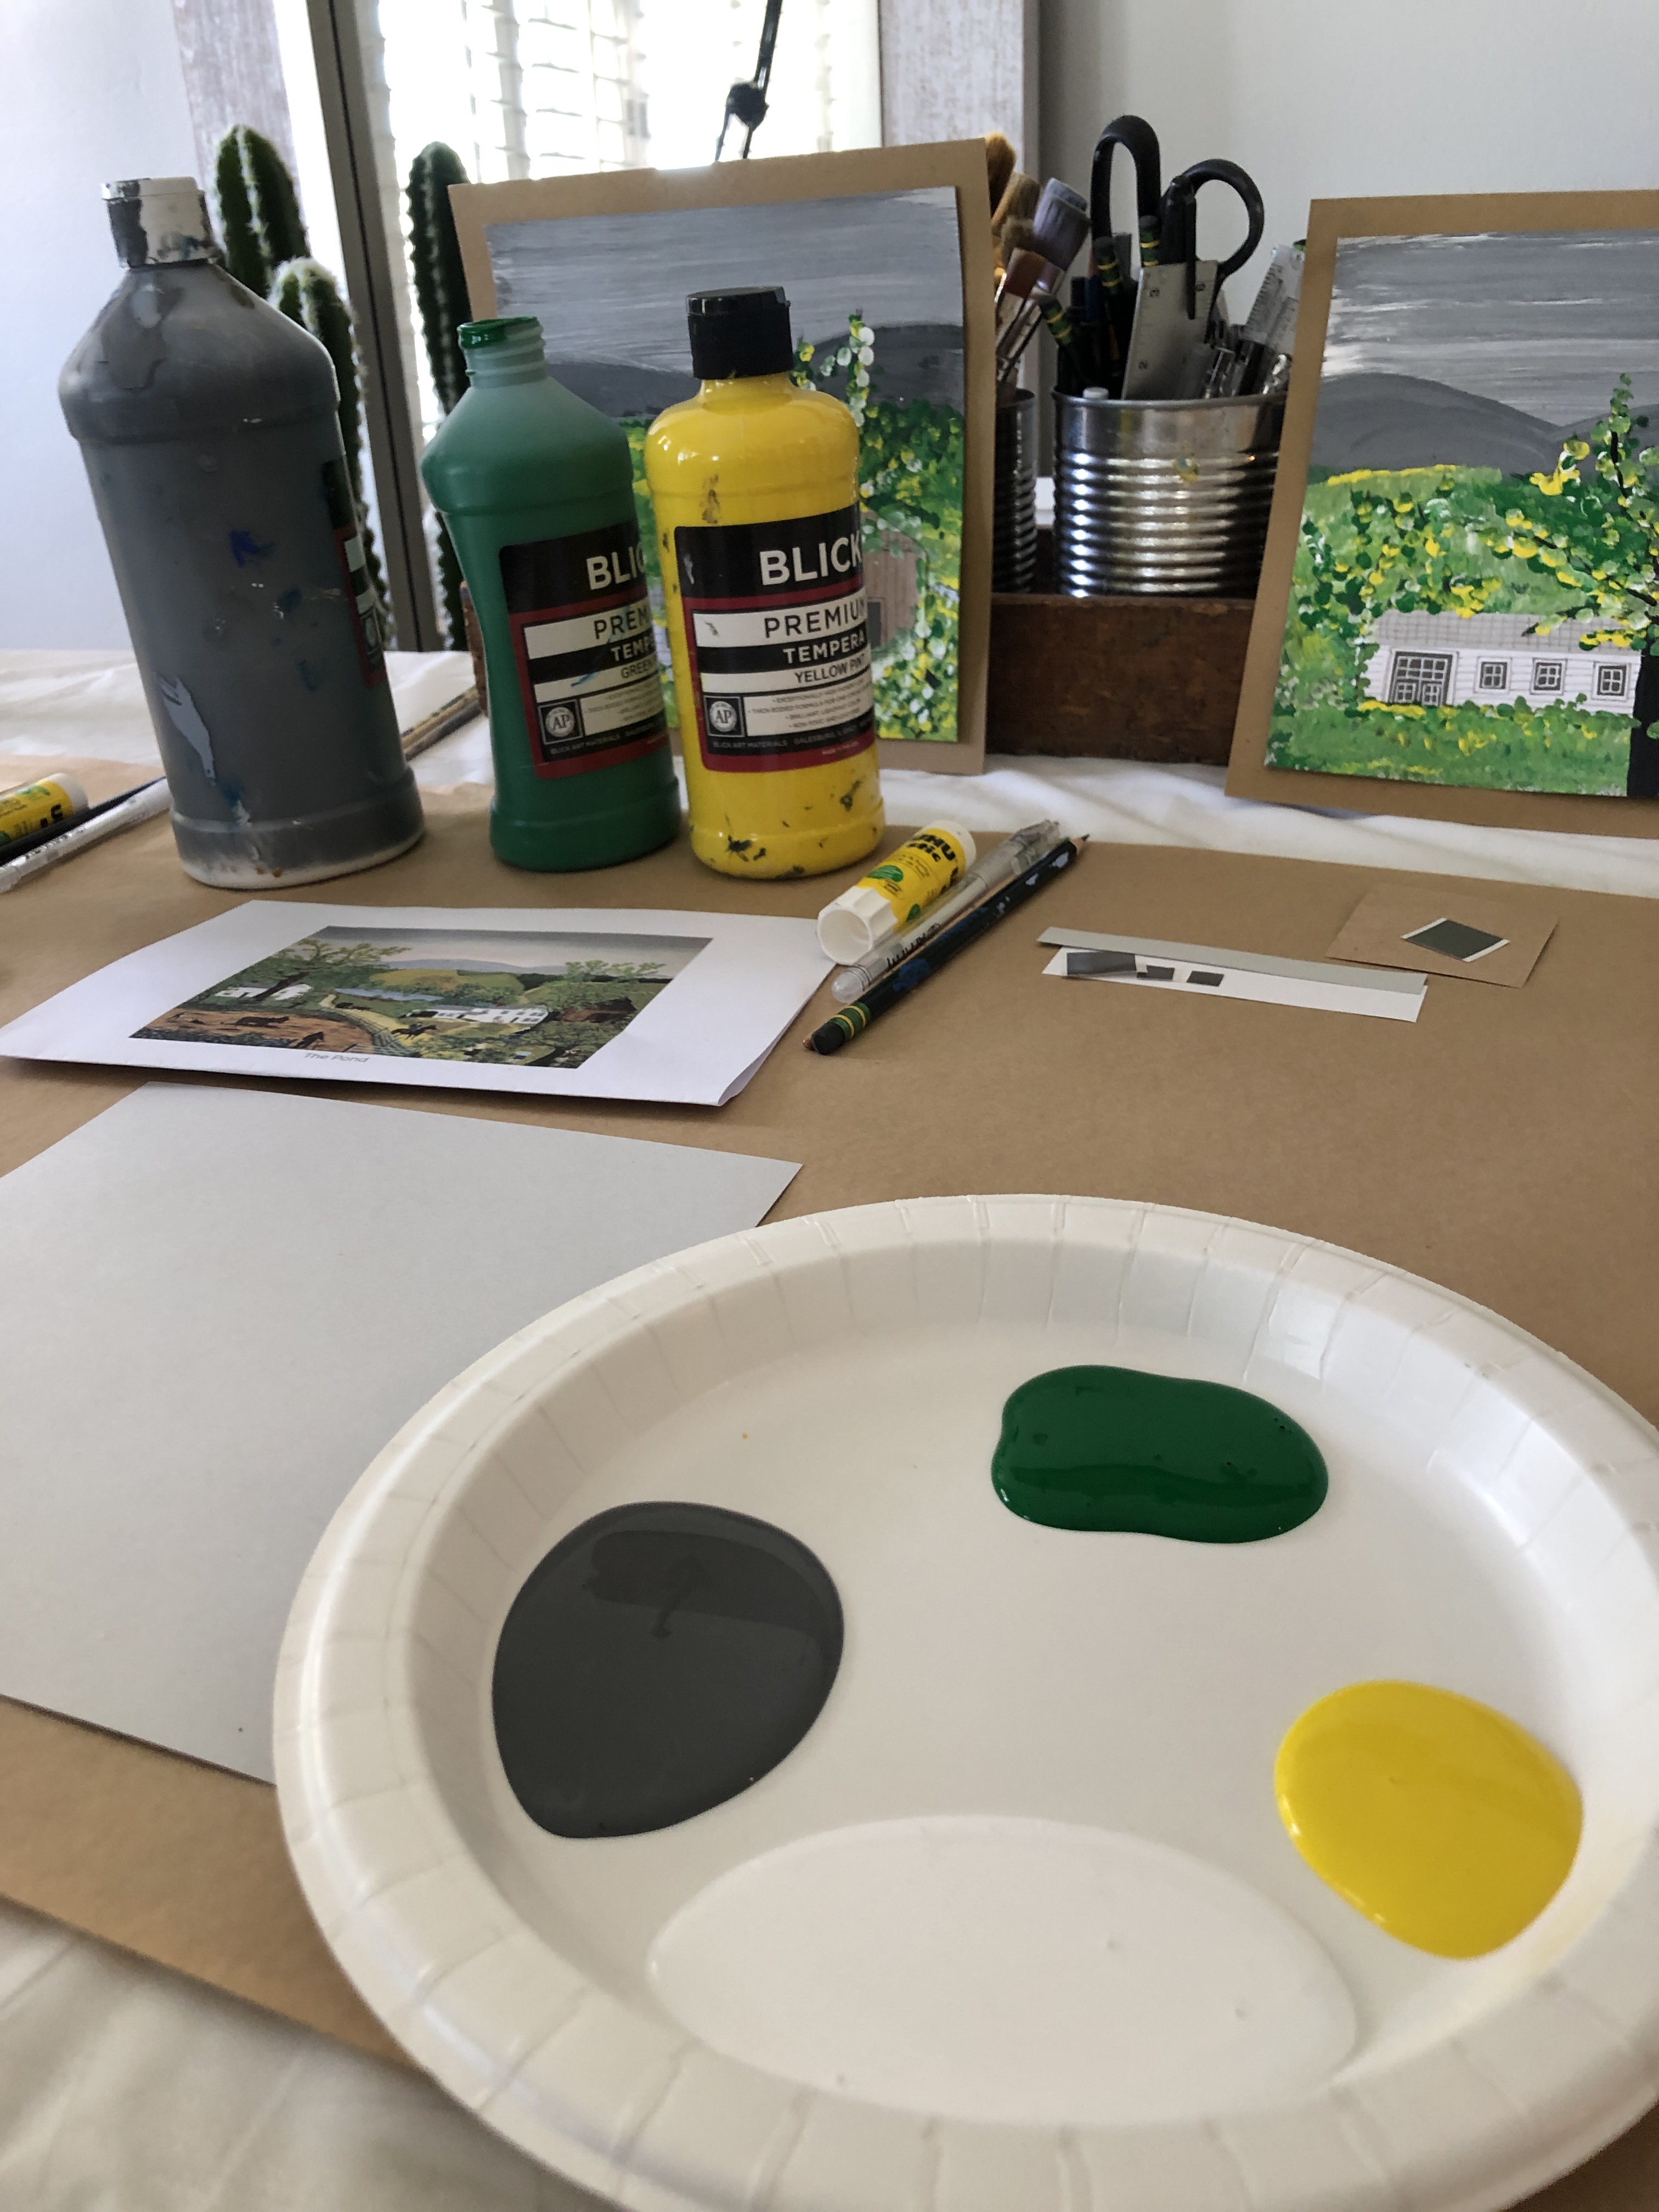
- Tempera paint: 1oz per student per color: White, Black, Yellow, Green, Charcoal Gray (mix black + white)
- Thin paint brush
- Paper plate
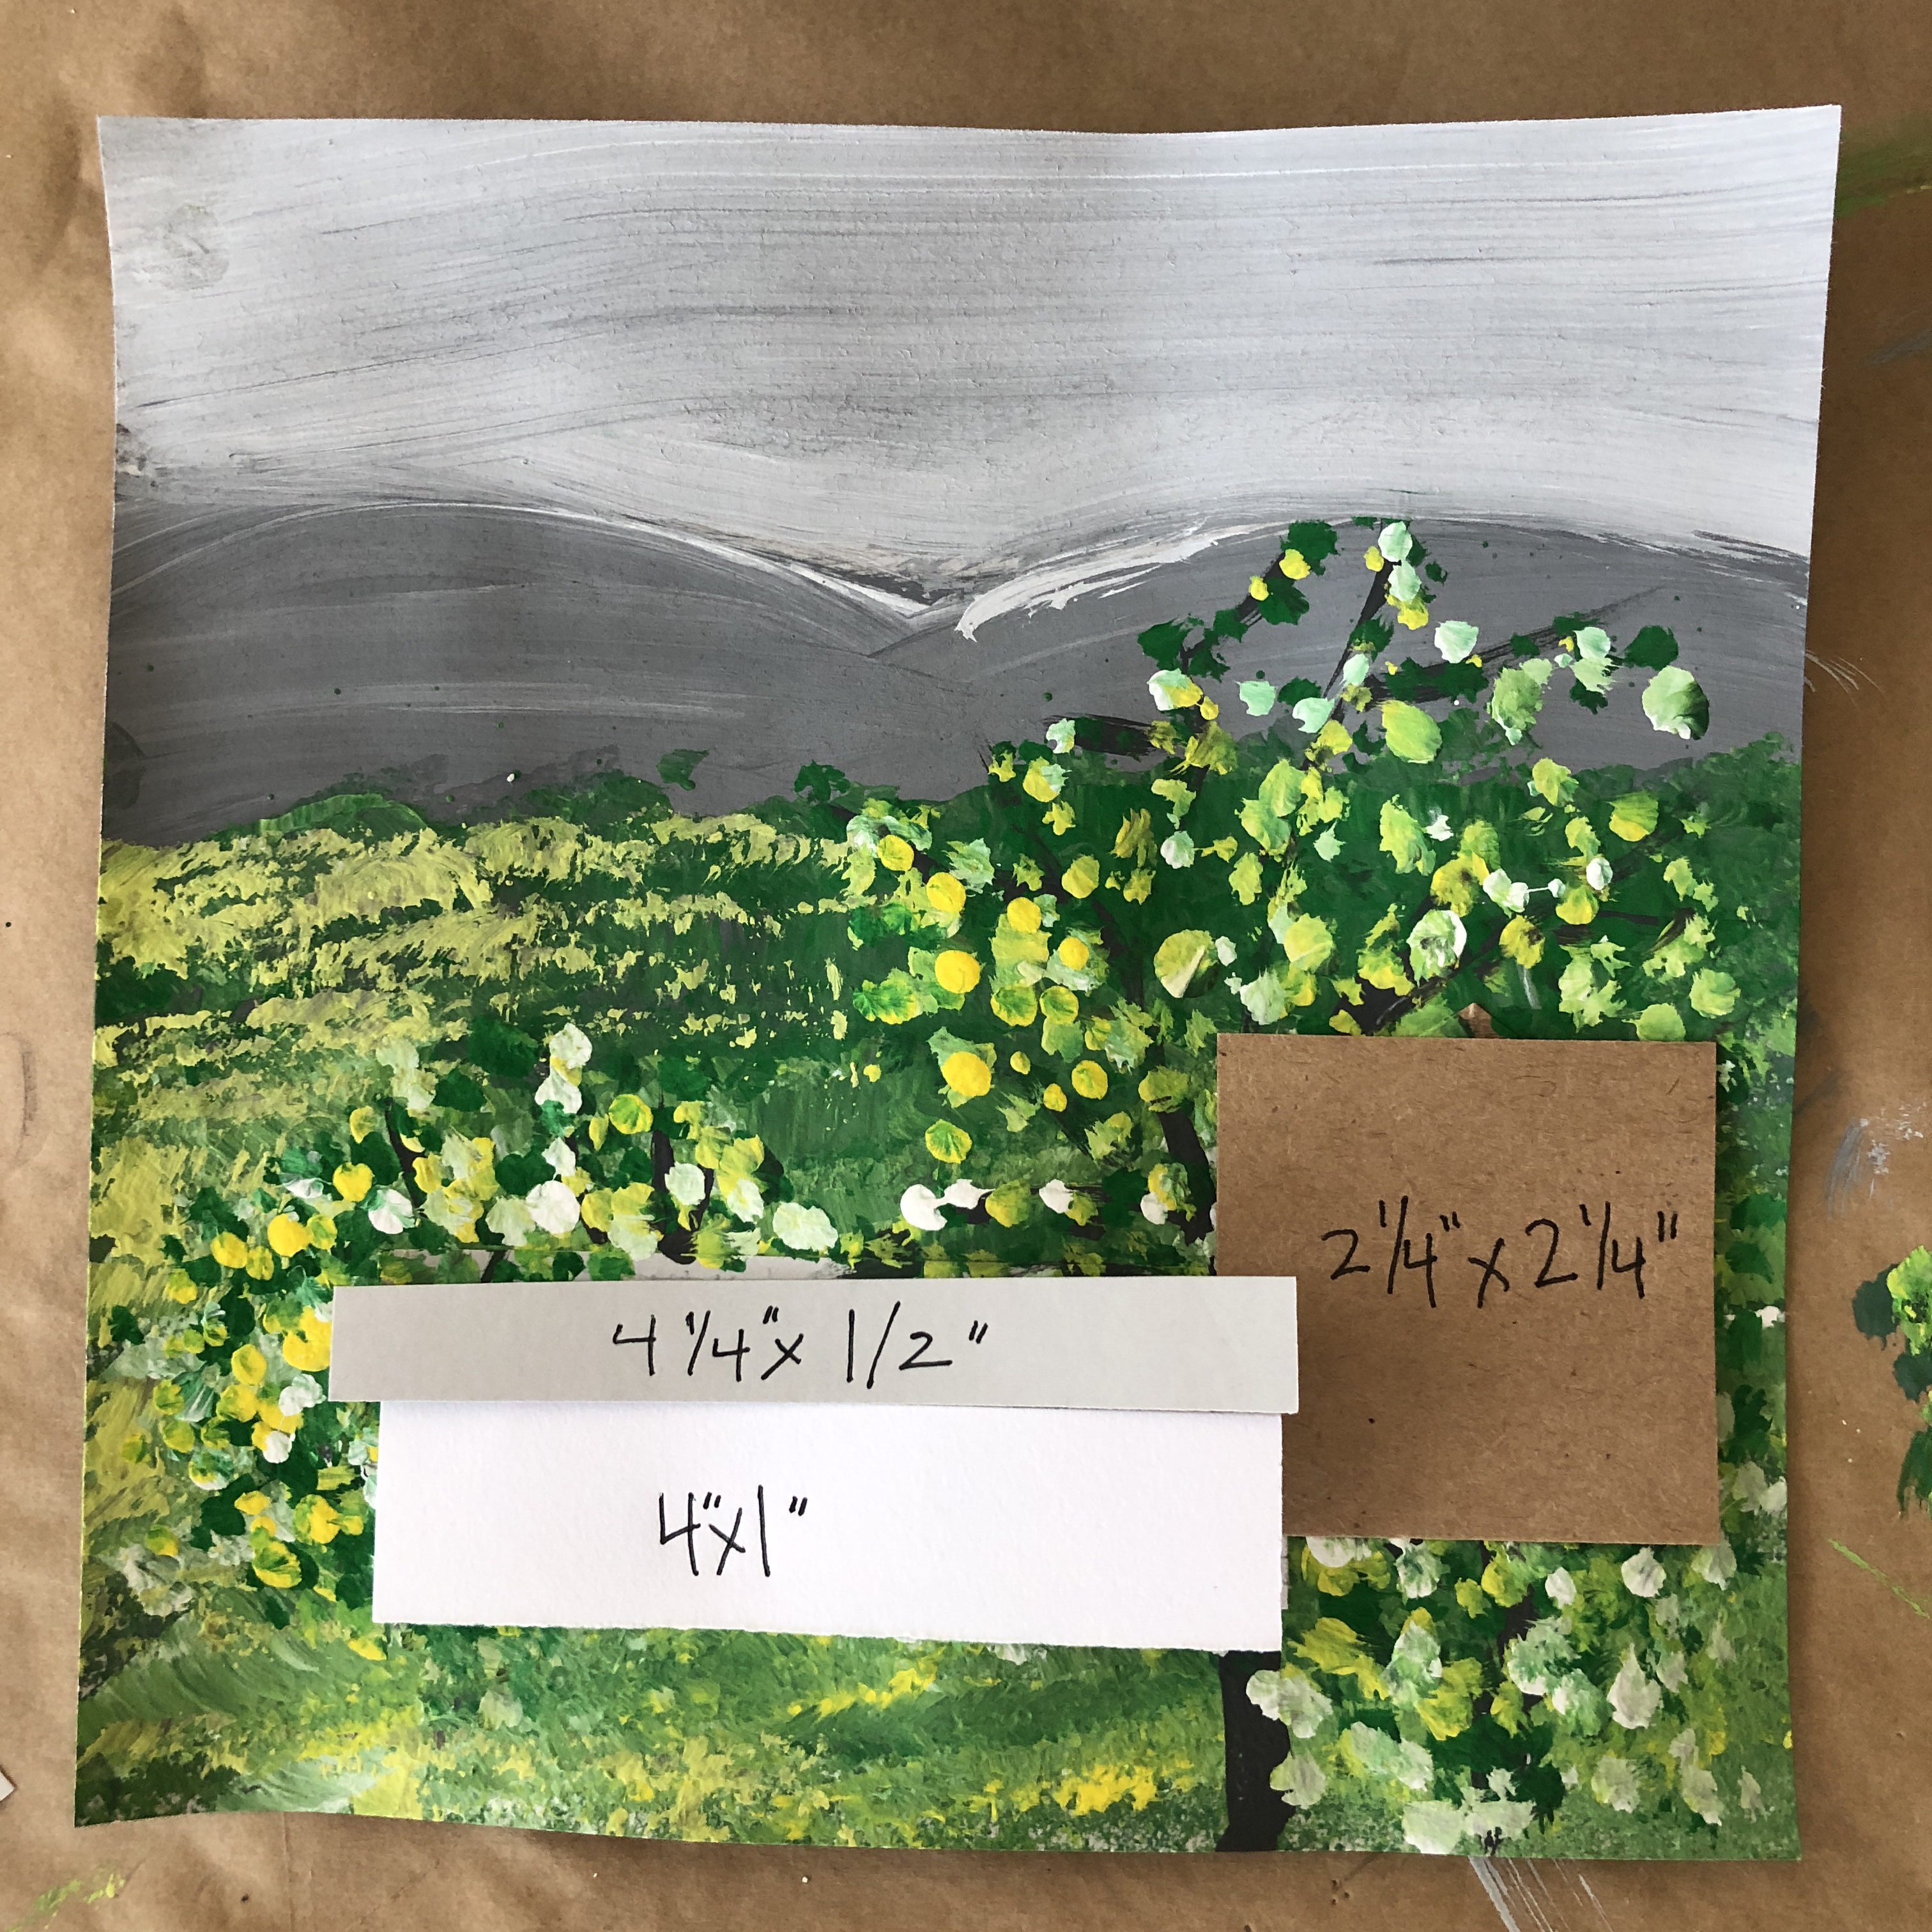
- White cardstock cut to 4″ x 1″
- Gray cardstock cut to 4 1/4″ x 1/2″
- Brown paper cut to 2 1/4″ x 2 1/4″
- Pencil
- Gray labels pre cut [see video below]
- White gel pen
- Glue stick
- 3M foam tape


STEP NO.1
- see video for landscape painting inspired by grandma moses’ “the pond” painting


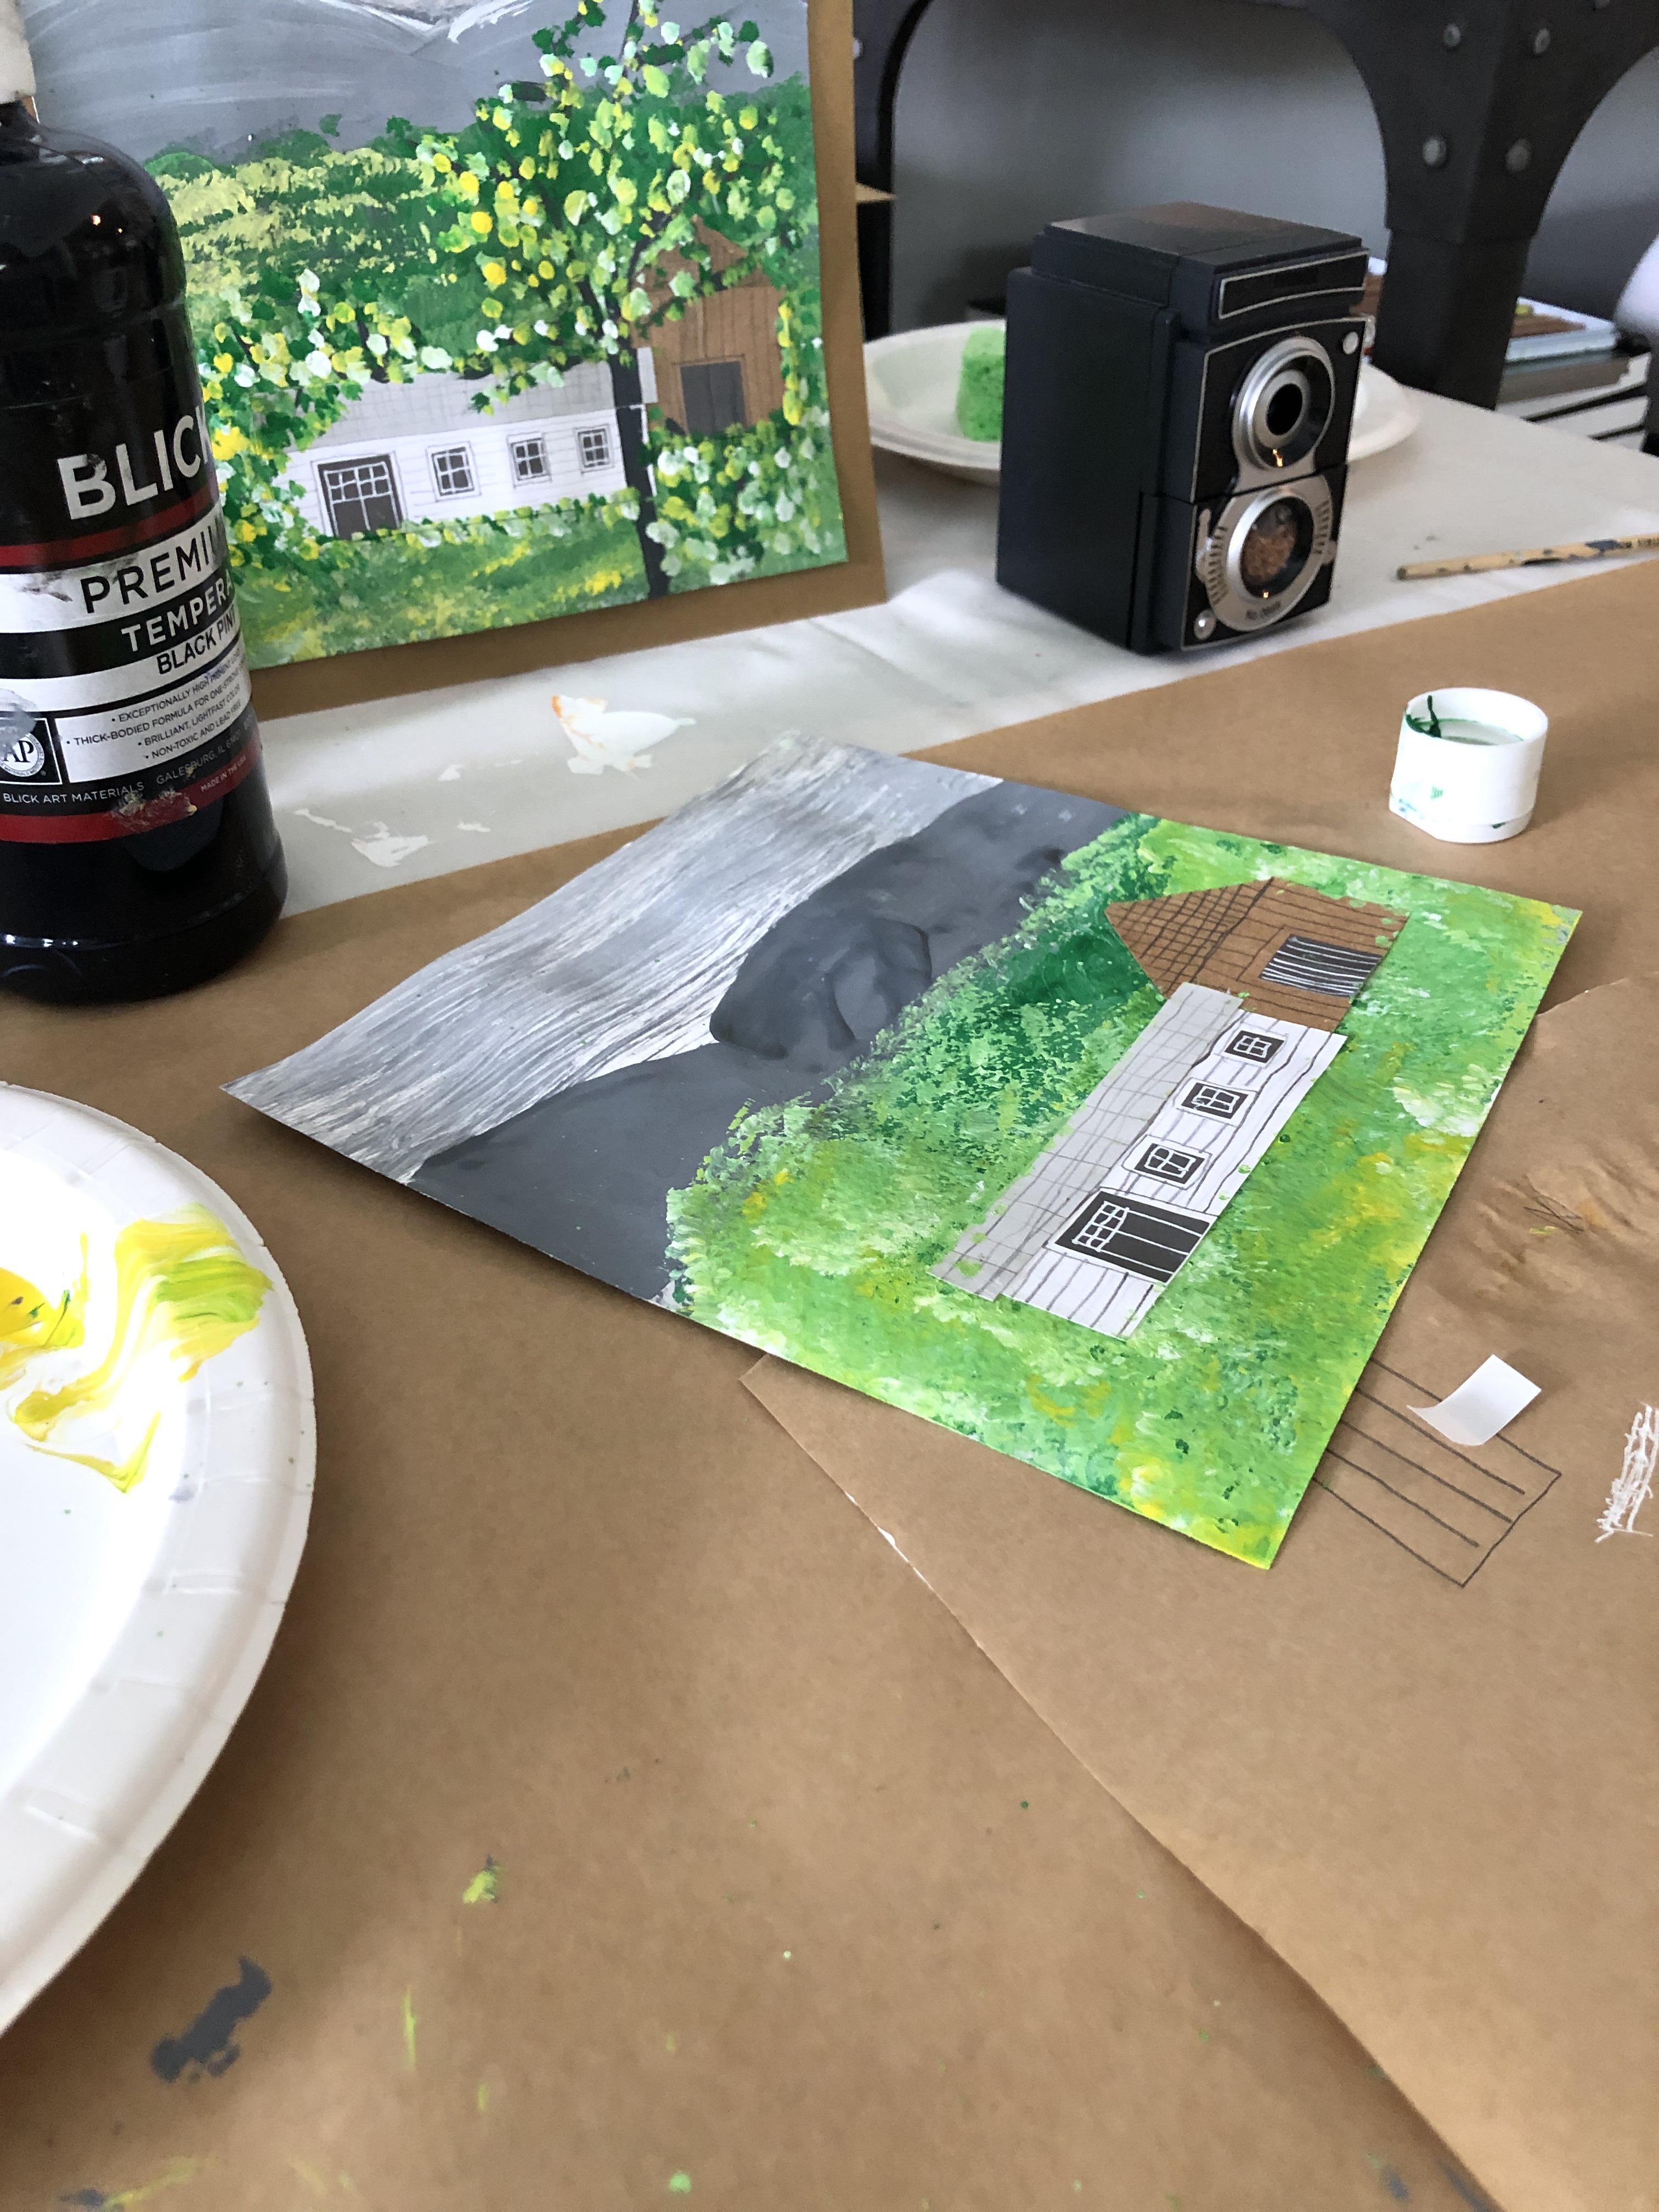
STEP NO.2
- follow video to paint the trees + mount artwork for a professional presentation


NO.2 PICASSO 1881-1973


THE PROJECT+THE ARTIST
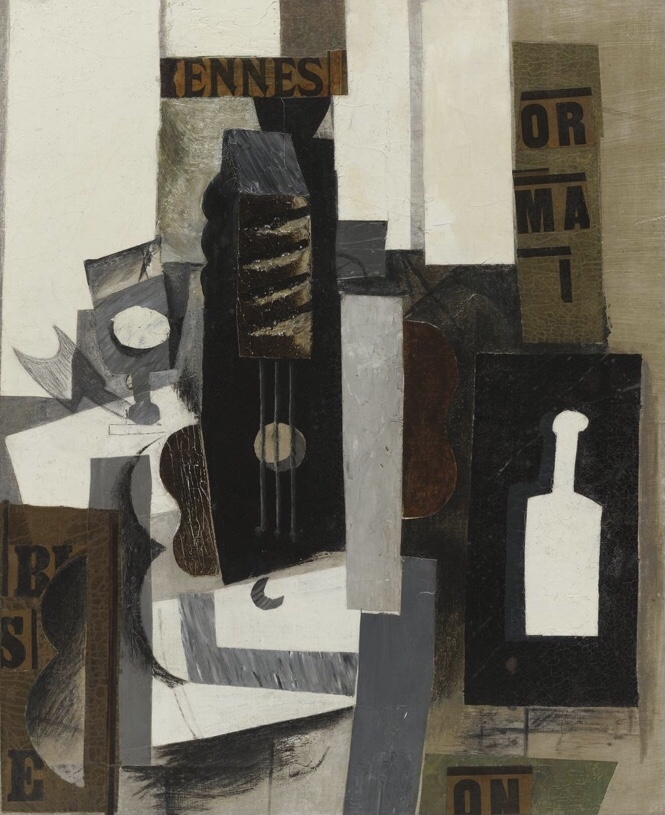
- draw inspiration from picasso’s collage work: “guitar” céret, spring 1913
- note: picasso mastered realistic painting at a young age, but lost interest and desired to make his mark in the world by being unpredictable and inventive [see image above]…. picasso and his good friend invented collage
- historians divide picasso’s life into several different art periods….our project focuses on his collage work during his “analytic & synthetic cubism” period
- discuss and identify parts of the deconstructed guitar
FROM THE LIPS OF PICASSO:
- “Of course, you can paint pictures by matching up different parts of them so that they go nicely together, but they’ll lack any kind of drama.” – Pablo Picasso
- “When I was as old as these children, I could draw like Raphael, but it took me a lifetime to learn to draw like them.” – Pablo Picasso
- “The world doesn’t make sense, so why should I paint pictures that do?” – Pablo Picasso
SEE VIDEO FOR HISTORY + INSPIRATION BEHIND THE PROJECT


MATERIALS
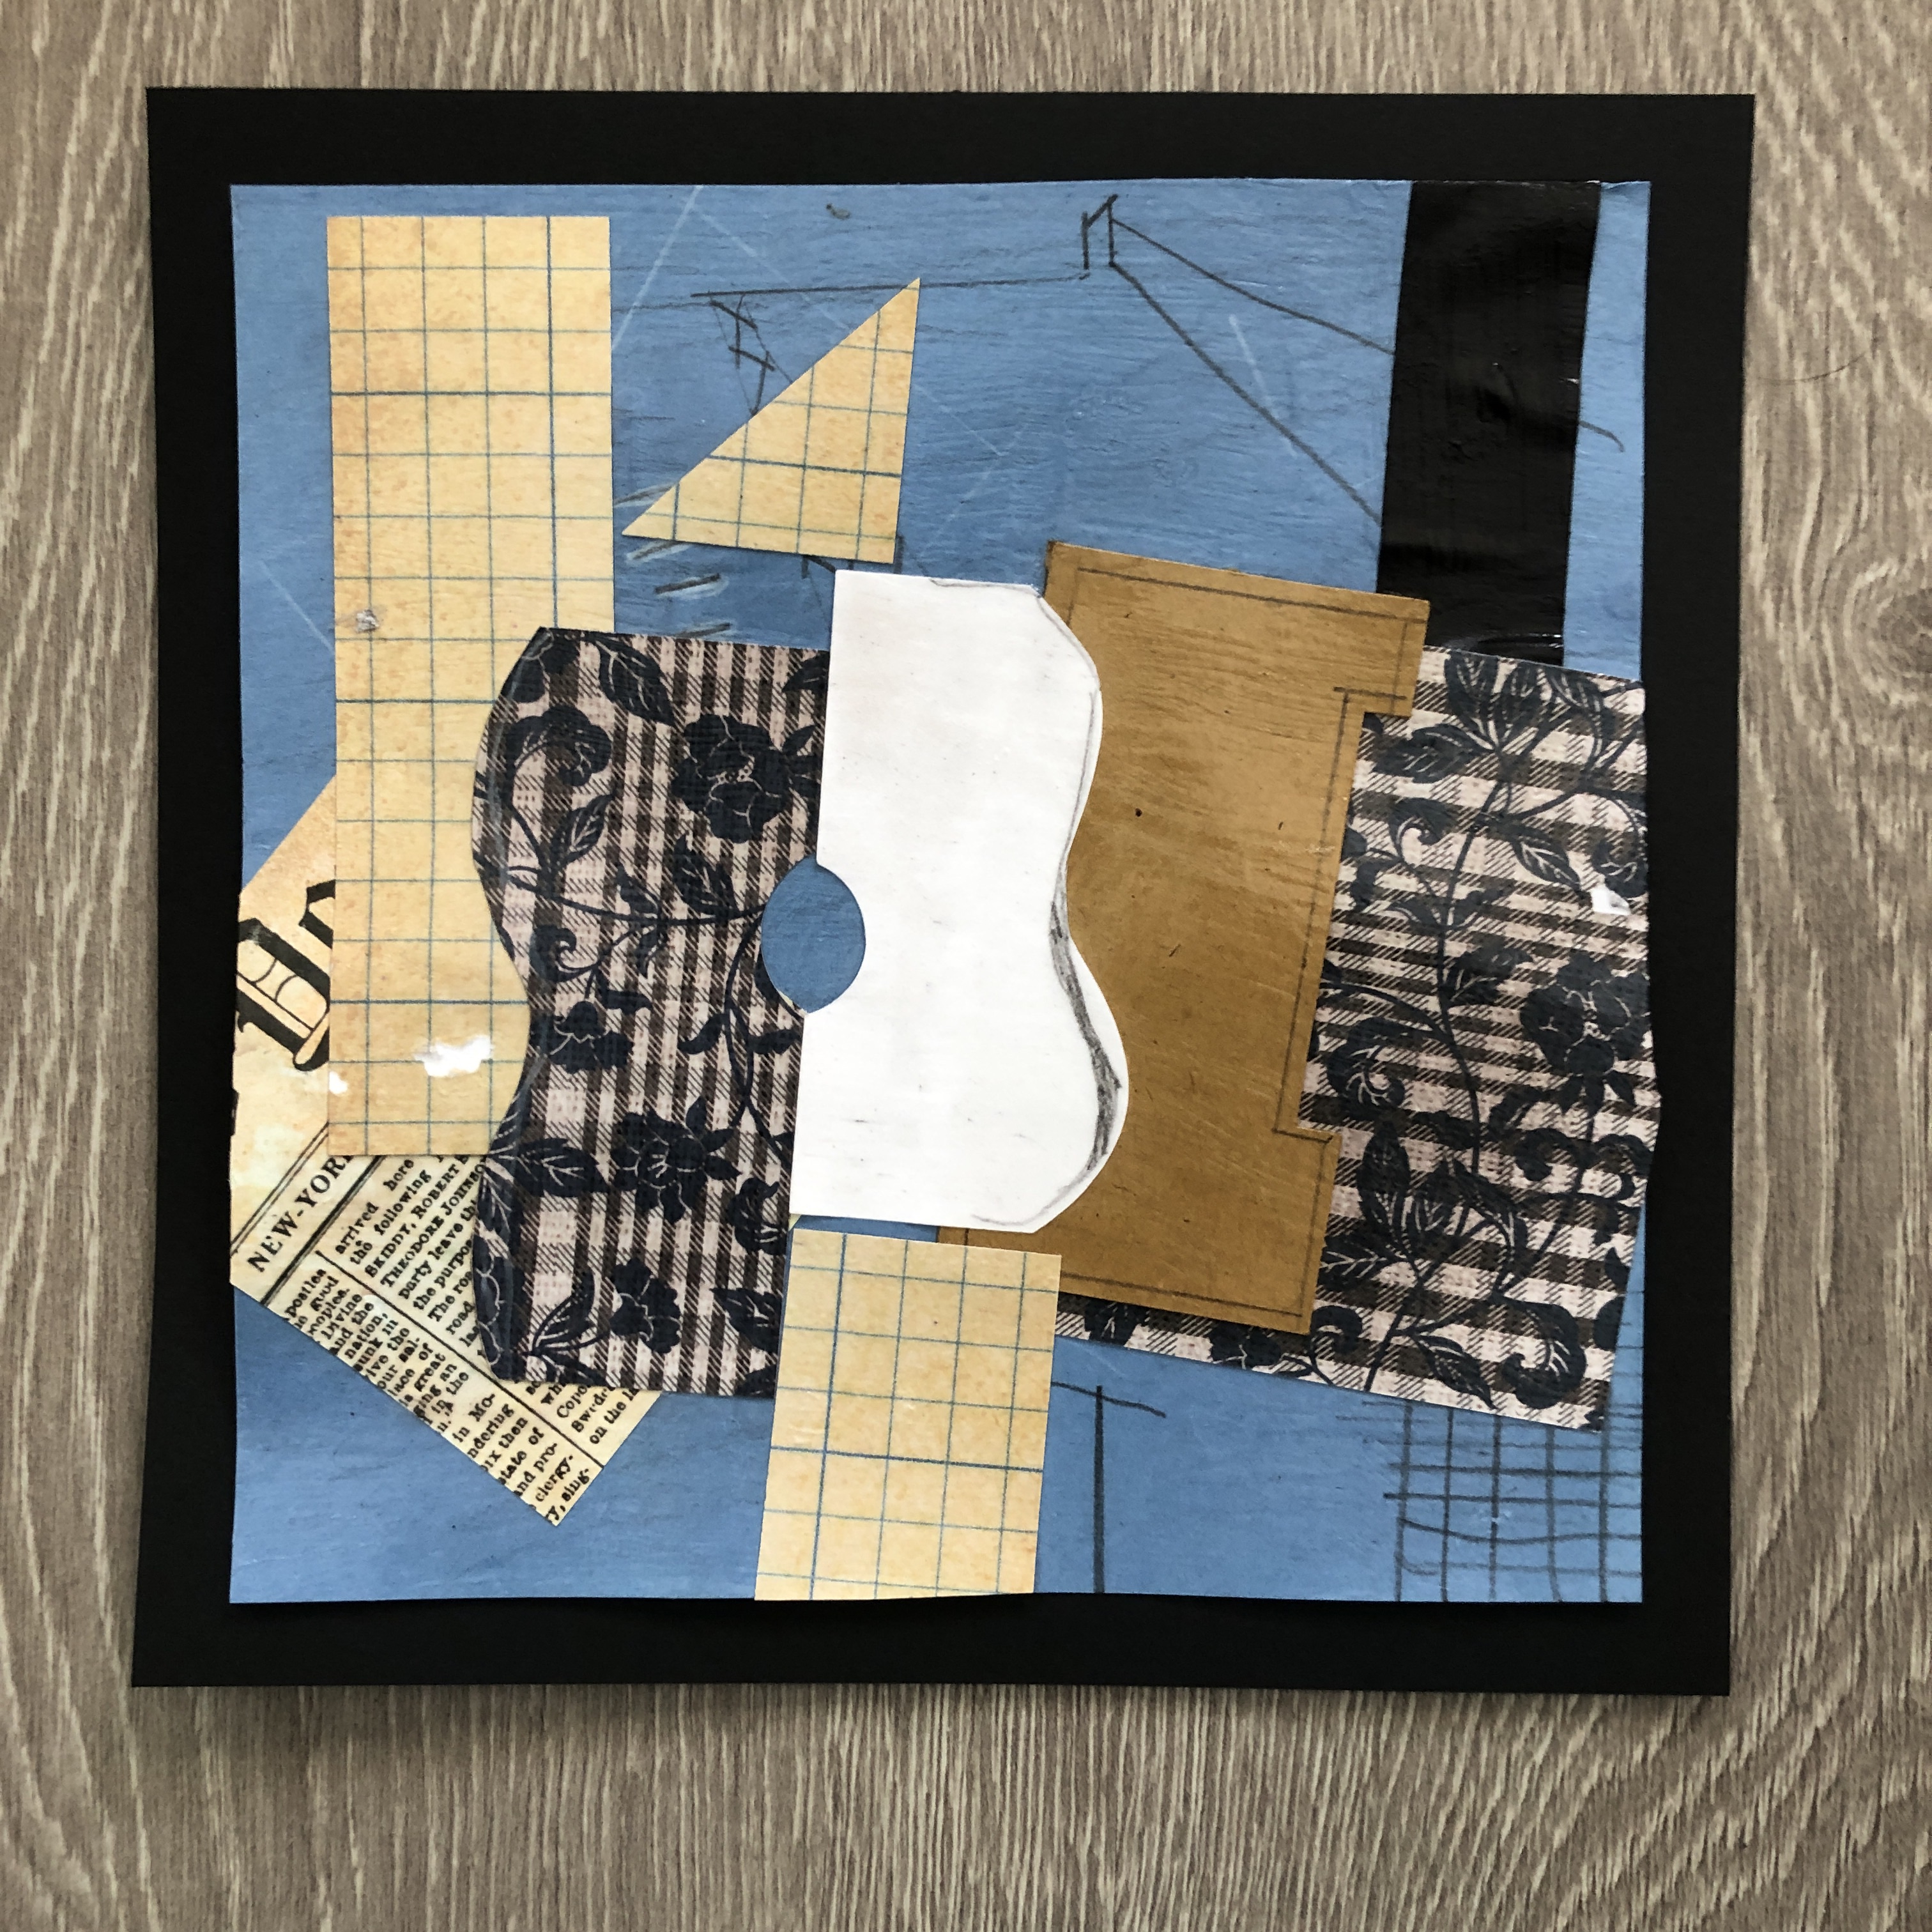
- 7.5″ x 7.5″ blue card-stock
- 8.5″ x 8.5″ black card-stock
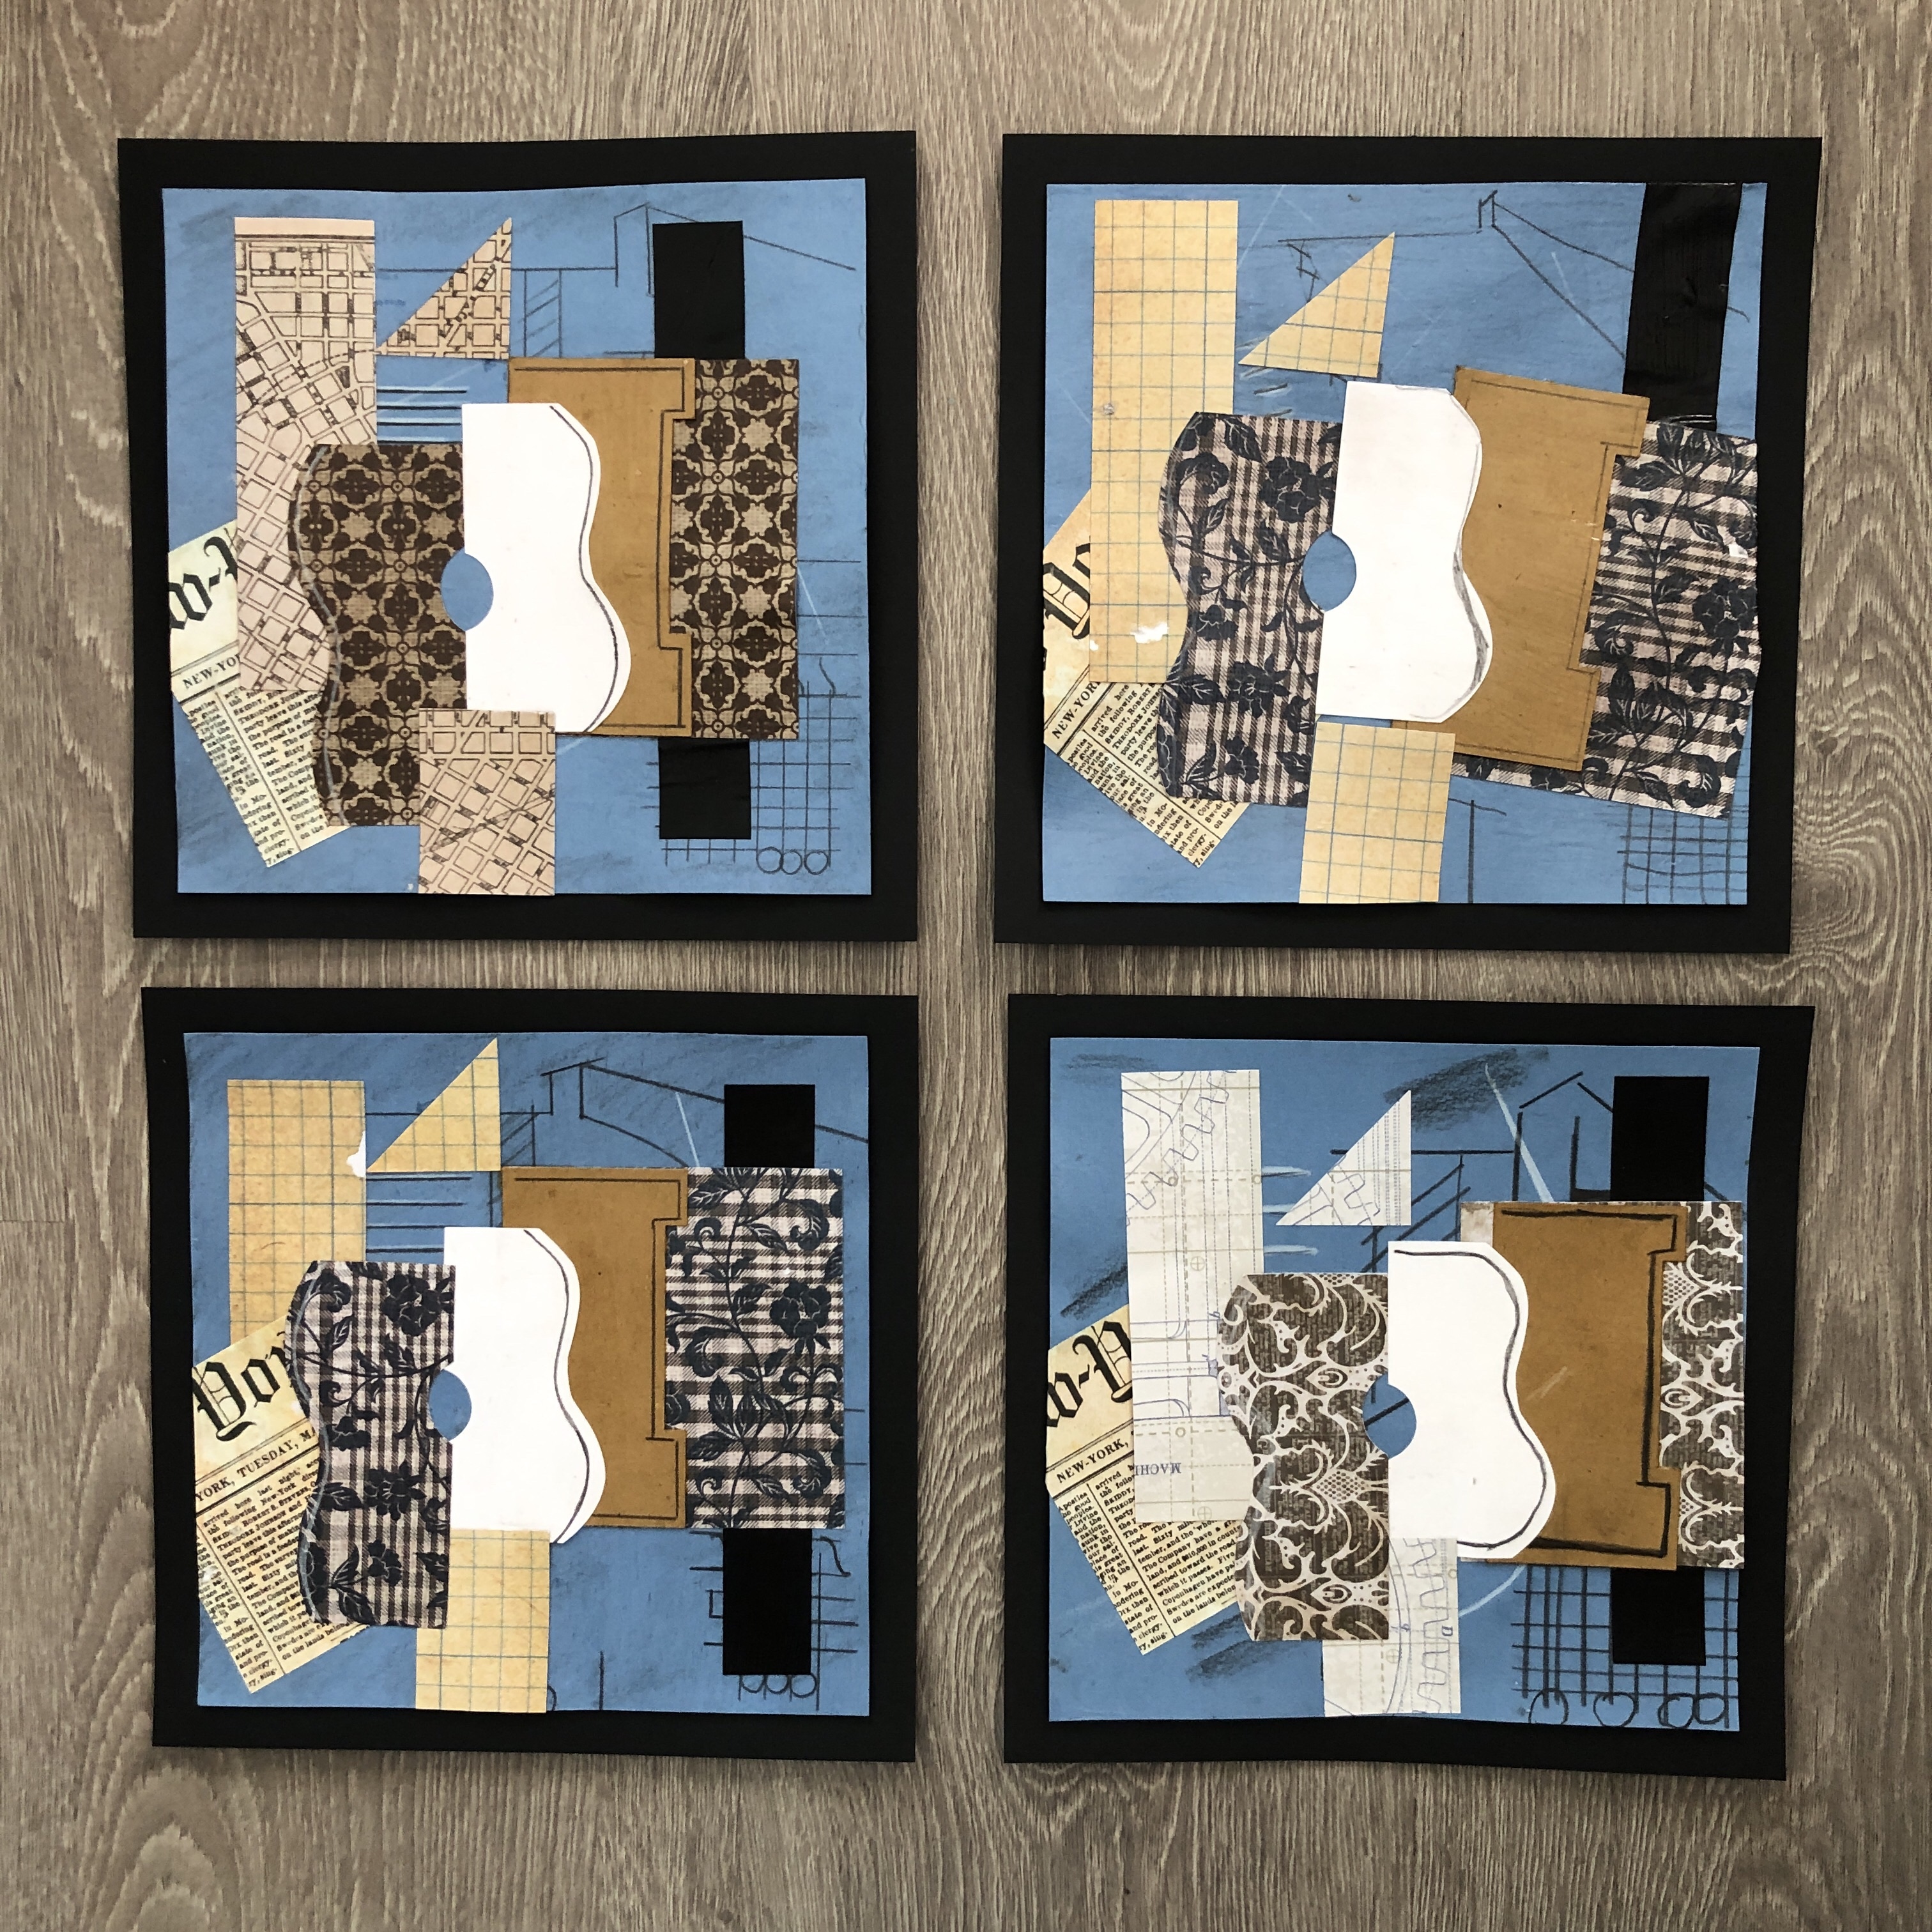
- precut shapes out of the following paper for students [see attachment]
- Tim Holtz dapper paper
- Brown cardstock
- White cardstock
- Black paper
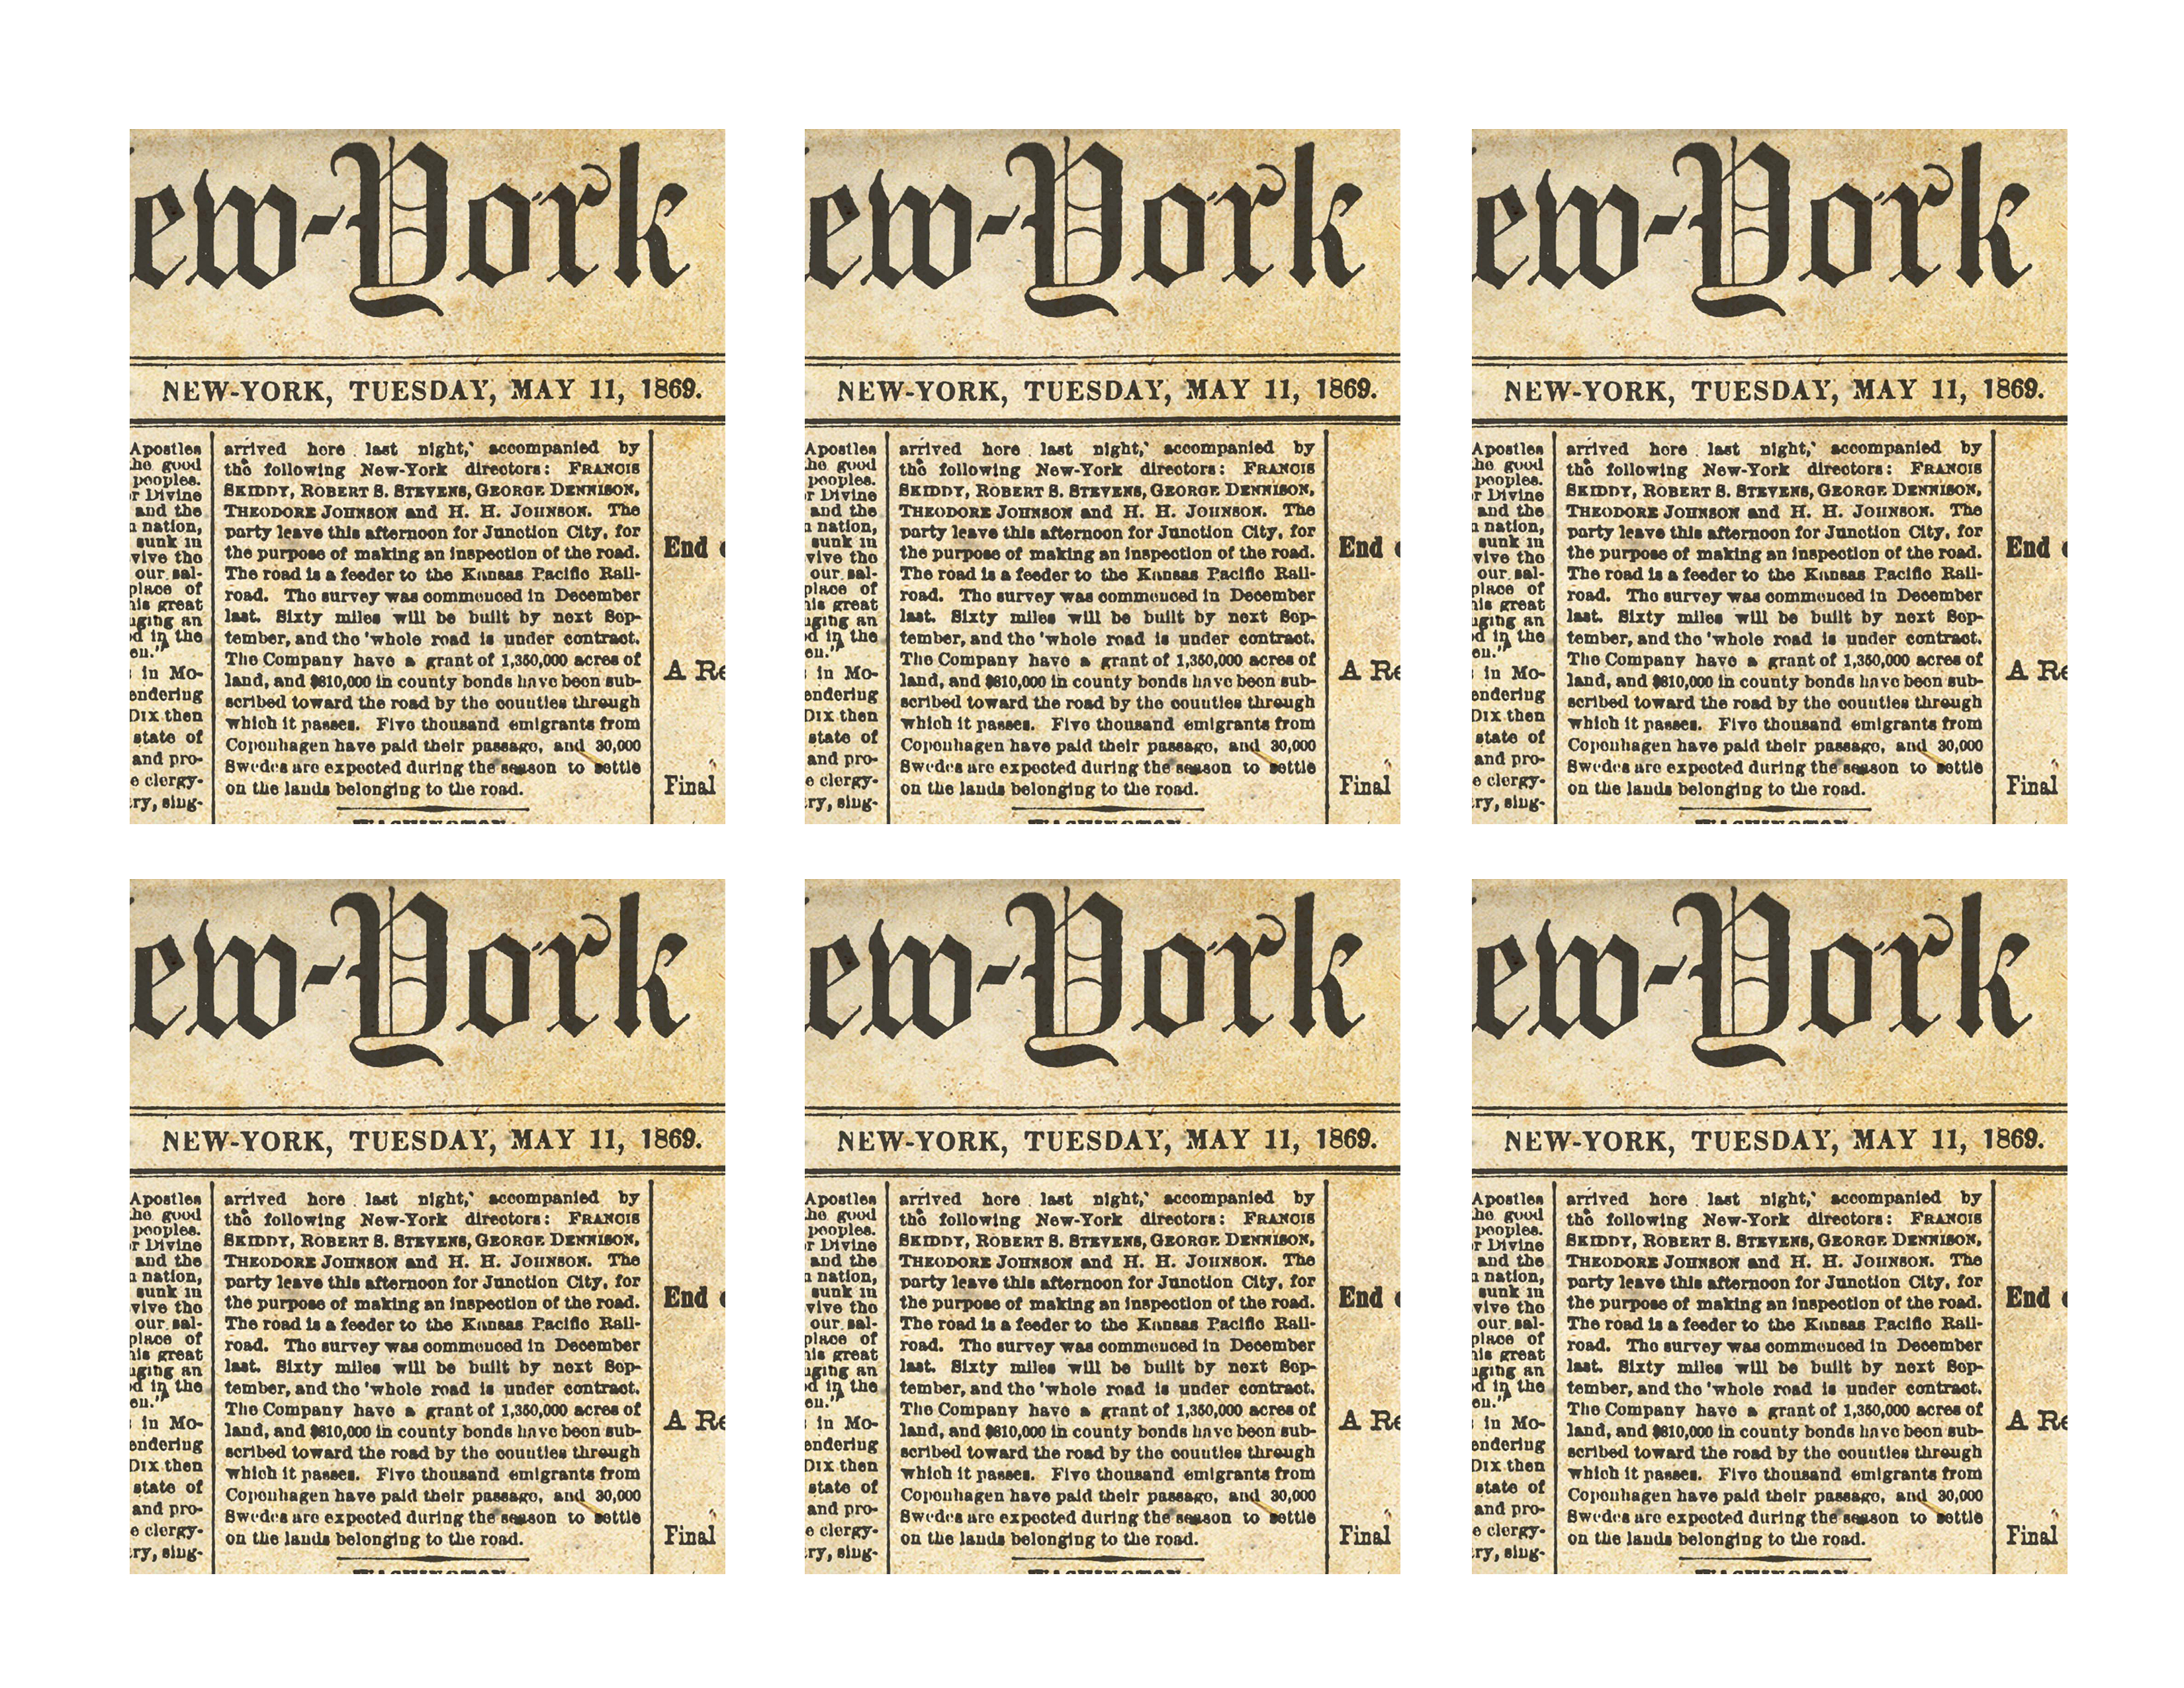
- Newspaper [print out attachment]
- Back color pencil
- White color pencil
- Pencil sharpener
- Mod Podge Matte
- Sponge brush
- Ruler or card-stock for straight edge [free hand will work & might be better for younger students]
- 3M foam tape
- Gloves [optional]
- Print out of Picasso’s Guitar 1913 inspiration for students to look at closely [one per student if possible]


PRINTABLE NEWSPAPER bits
PRINTABLE GUITAR TEMPLATE

SEE VIDEO FOR PICASSO INSPIRED COLLAGE


no.3 GEORGIA O’KEEFFE 1887-1986


THE PROJECT+THE ARTIST
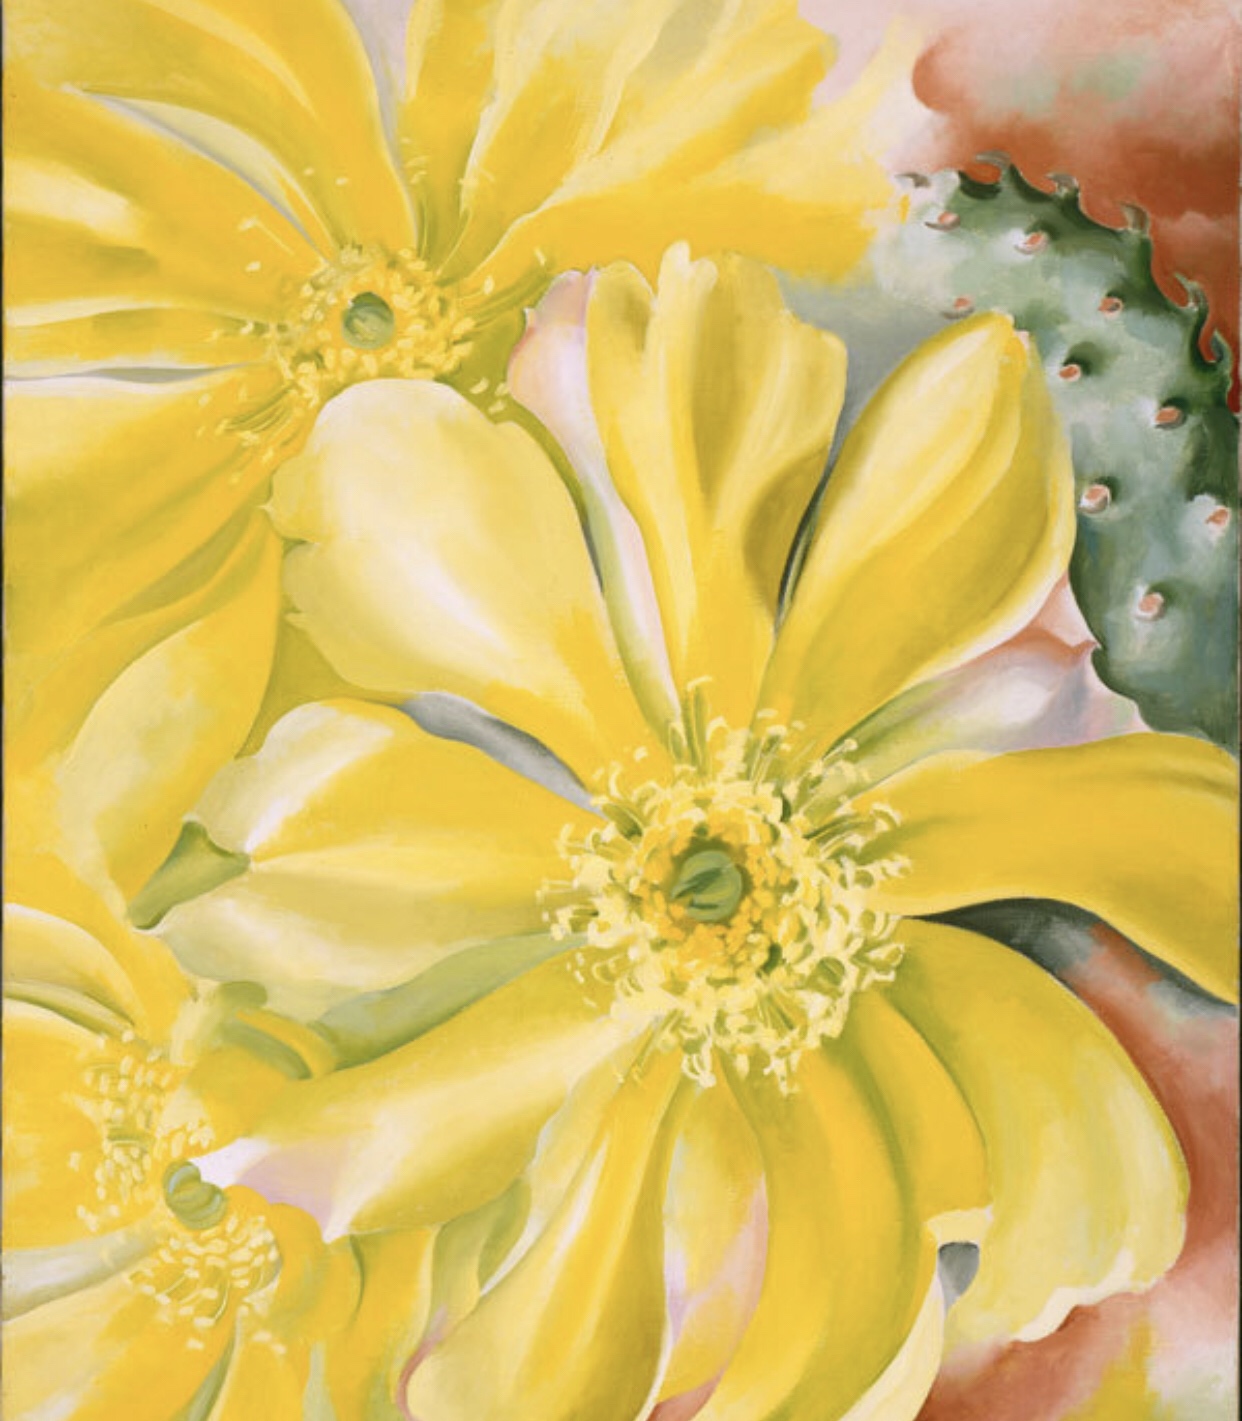
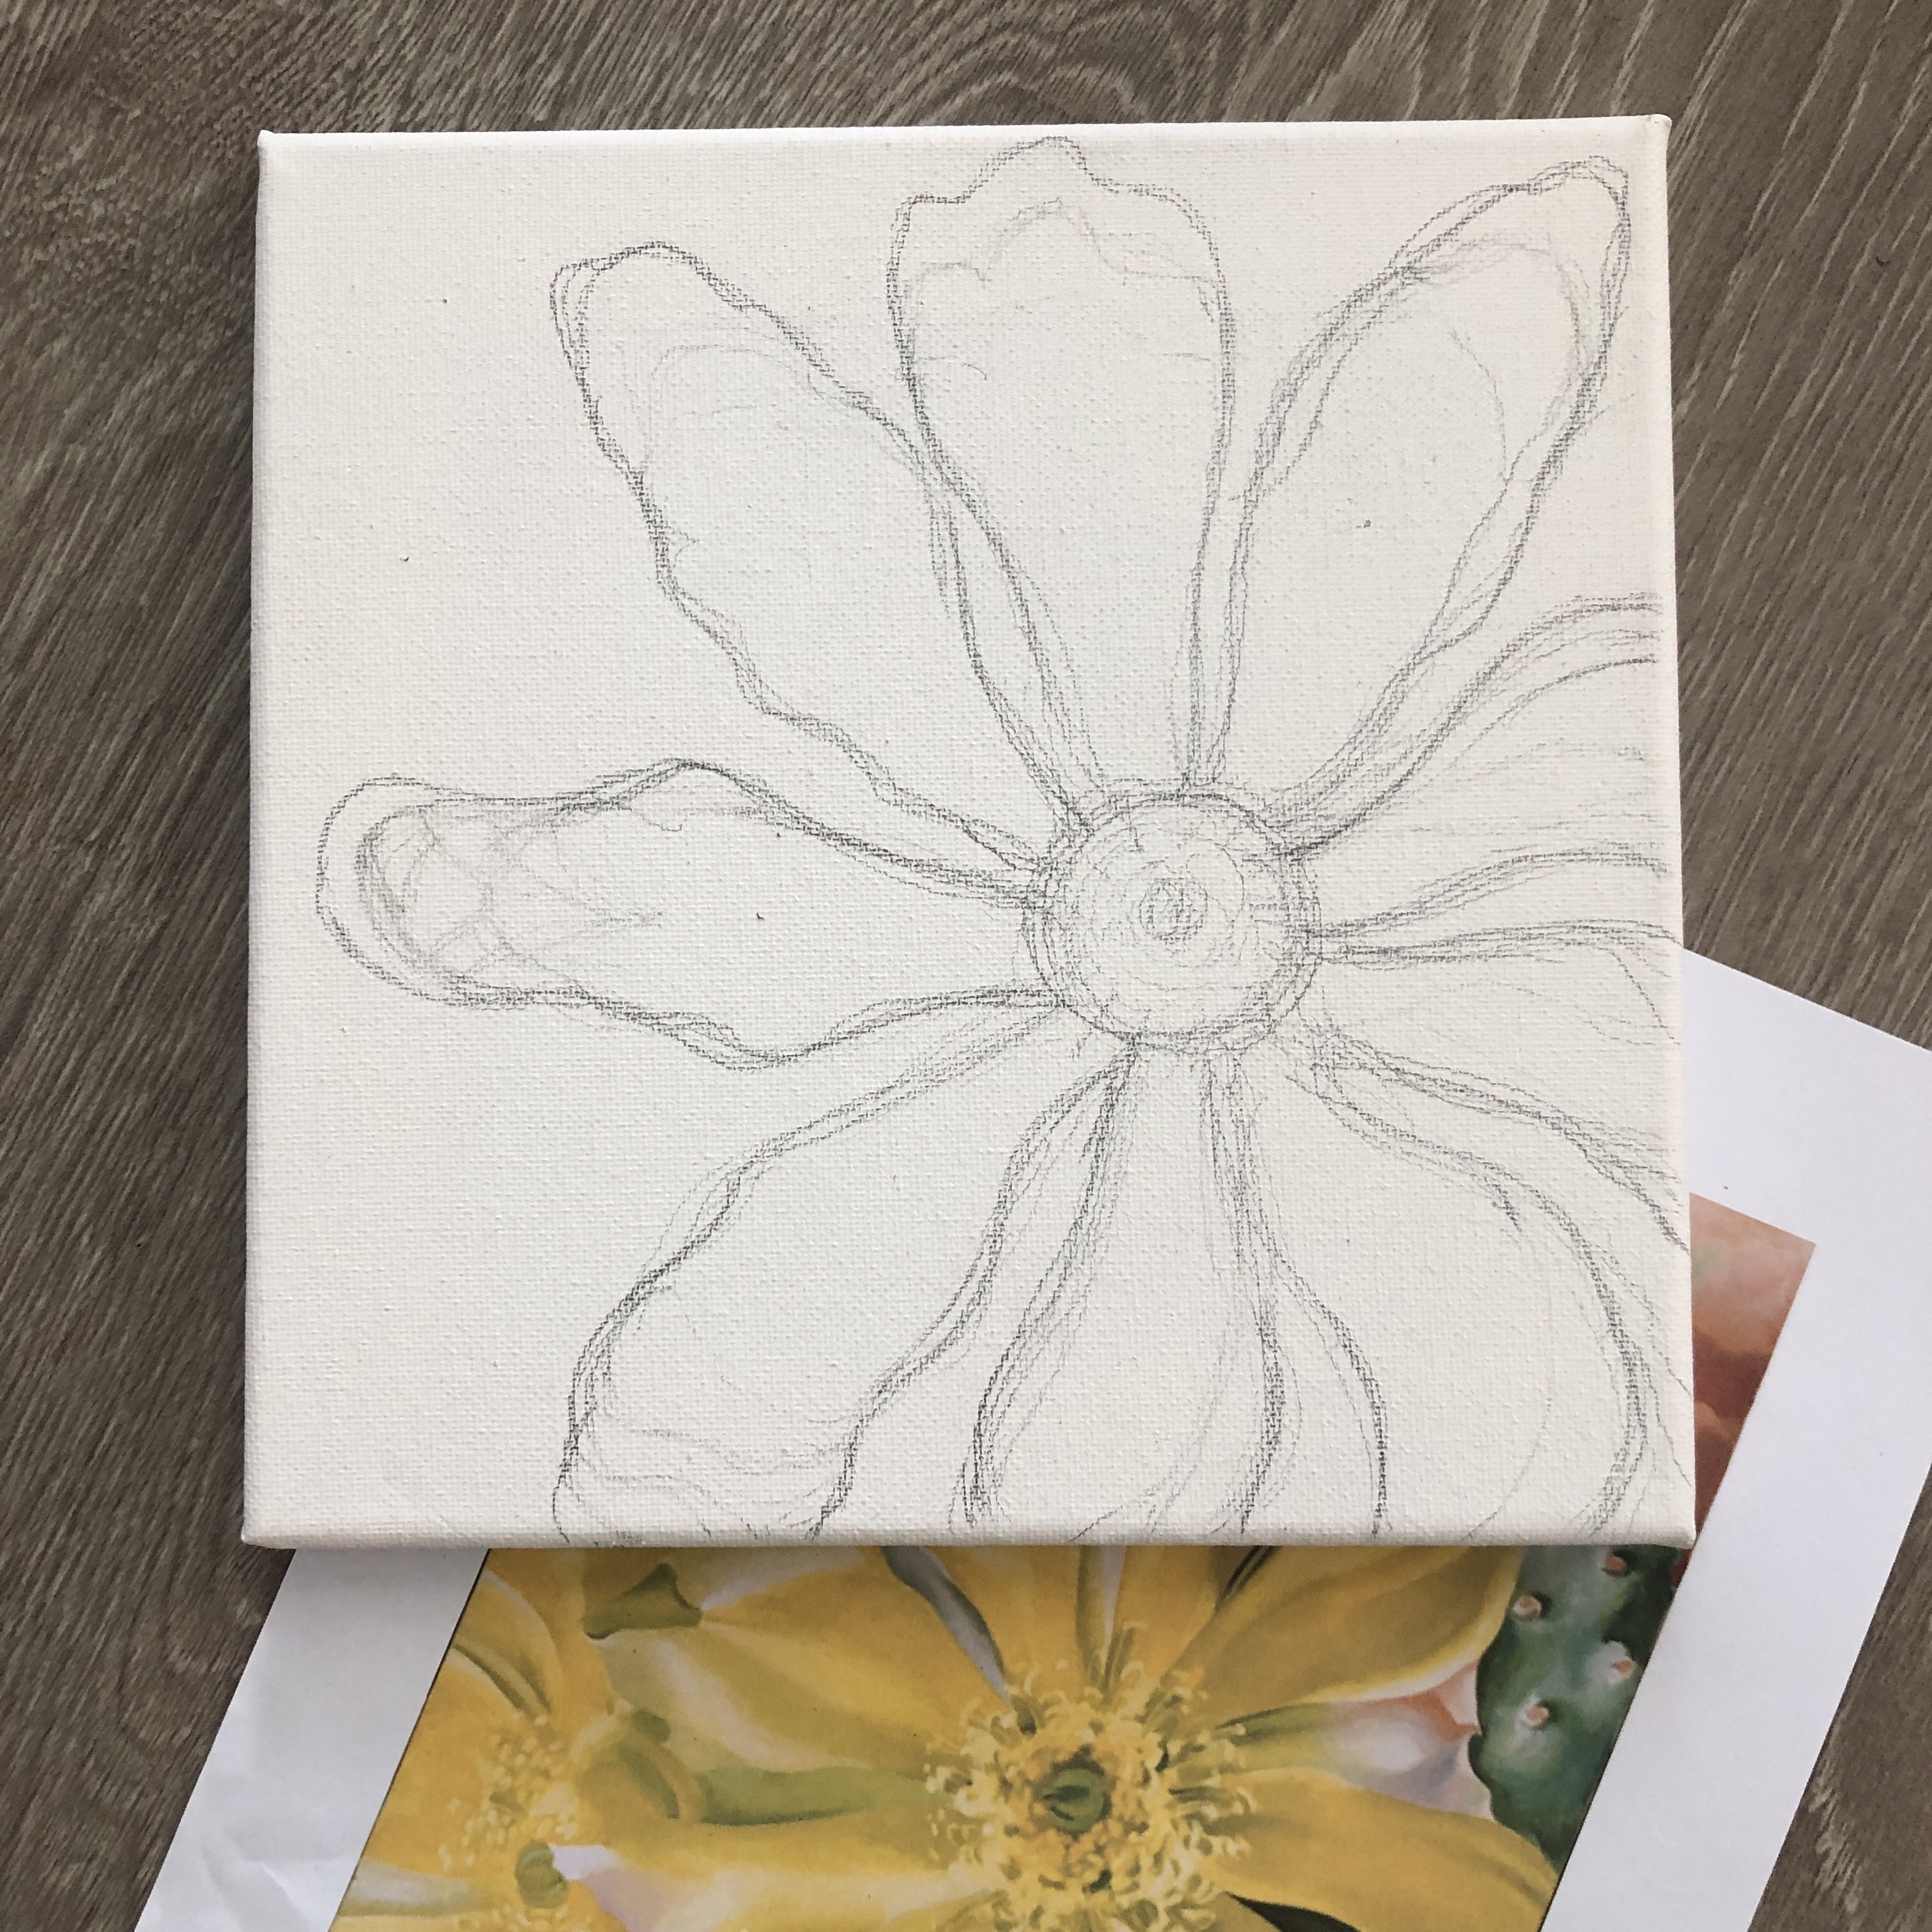
- draw inspiration from o’keefe’s painting: “yellow cactus 1935”
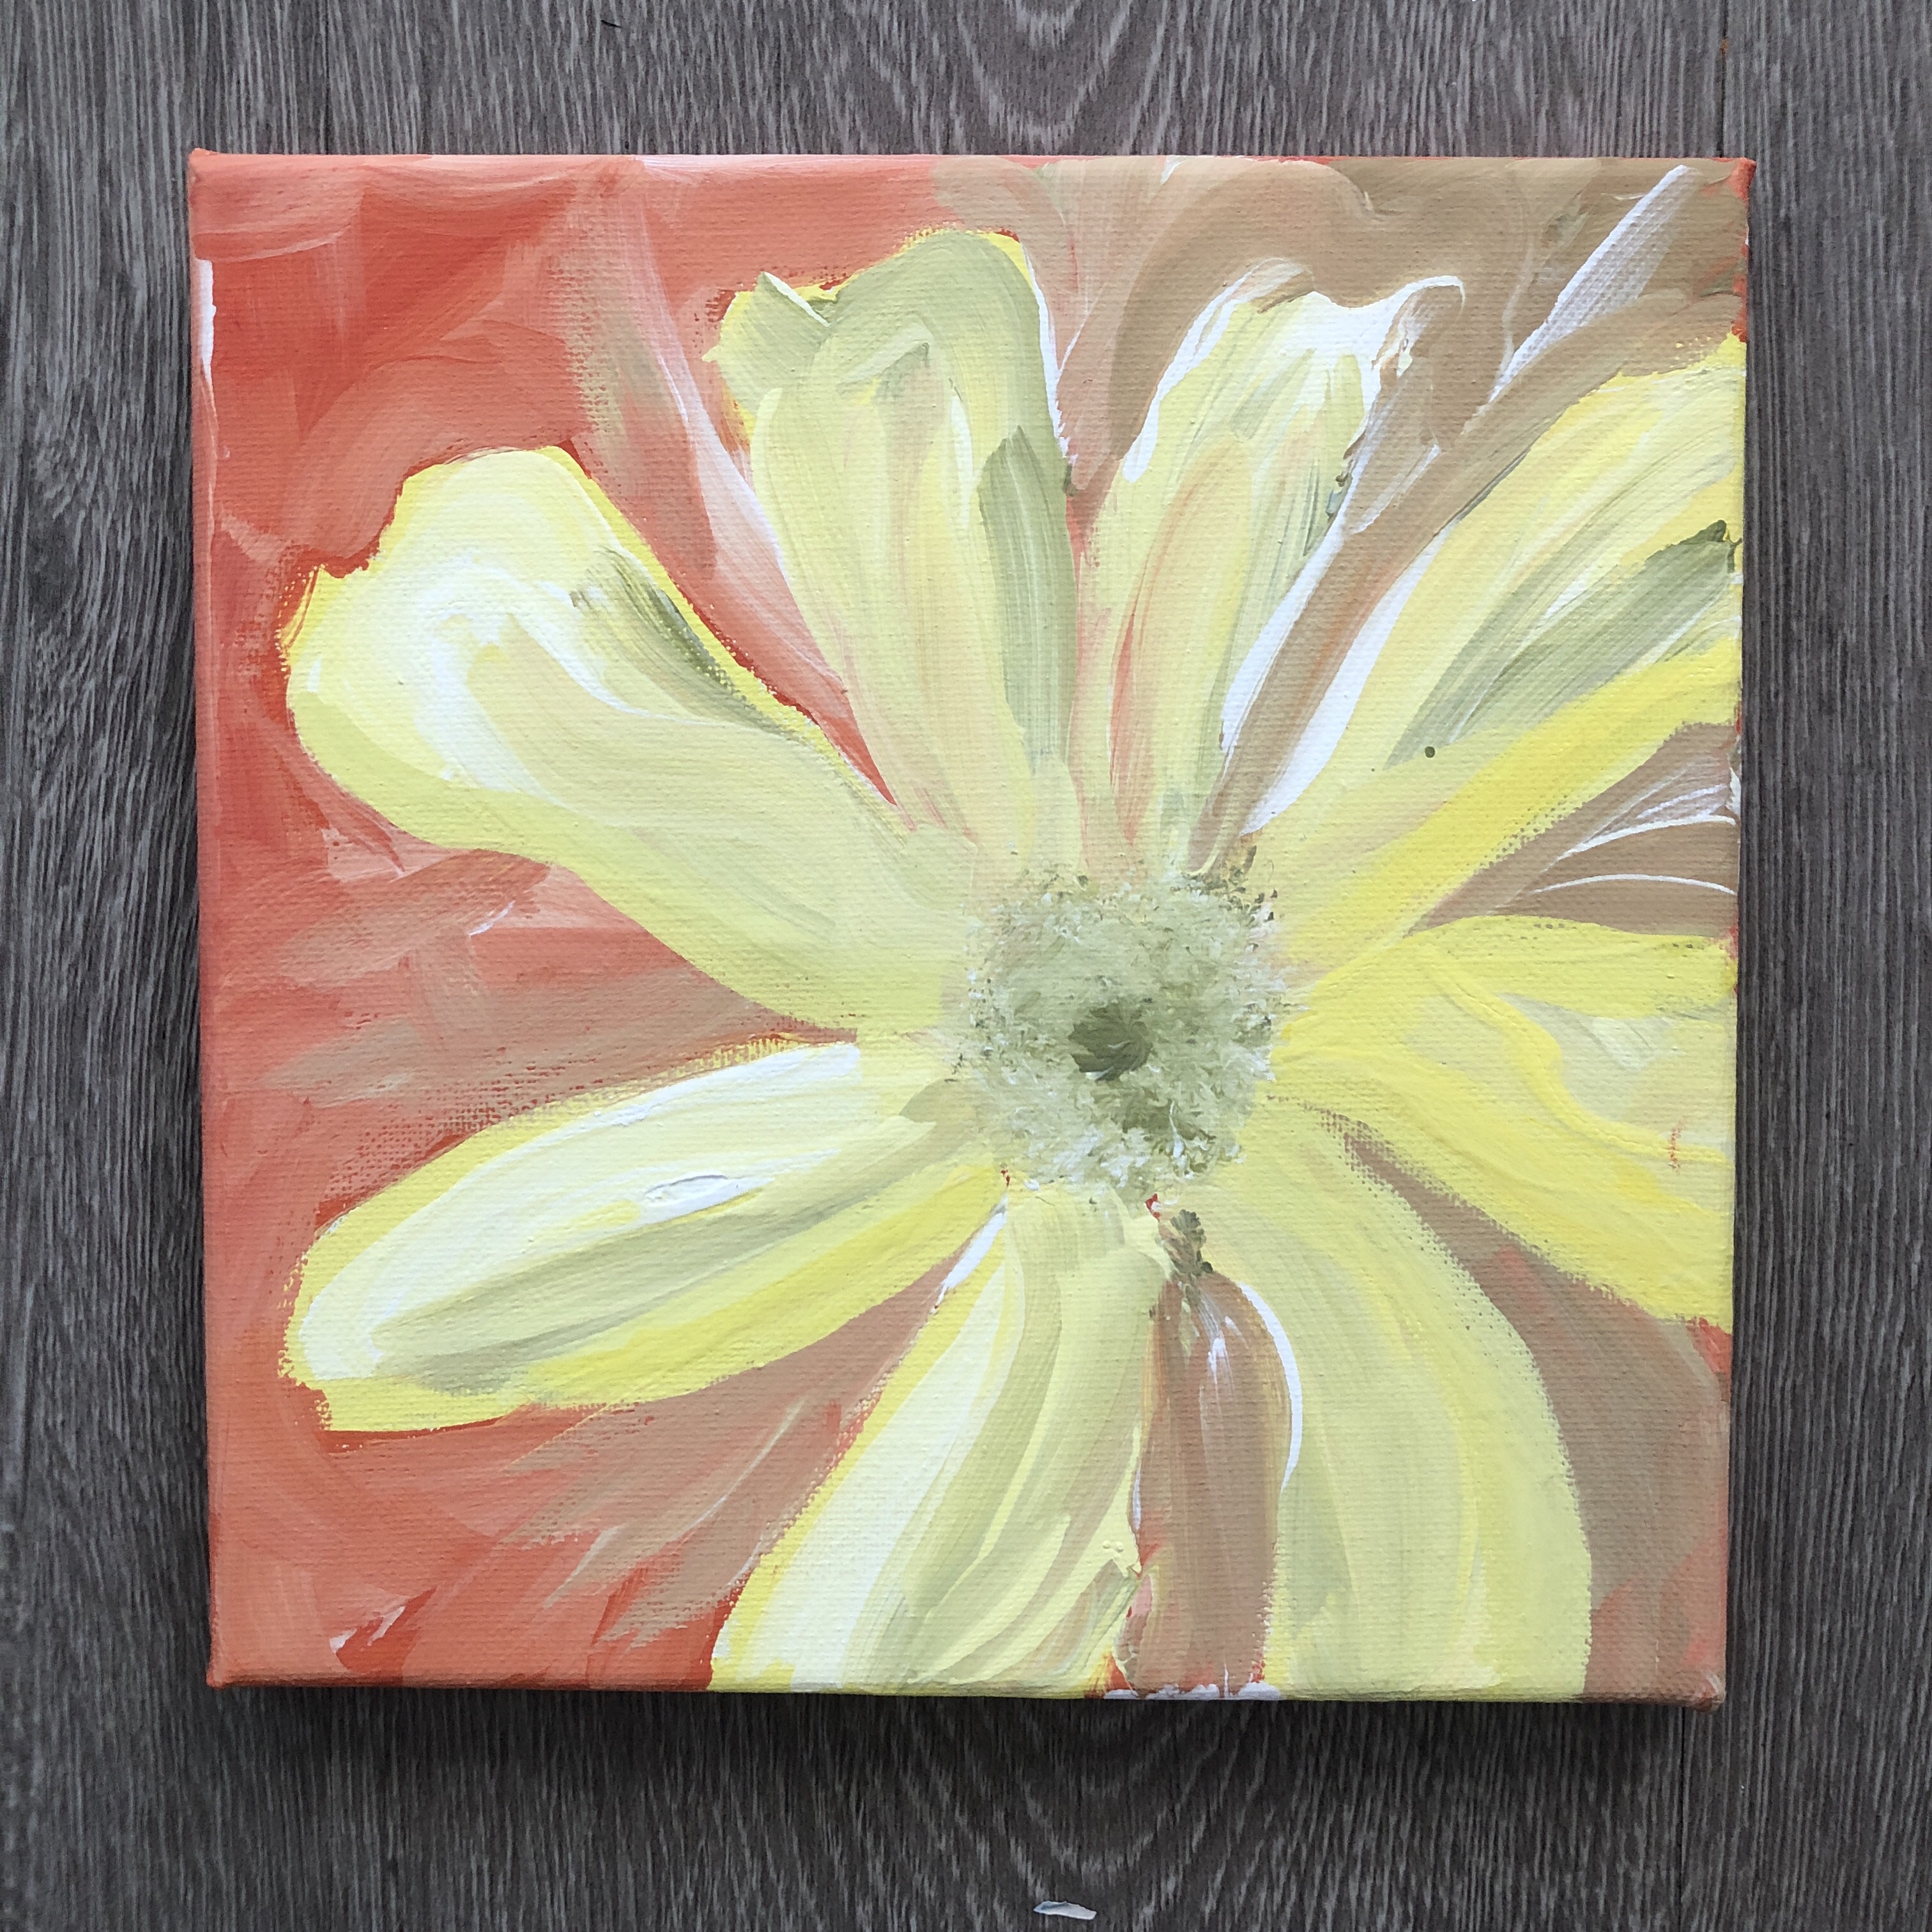
- focus on painting an up-close flower, which is what o’keeffe is best known for
- paint a flower off center and petals “falling off the page”
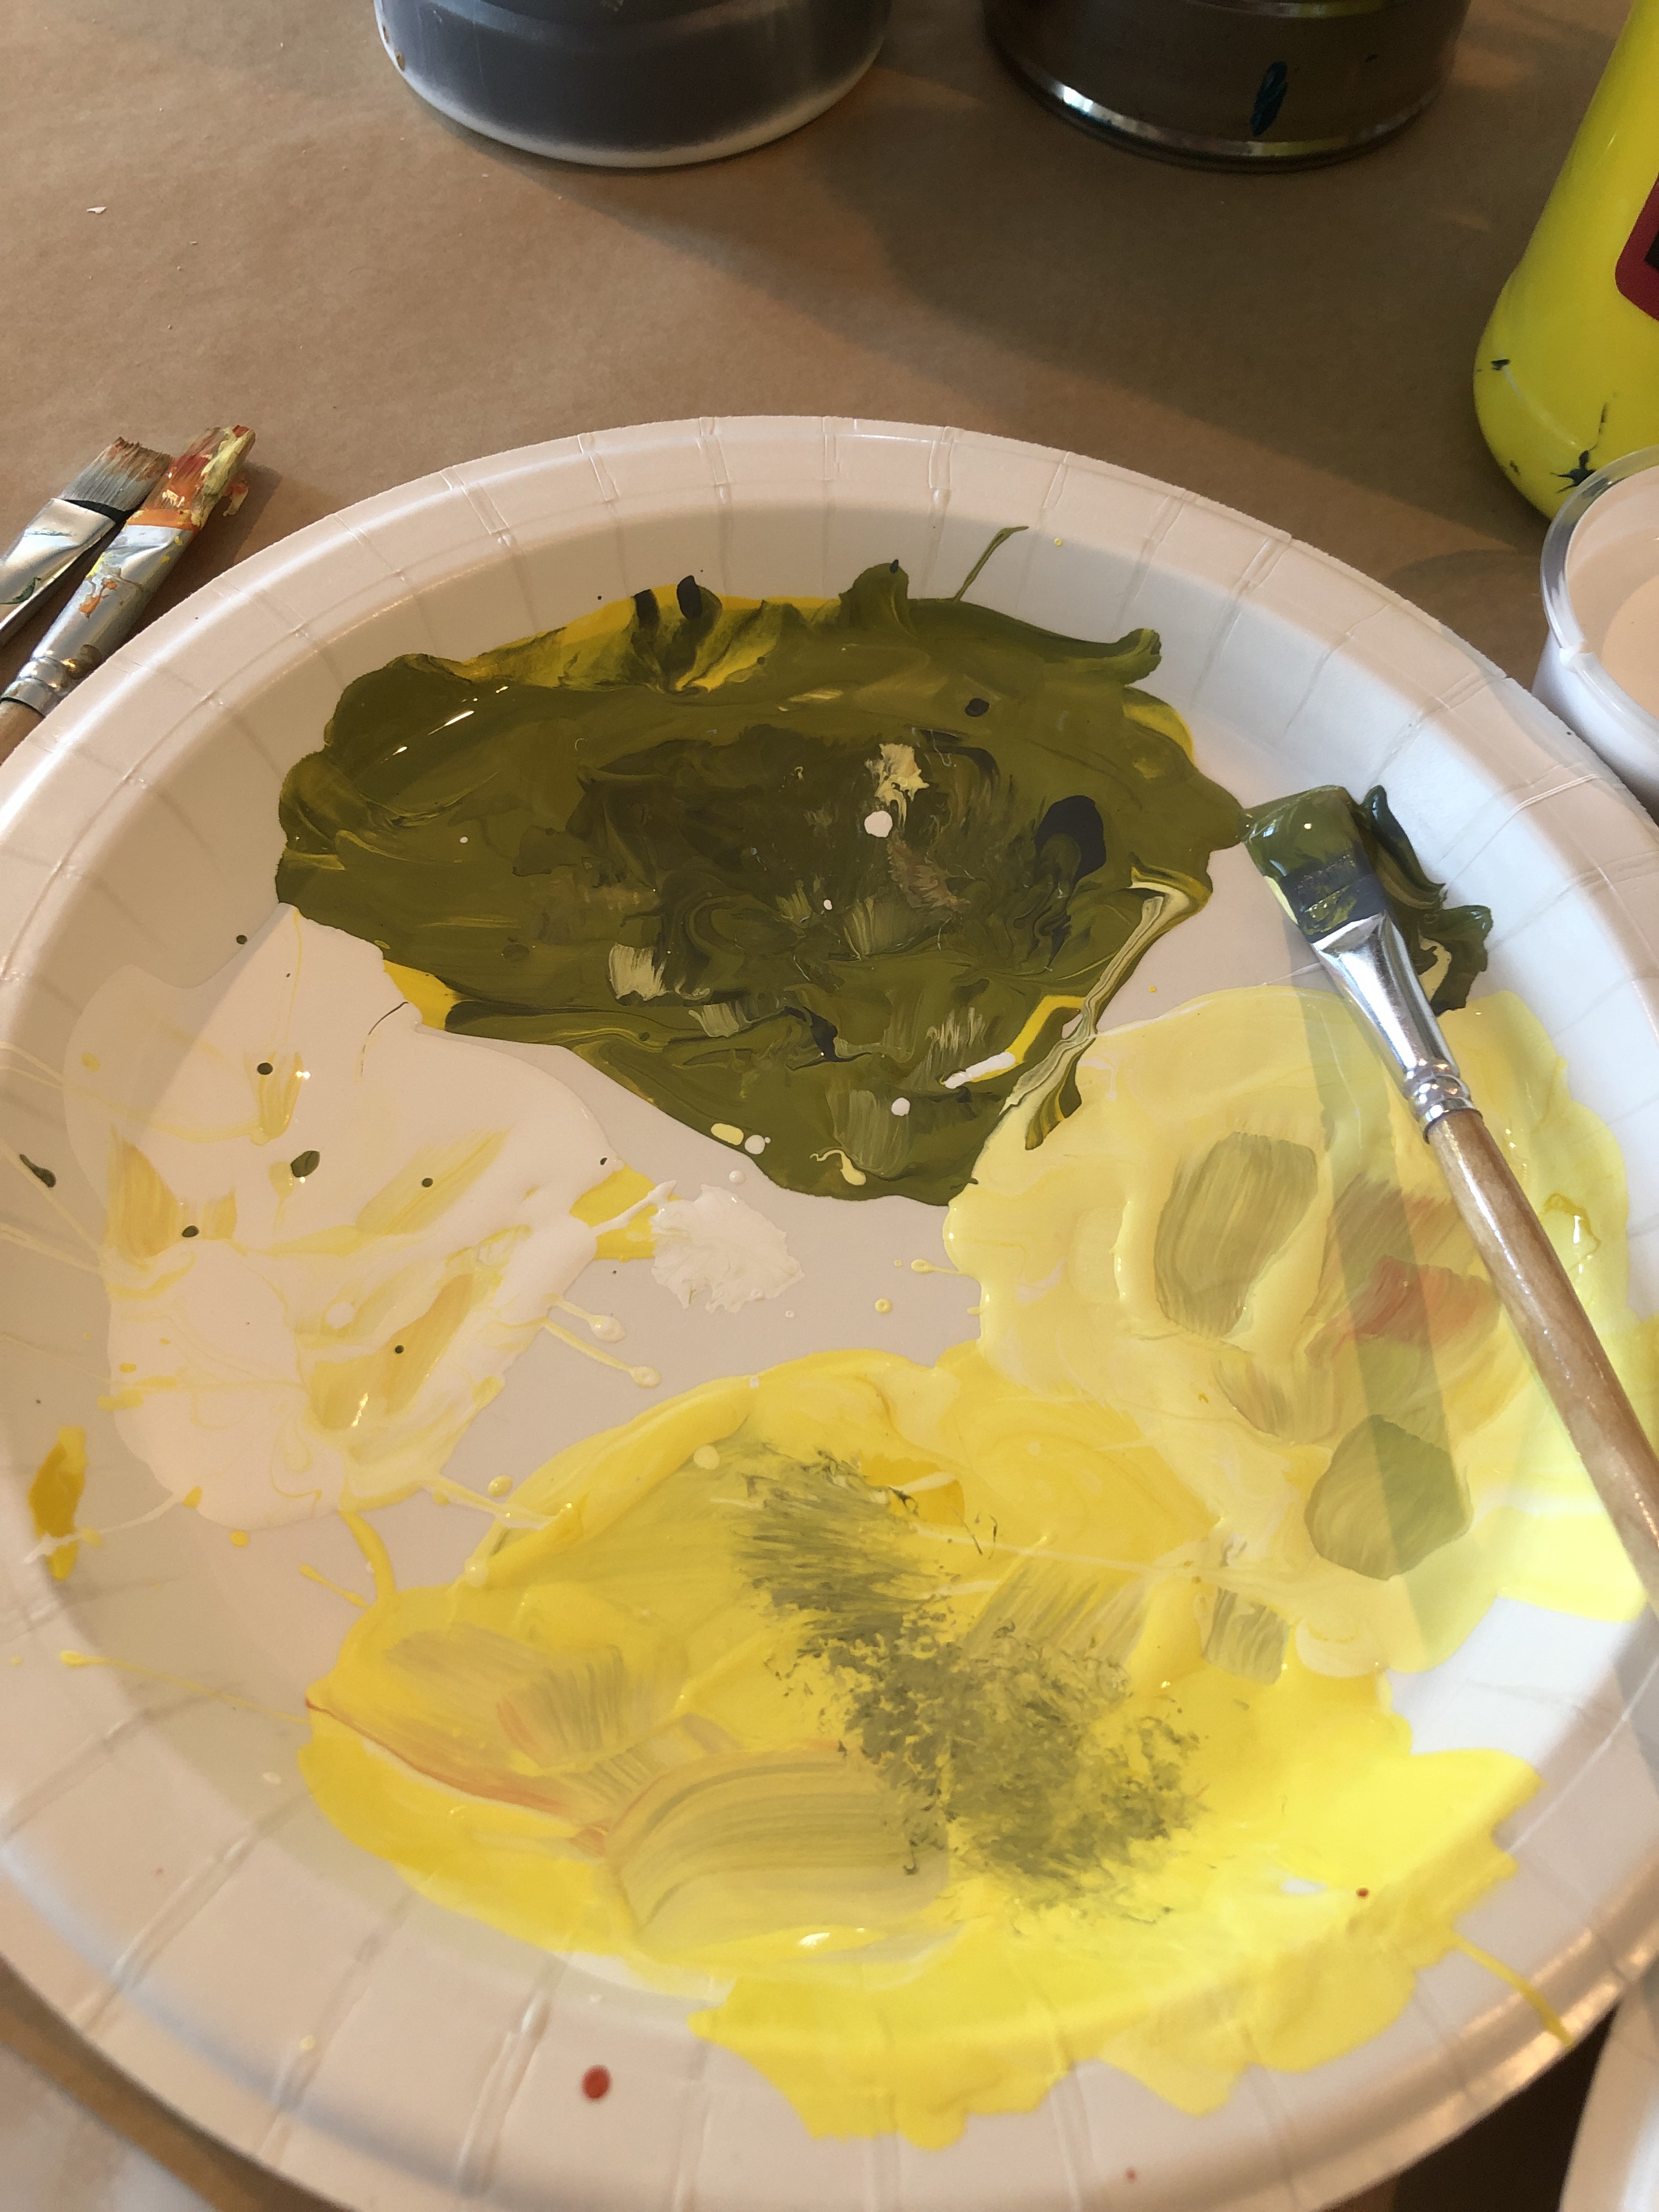
- learn to paint using tone: the light to dark gradient of a color
FROM THE LIPS OF GEORGIA O’KEEFE
- “…If I could paint the flower exactly as I see it no one would see what I see because I would paint it small like the flower is small. So I said to myself—I’ll paint it big and they will be surprised into taking time to look at it—I will make even busy New Yorkers take time to see what I see of flowers.” Georgia O’Keeffe
SEE VIDEO FOR HISTORY + INSPIRATION BEHIND THE PROJECT


MATERIALS
- 8″x 8″ canvas
- Pencil
- Butcher paper
- Paper towel
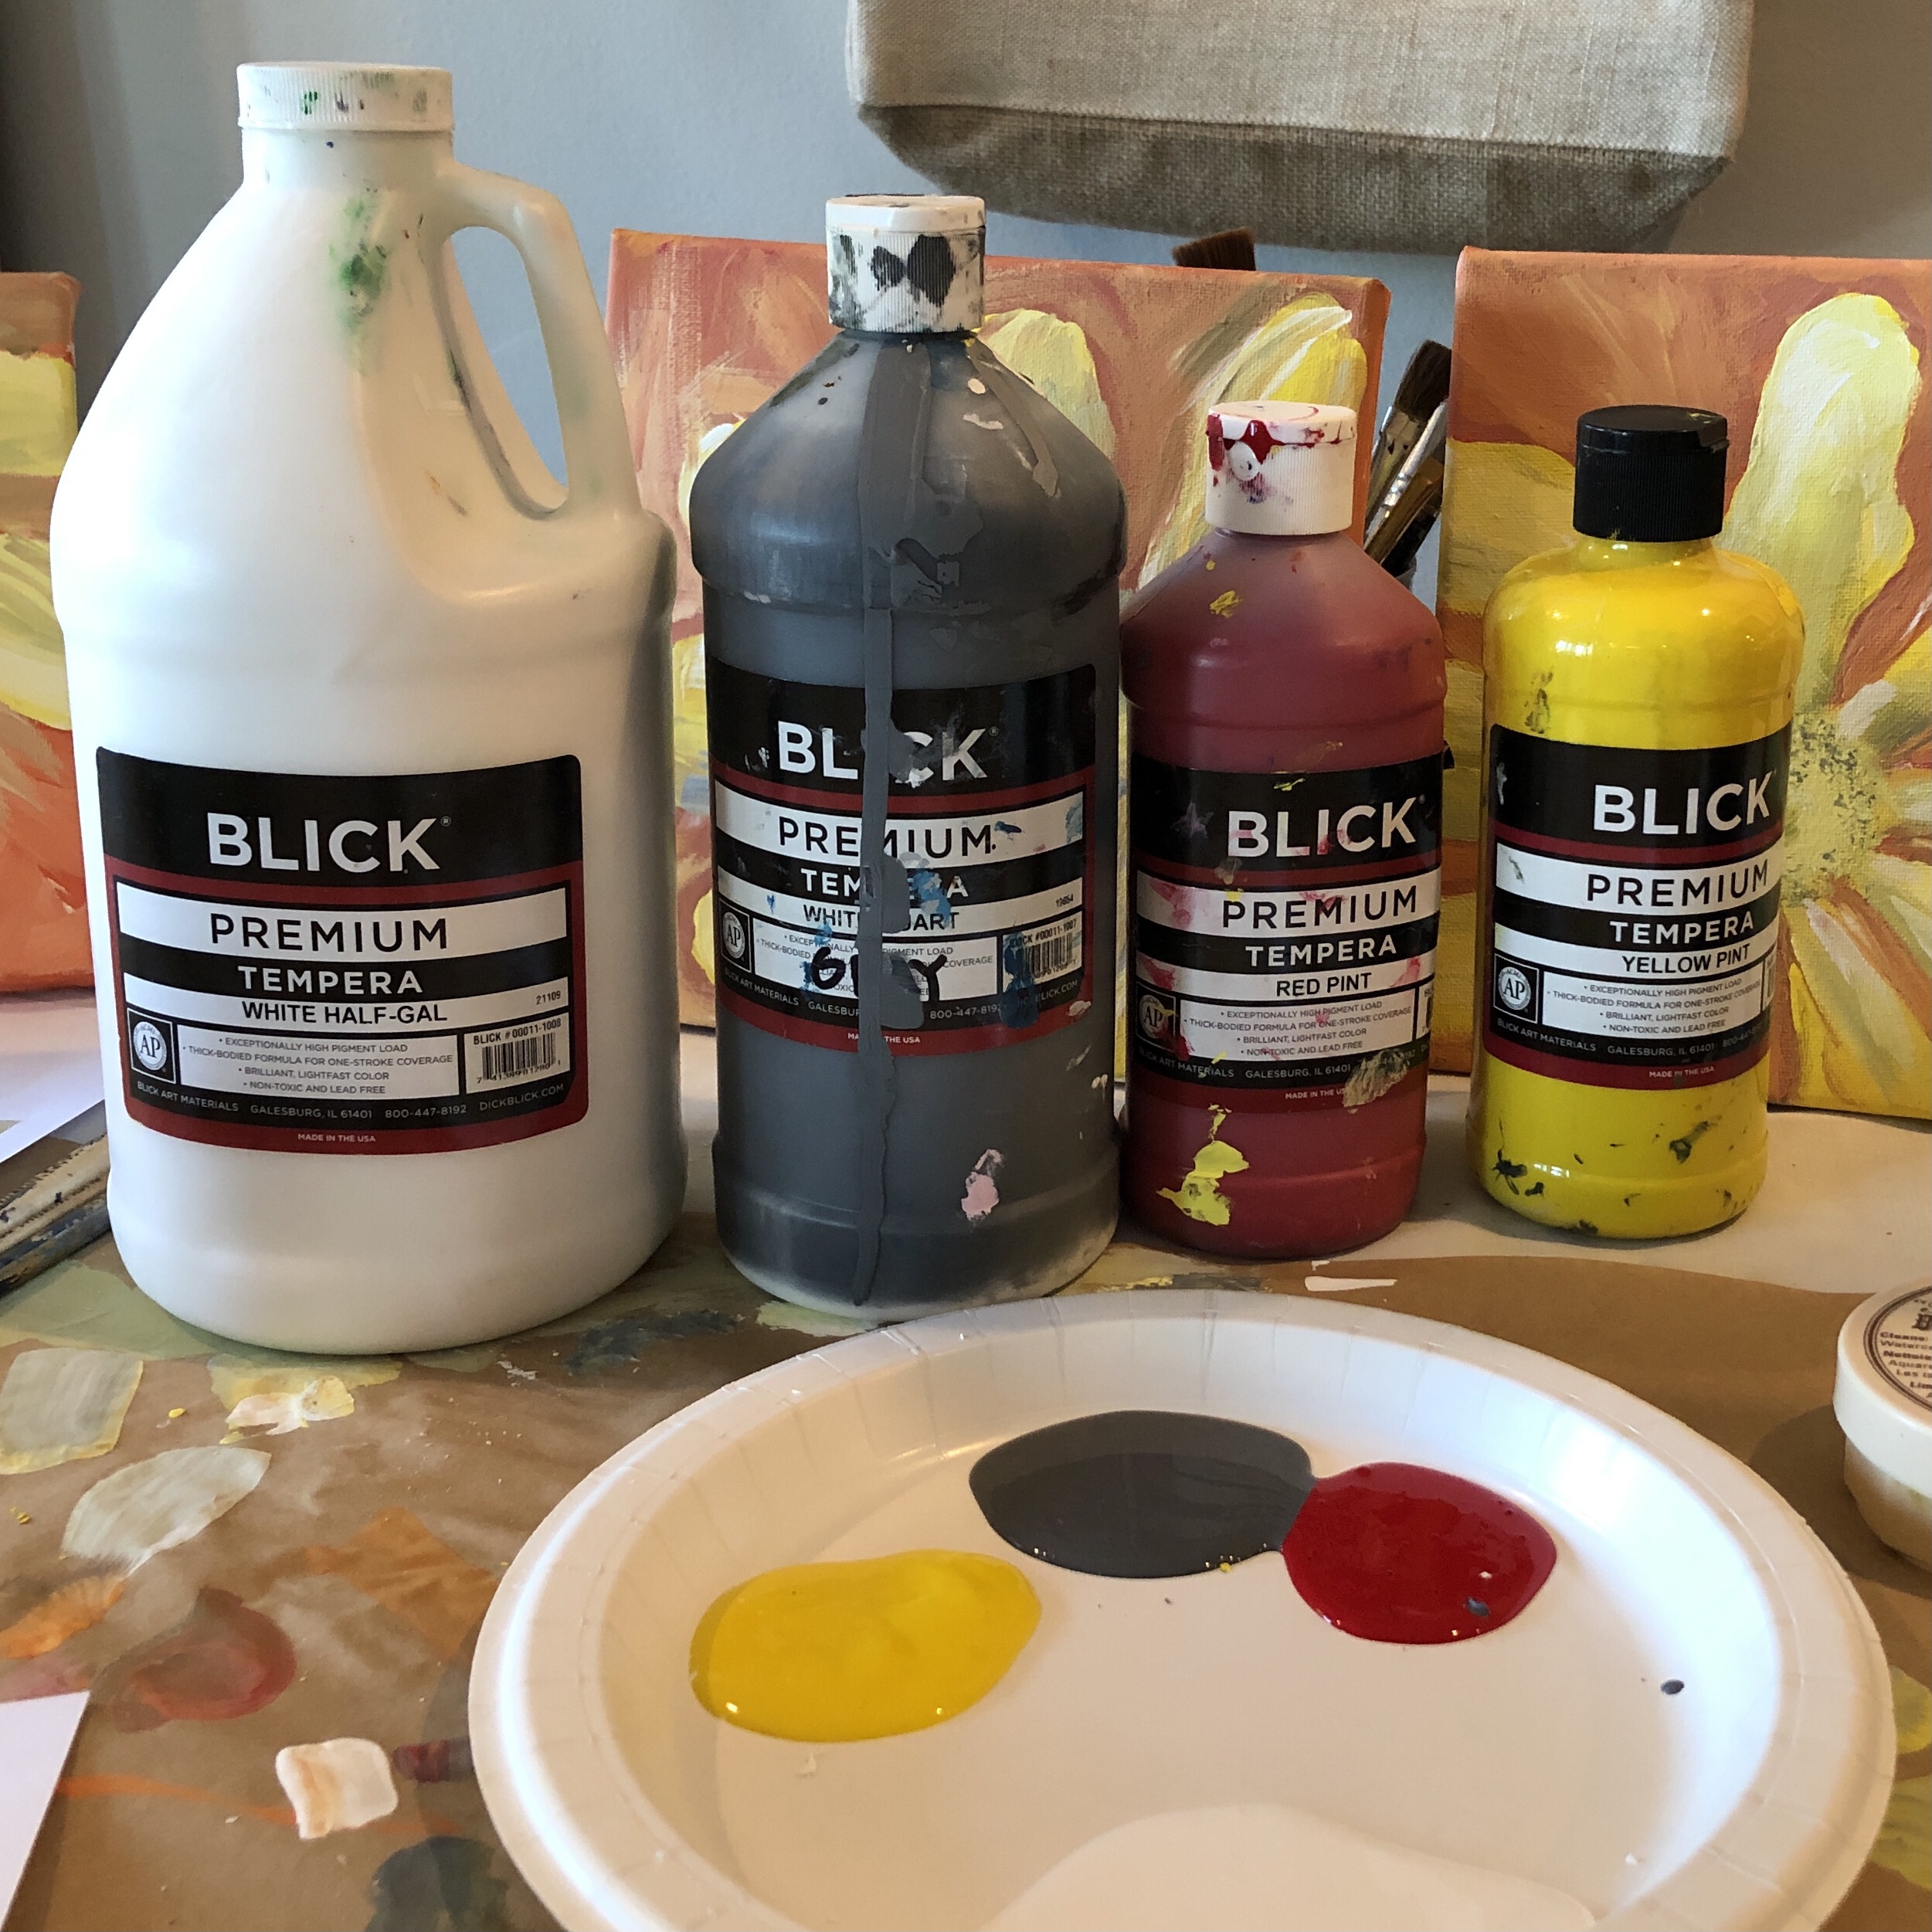
- Tempera paint: yellow, red, white, gray [plan for about 1oz of each, red 1/2 oz.]
- 2 Paper Plates
- 2 medium width paint brushes
- 1 stiff paint brush
- Print out O’Keeffe’s “yellow cactus 1935” for student to observe while painting

SEE VIDEO FOR GEORGIA O’KEEFFE INsPIRED PAINTING


No.4 norman rockwell 1894-1978


THE PROJECT+THE ARTIST
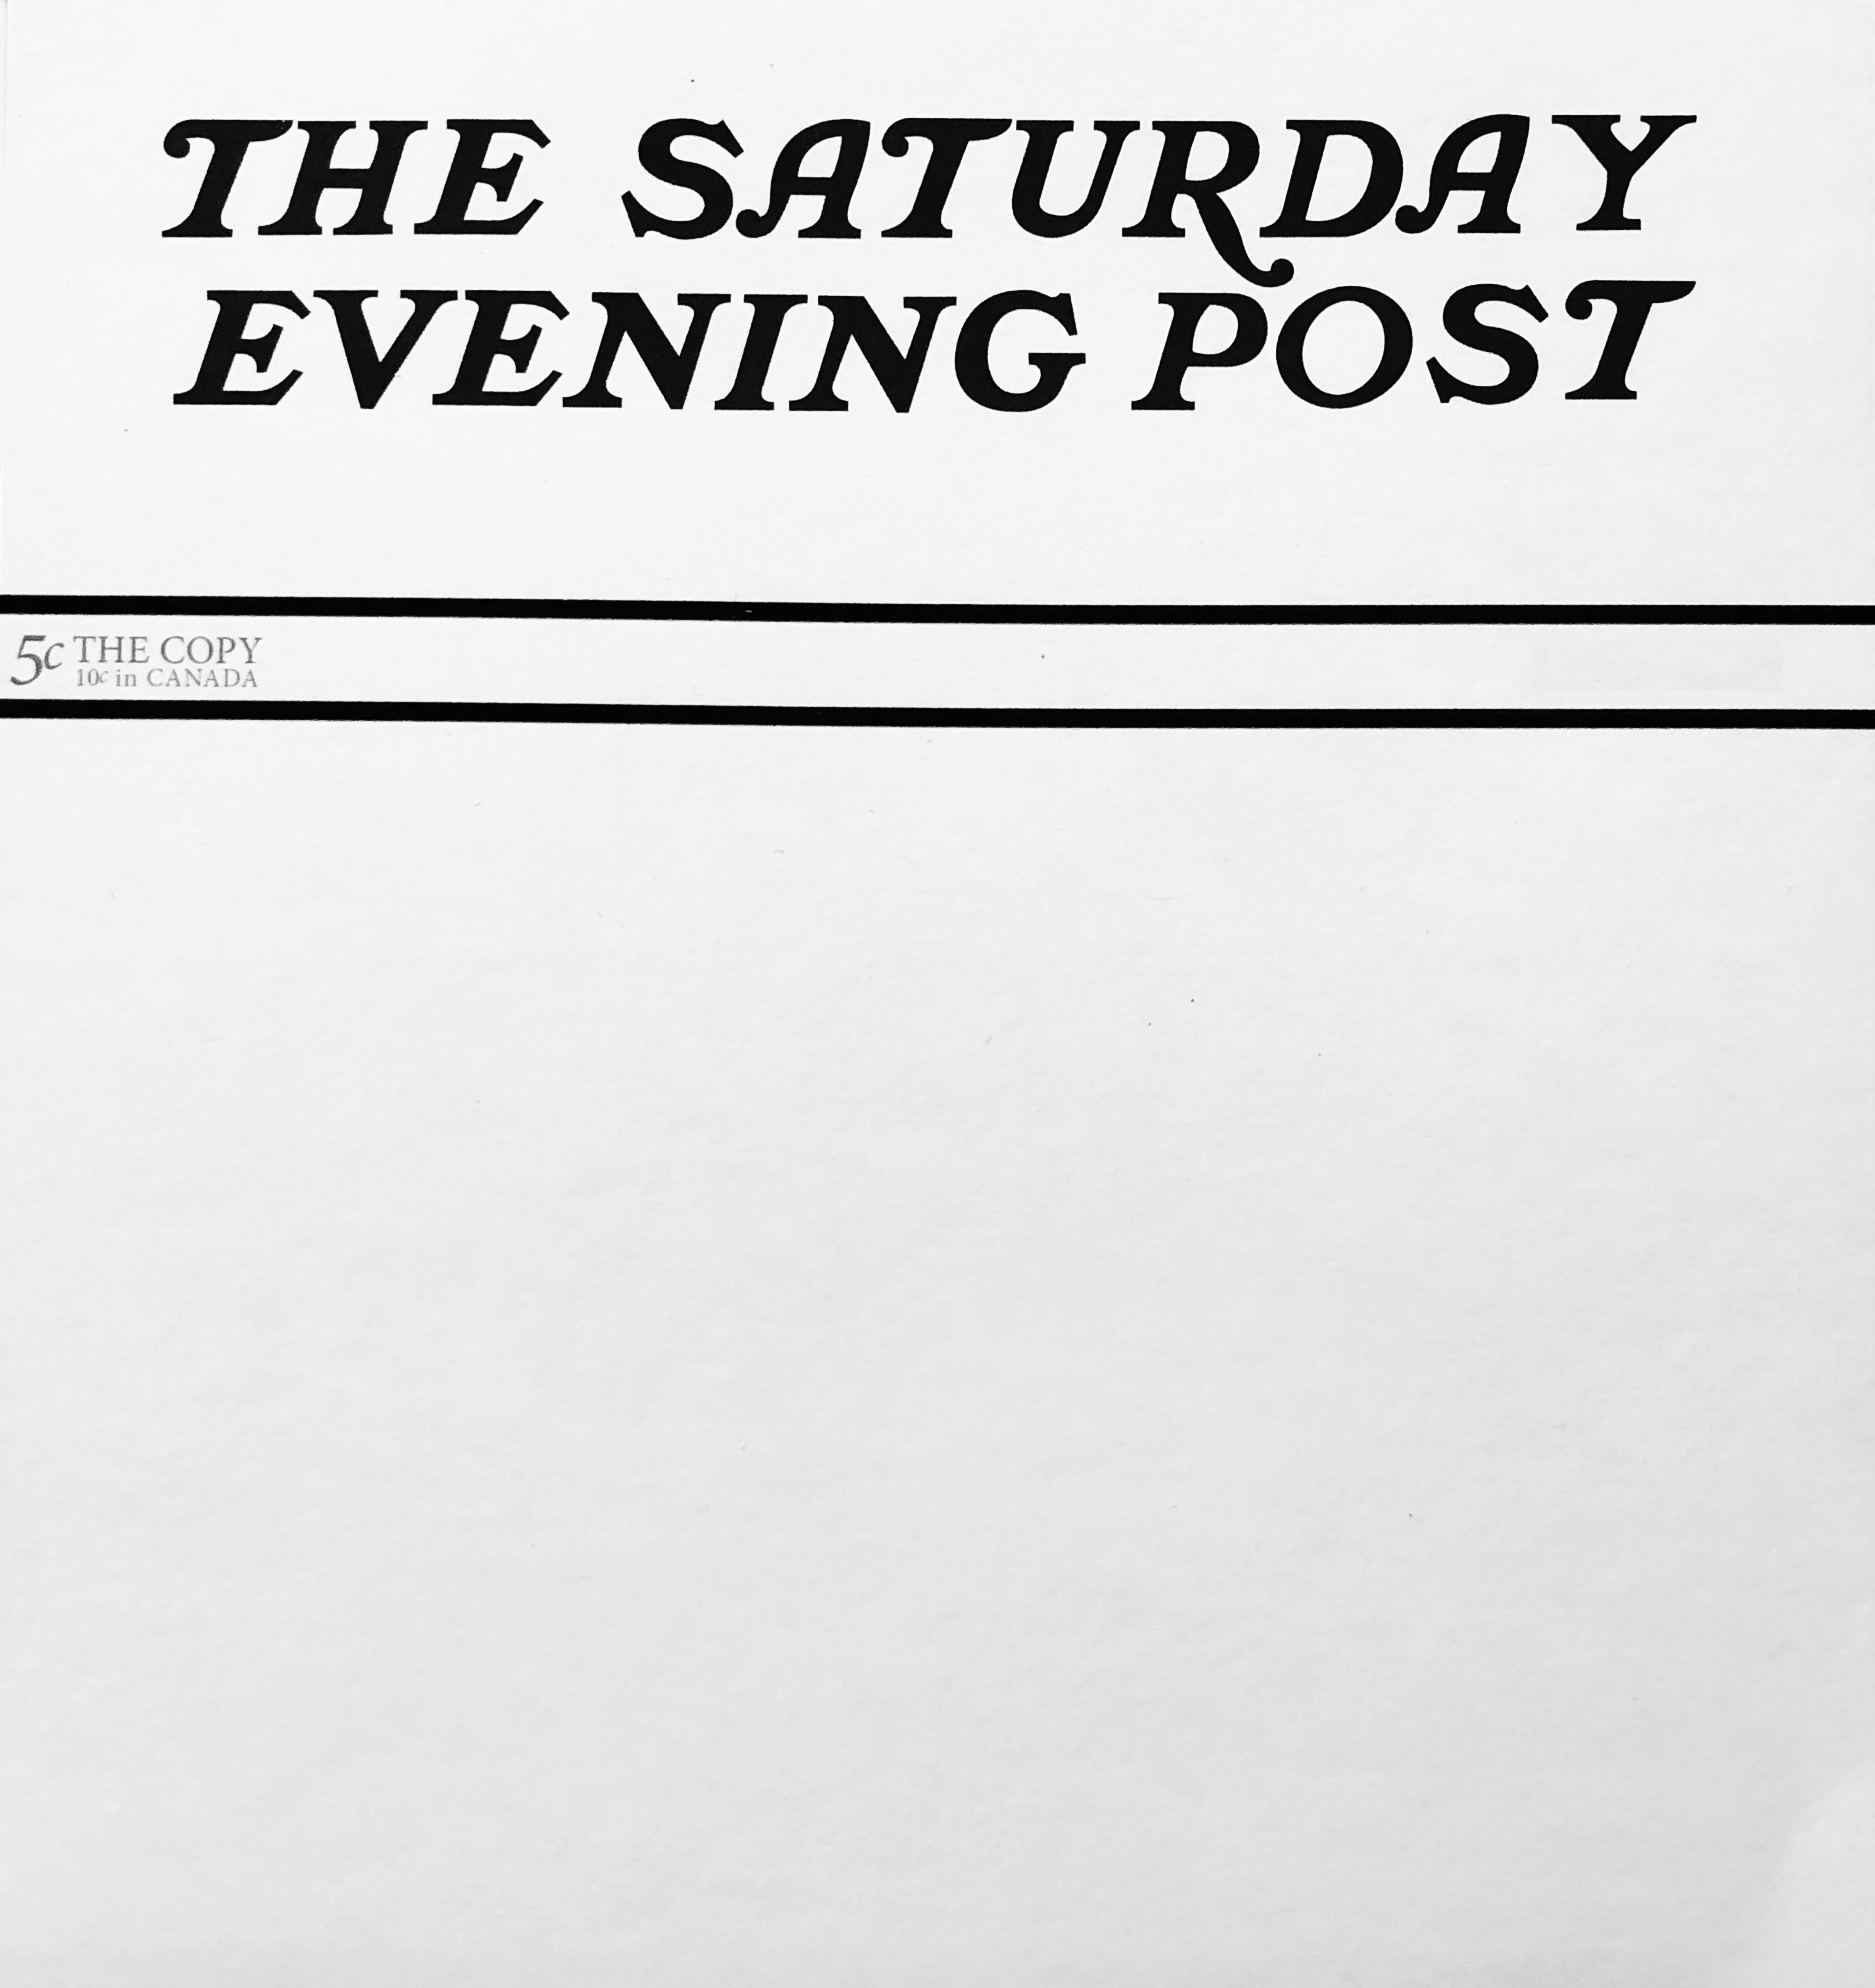
- note: norman rockwell told stories through his illustrated books, advertisements and magazine covers. he is best known for his “saturday evening post” covers, which millions of americans brought home and enjoyed. this intimate connection with rockwell’s art made his images a part of the fabric of american lives.
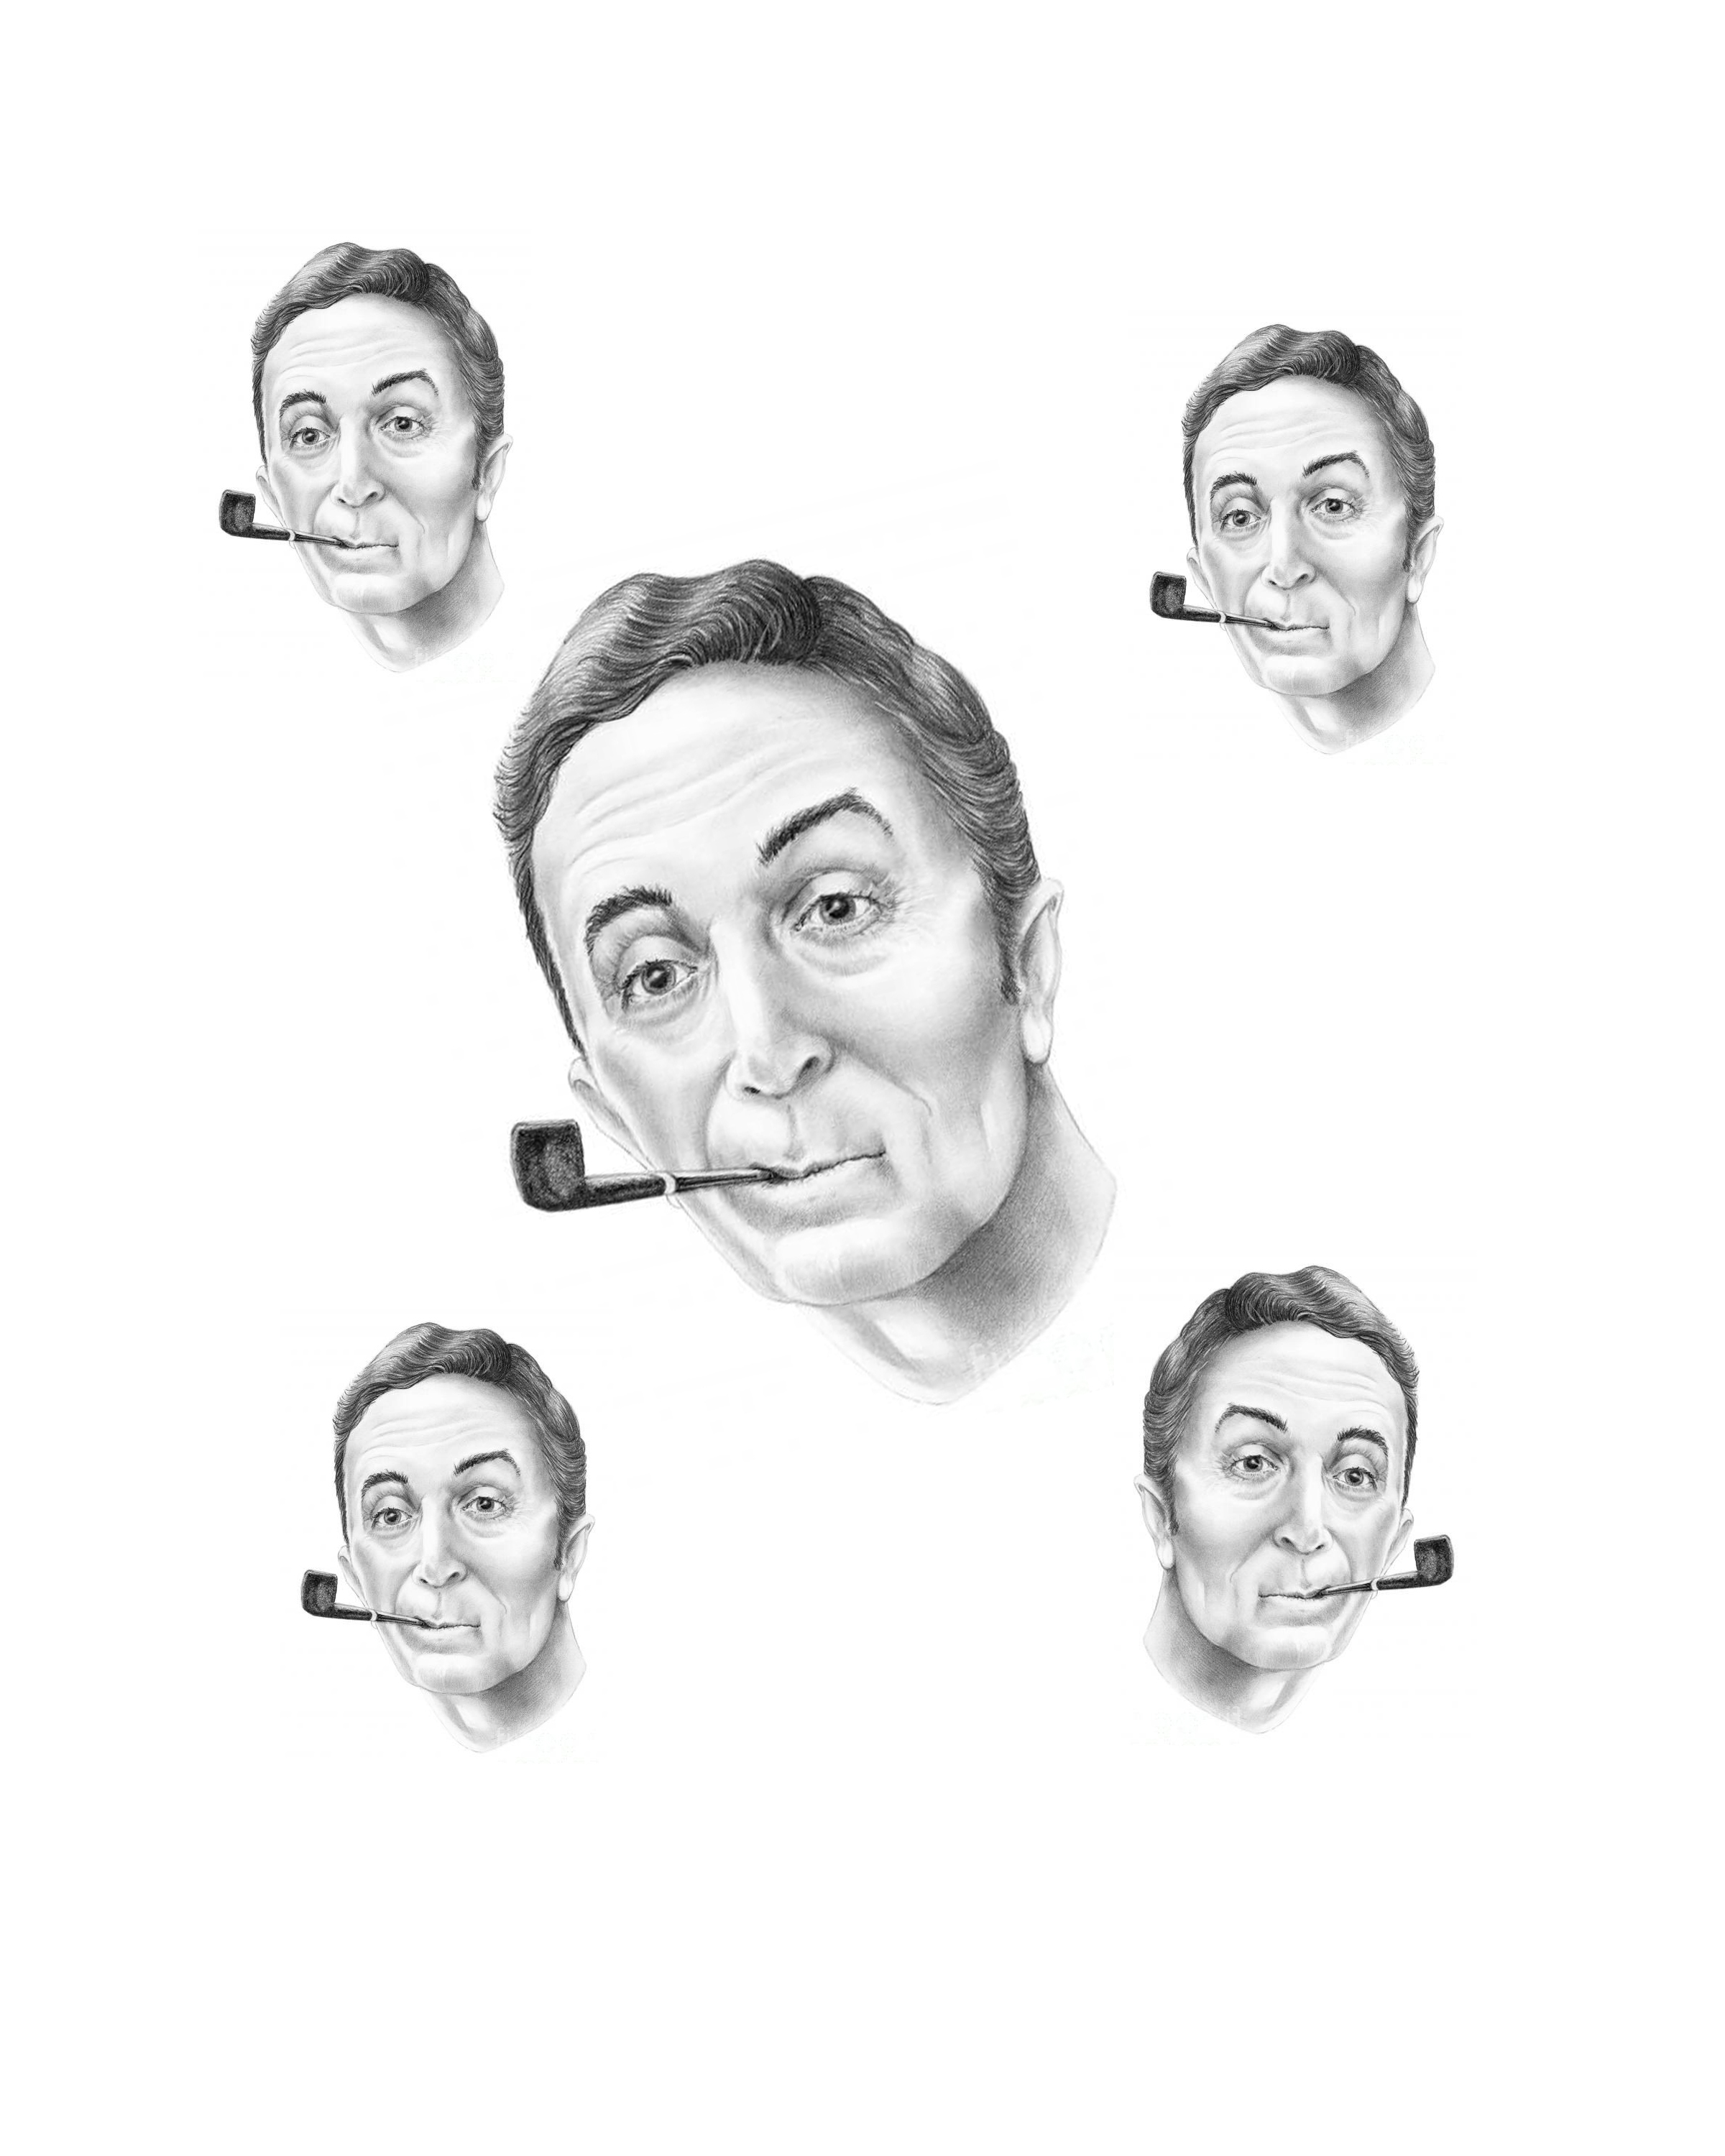
- draw inspiration from rockwell’s saturday evening post “triple self-portrait” 1960
- set a stage with props and use photography as rockwell would have to make his paintings feel authentic
- learn to draw a self portrait while noting that humor and humility were essential aspects of norman rockwell’s character, so when asked to do a self-portrait the results were lighthearted
FROM THE LIPS OF Norman Rockwell
- In describing his triple self portrait, Rockwell explained why his glasses look opaque. “I had to show that my glasses were fogged, and that I couldn’t actually see what I looked like — a homely, lanky fellow — and therefore, I could stretch the truth just a bit and paint myself looking more suave and debonair than I actually am.”-Norman Rockwell
SEE VIDEO FOR HISTORY + INSPIRATION BEHIND THE PROJECT


MATERIALS
- in advance photograph students in a set up stage with props as seen in rockwell’s triple self portrait. white foam board works well for the “canvas” …. keep the foam board or canvas blank for students to draw a self portrait on during class
- print outs are attached below for use in your “stage” set up
- student photo printed out on printer paper for each student to draw on
- self portrait steps printed out for students
- pencil
- pencil sharpener
- eraser
- 8.5″ x 8.5″ black card stock
- double face tape
STEP NO.1
set a stage with props as seen in rockwell’s triple self portrait to photograph students in
- rockwell was a stickler for neatness, but here he has scattered matchsticks, paint tubes, and brushes over the studio floor.
- paint rags and pipe ashes sometimes conspired to ignite small fires in rockwell’s brass bucket, so the wisp of smoke in the painting rings true
- the glass of coca-cola, rockwell’s usual afternoon pick-me-up, looks as if it will tip over at any moment.
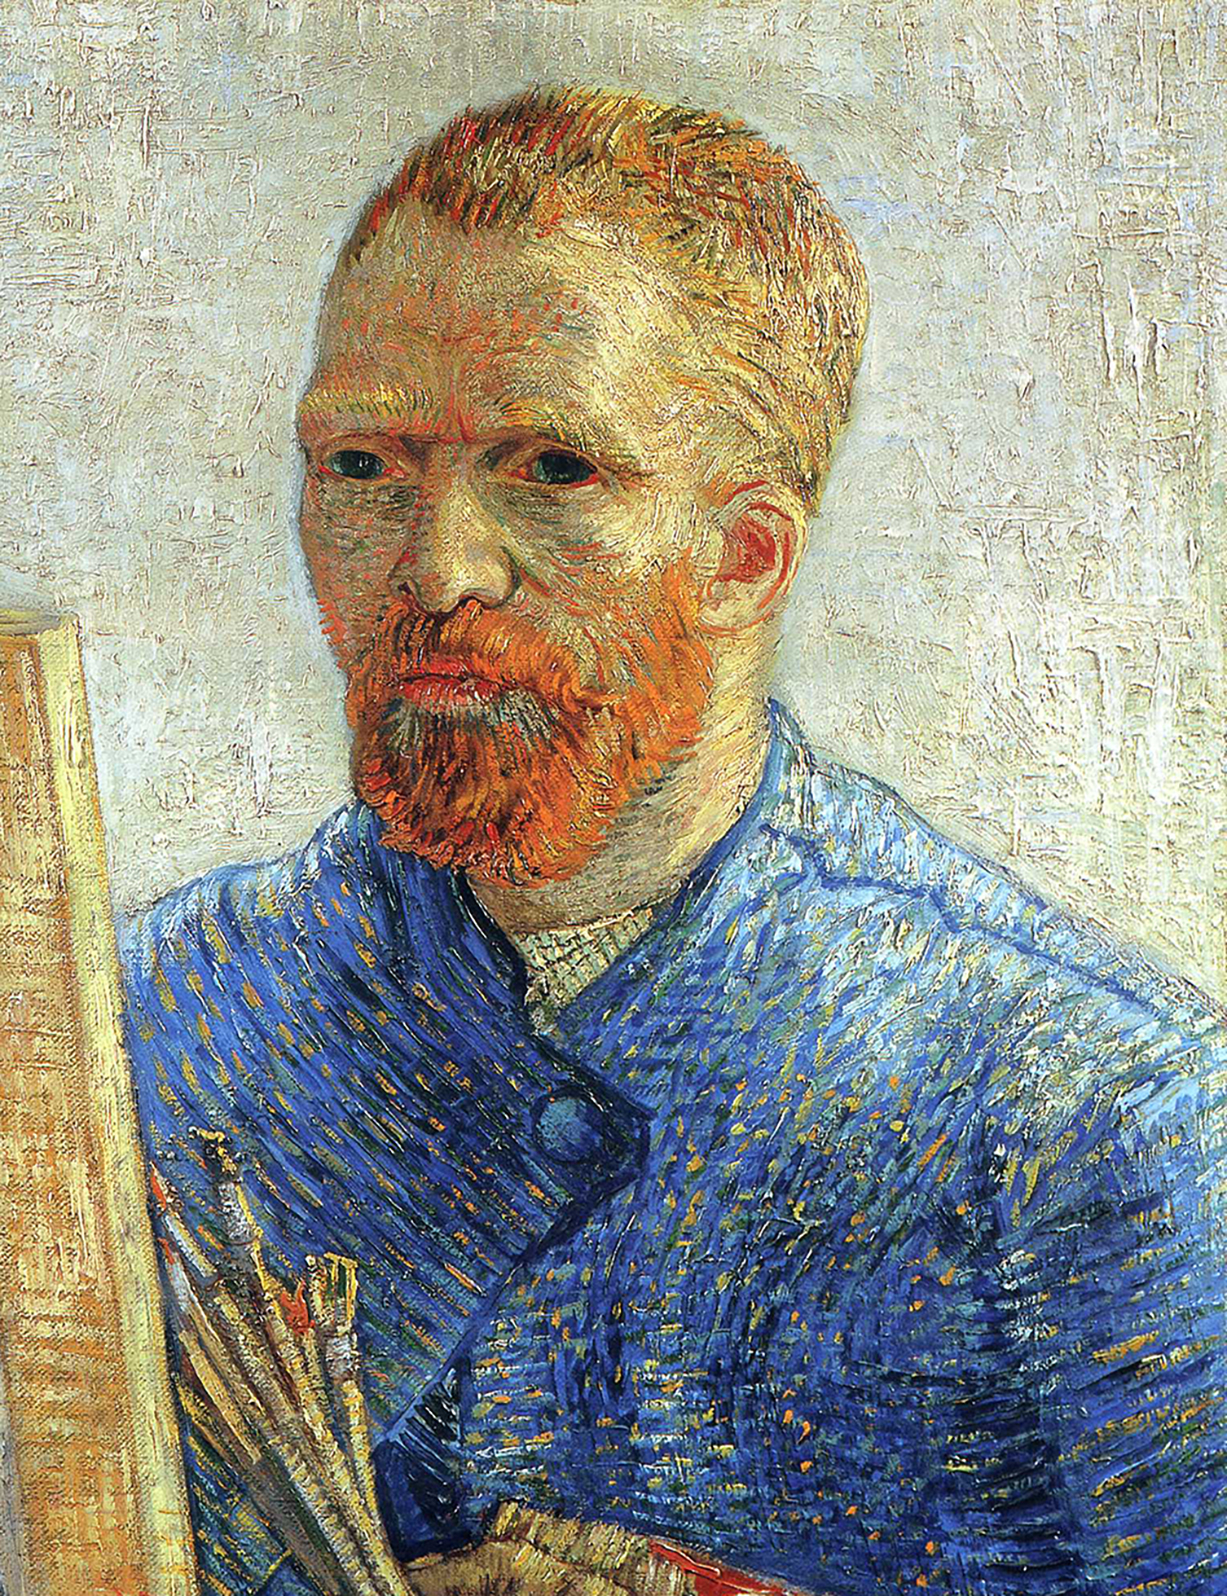
- he would tack or tape studies to his drawings or canvases to immerse himself in favorite artwork before beginning a project. the four self-portraits on his canvas – durer, rembrandt, picasso, and van gogh – are his references. they invite us to compare [as he did] how other artists tackled the problem of a self-portrait.
- the helmet reminds us of a favorite rockwell story…. while in paris in 1923, rockwell acquired it from an antiques dealer who sold it as a military relic rather than as the contemporary french fireman’s helmet it truly was

PRINT OUT The four self-portraits seen pinned up on his canvas: Durer, Rembrandt, Picasso, Van Gogh + ROCKWELL’S OWN PORTRAIT STUDIES


STEP NO. 2
- apply student photographs to “Saturday Evening Post” cover [attachment below]….this can be done in photoshop or cut out with scissors and applied with glue sick
- print out on cardstock and cut to 7.5″x7.5″

STEP NO.3
- students will draw a self portrait in pencil on the blank canvas in the photograph while noting that humor and humility were essential aspects of norman rockwell’s character so when asked to do a self-portrait the results were lighthearted
- see videos for drawing boy + girl portraits
STEP BY STEP PRINT OUTS FOR YOUR USE


STEP NO.4
- mount project to 8.5″ x 8.5″ black cardstock with double face tape for a professional presentation
NO.5 ANDREW WYETH 1917-2009


THE ARTIST+THE PROJECT
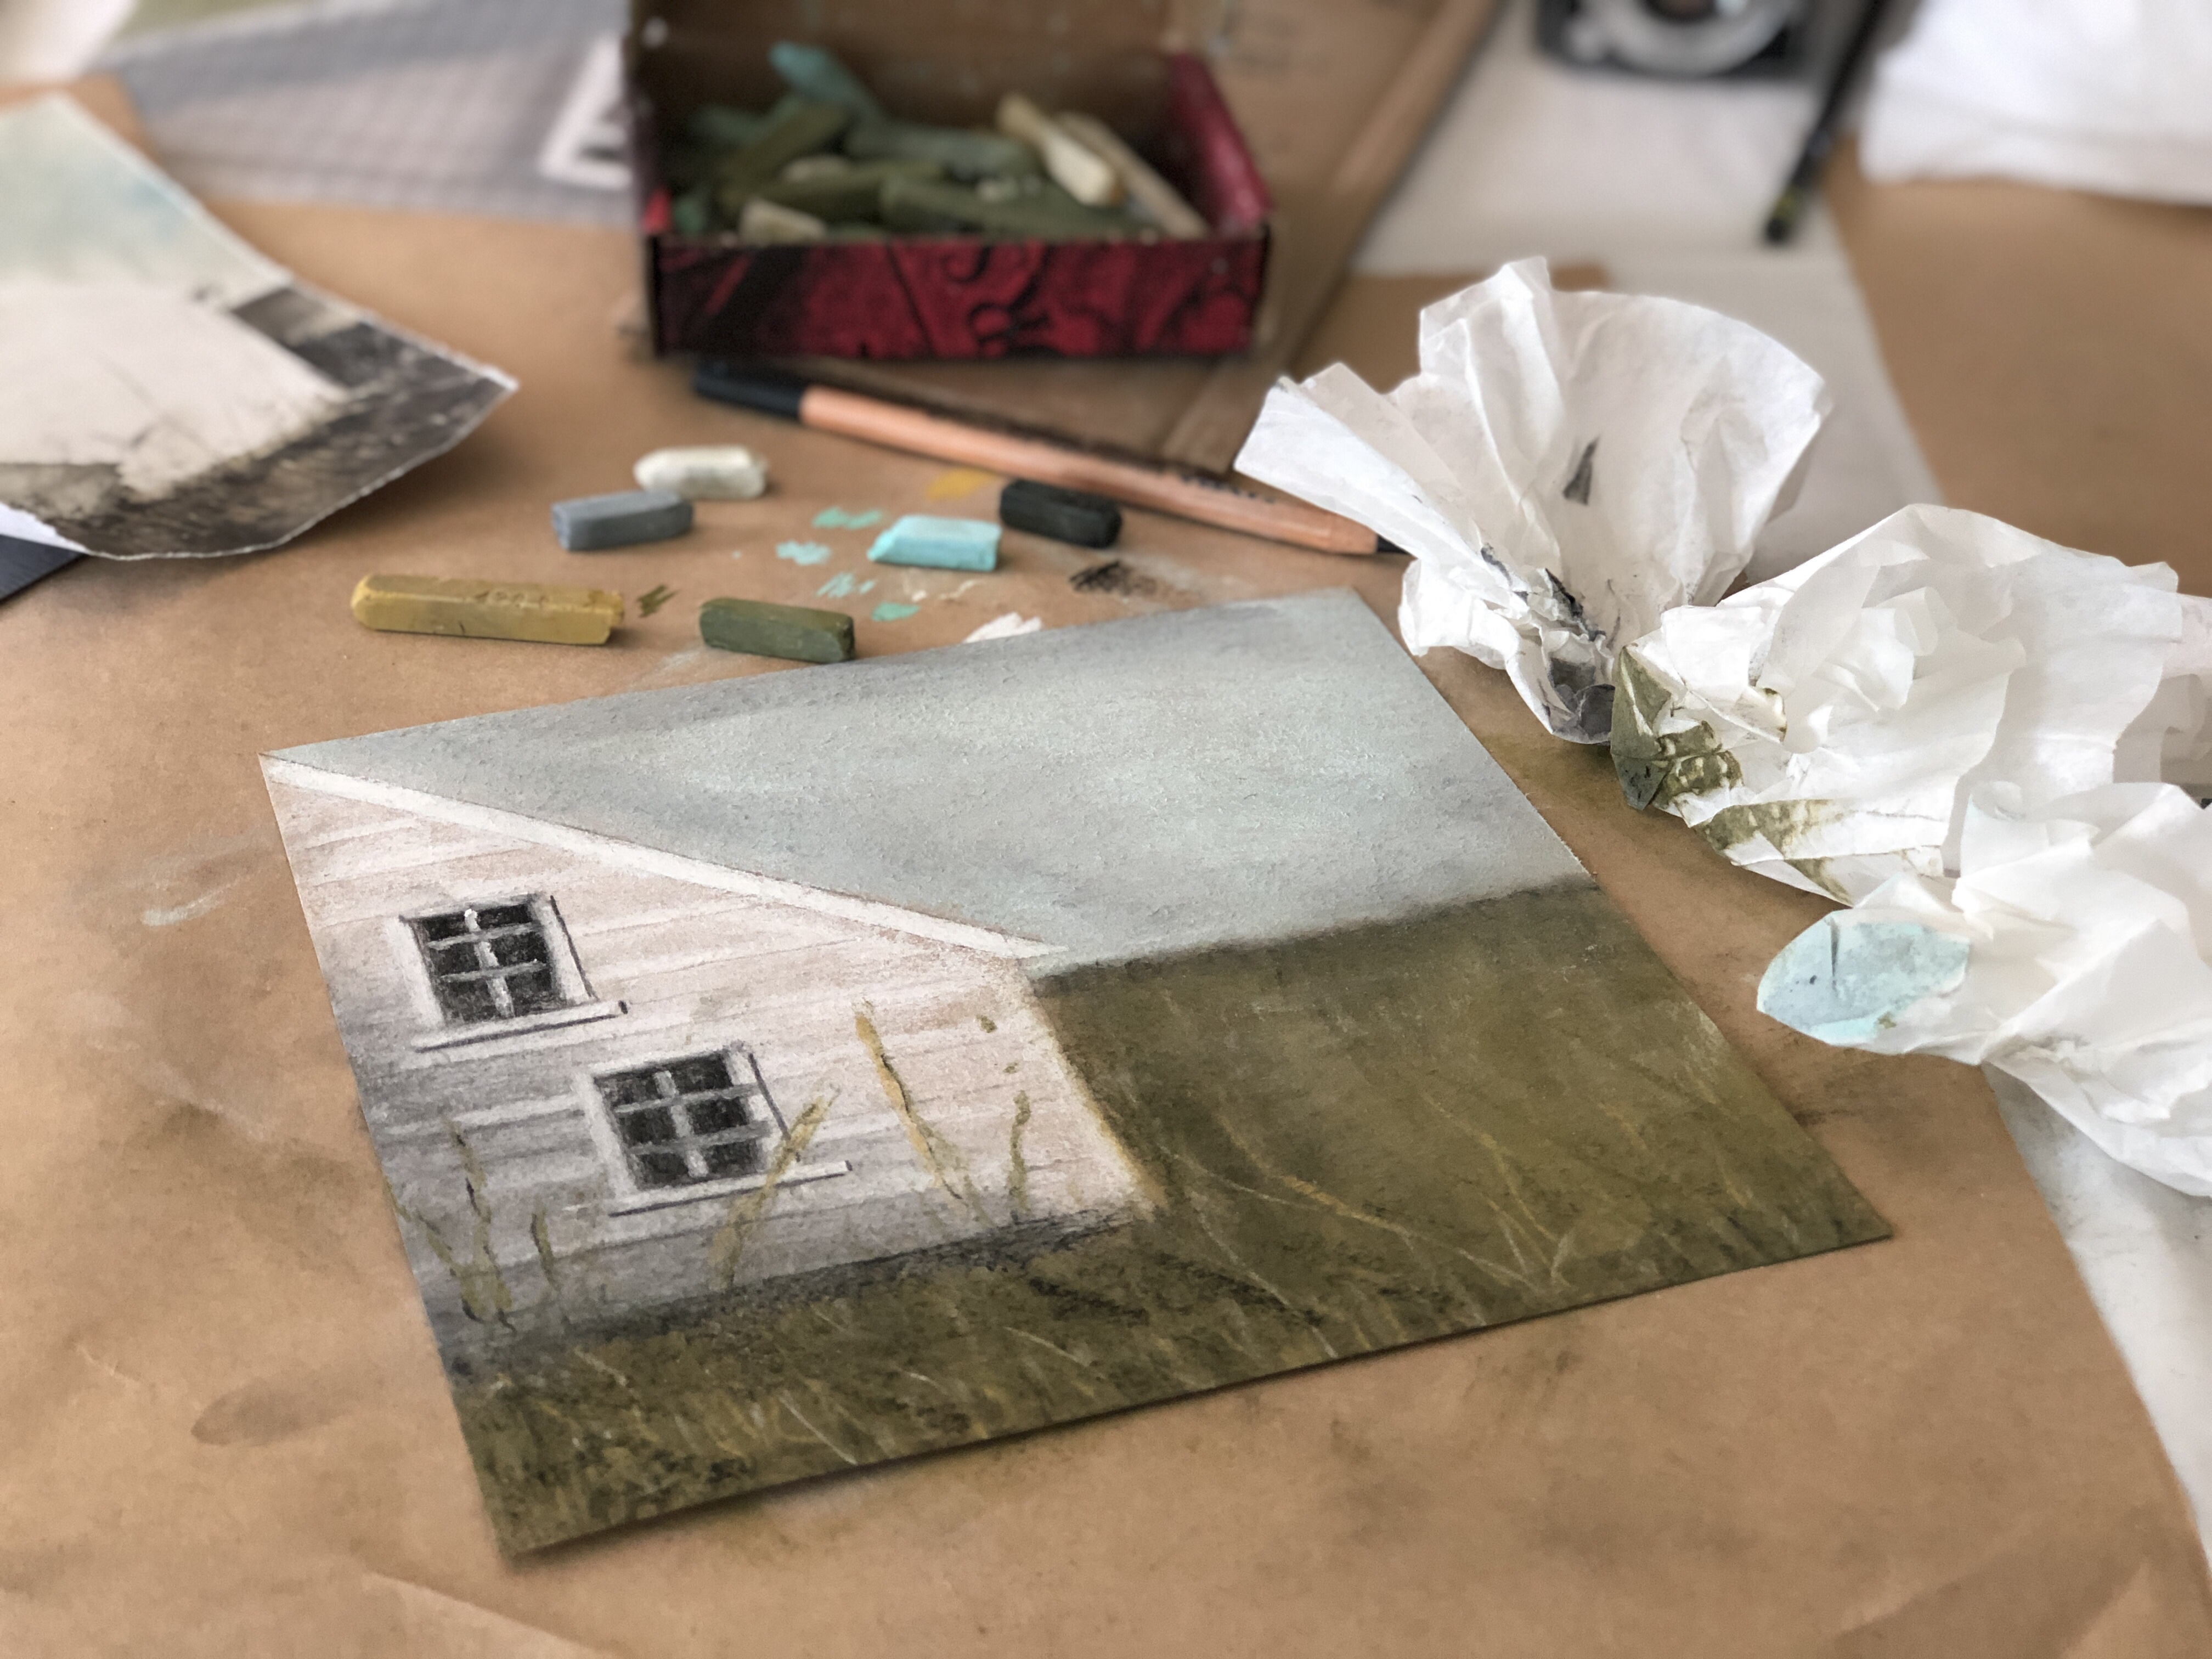
- draw inspiration from wyeth’s watercolor painting “the jame’s place” 1963 [a maine farmhouse originally owned by his wife’s parents and still remains in the family today]
- note: wyeth was an american regionalist, who depicted local rural areas and small towns
- notice how he makes his ordinary subject matter extraordinary
- learn from his sophisticated, muted, nuetral color palette to create a mood or feeling
FROM THE LIPS OF ANDREW WYETH
- “I don’t really have studios. I wander around around people’s attics, out in fields, in cellars, anyplace I find that invites me.” -Andrew Wyeth
- “I can’t work completely out of my imagination. I must put my foot in a bit of truth; and then I can fly free.” -Andrew Wyeth
SEE VIDEO FOR HISTORY + INSPIRATION BEHIND THE PROJECT


MATERIALS
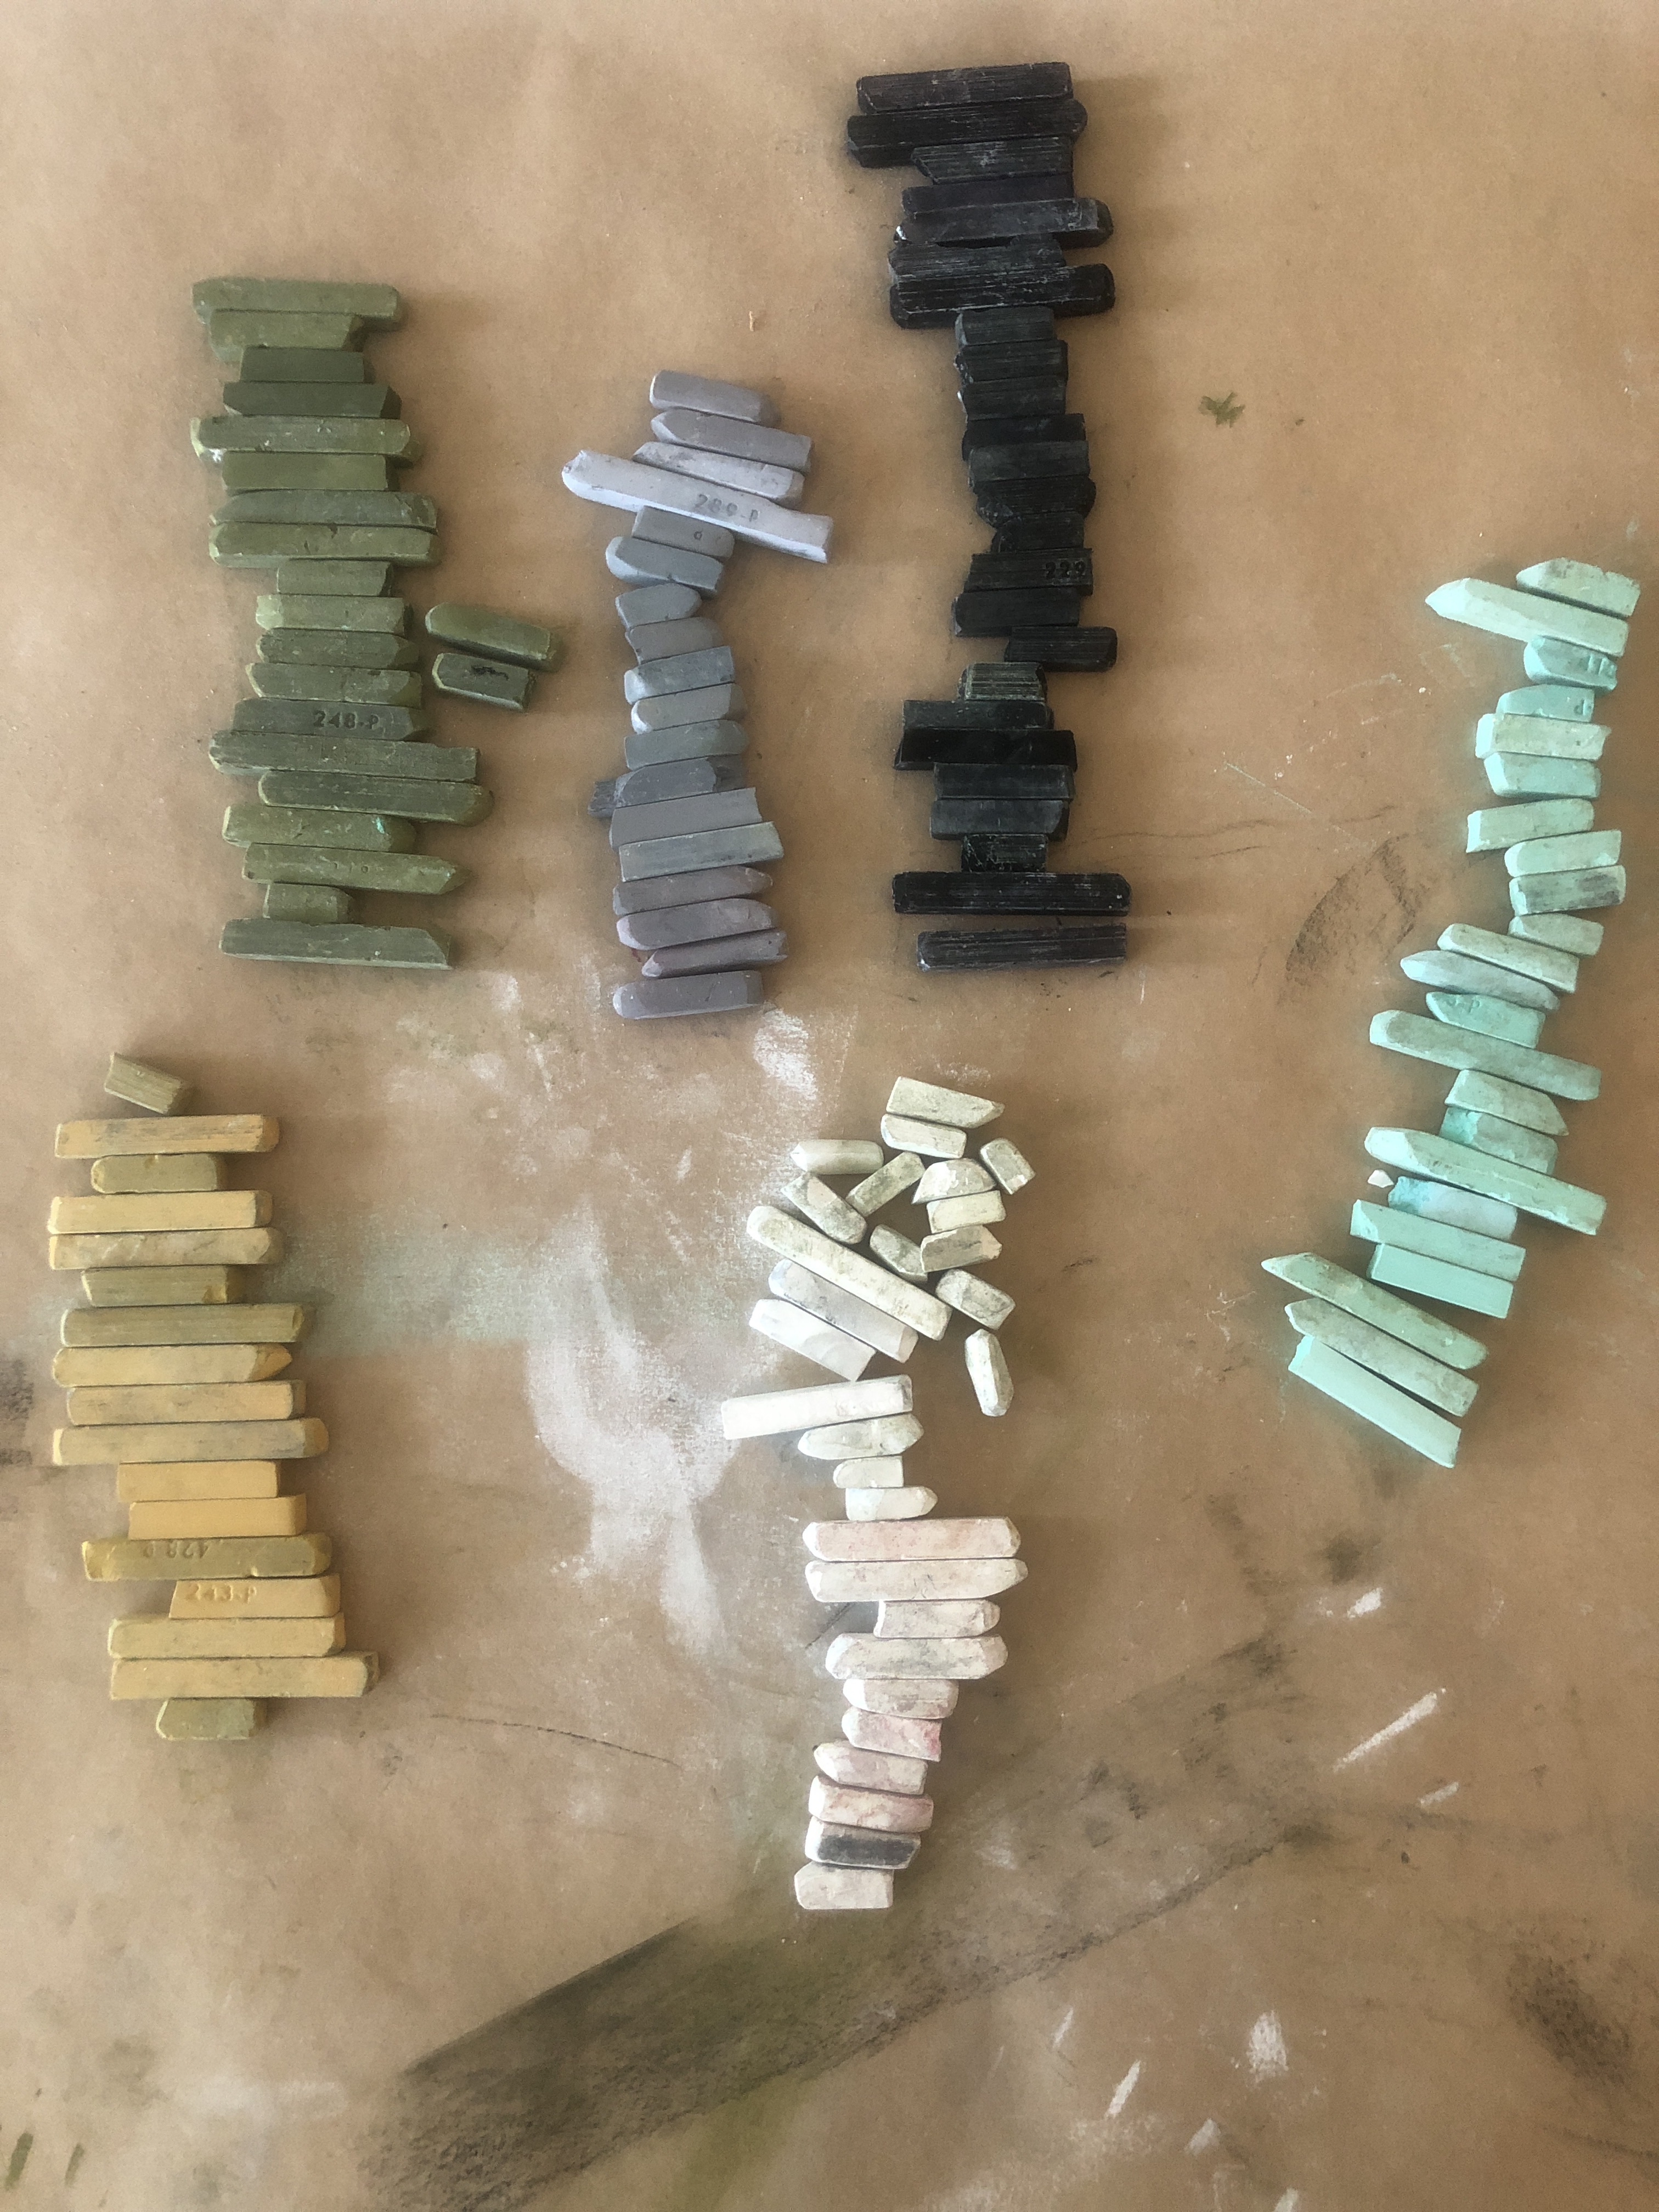
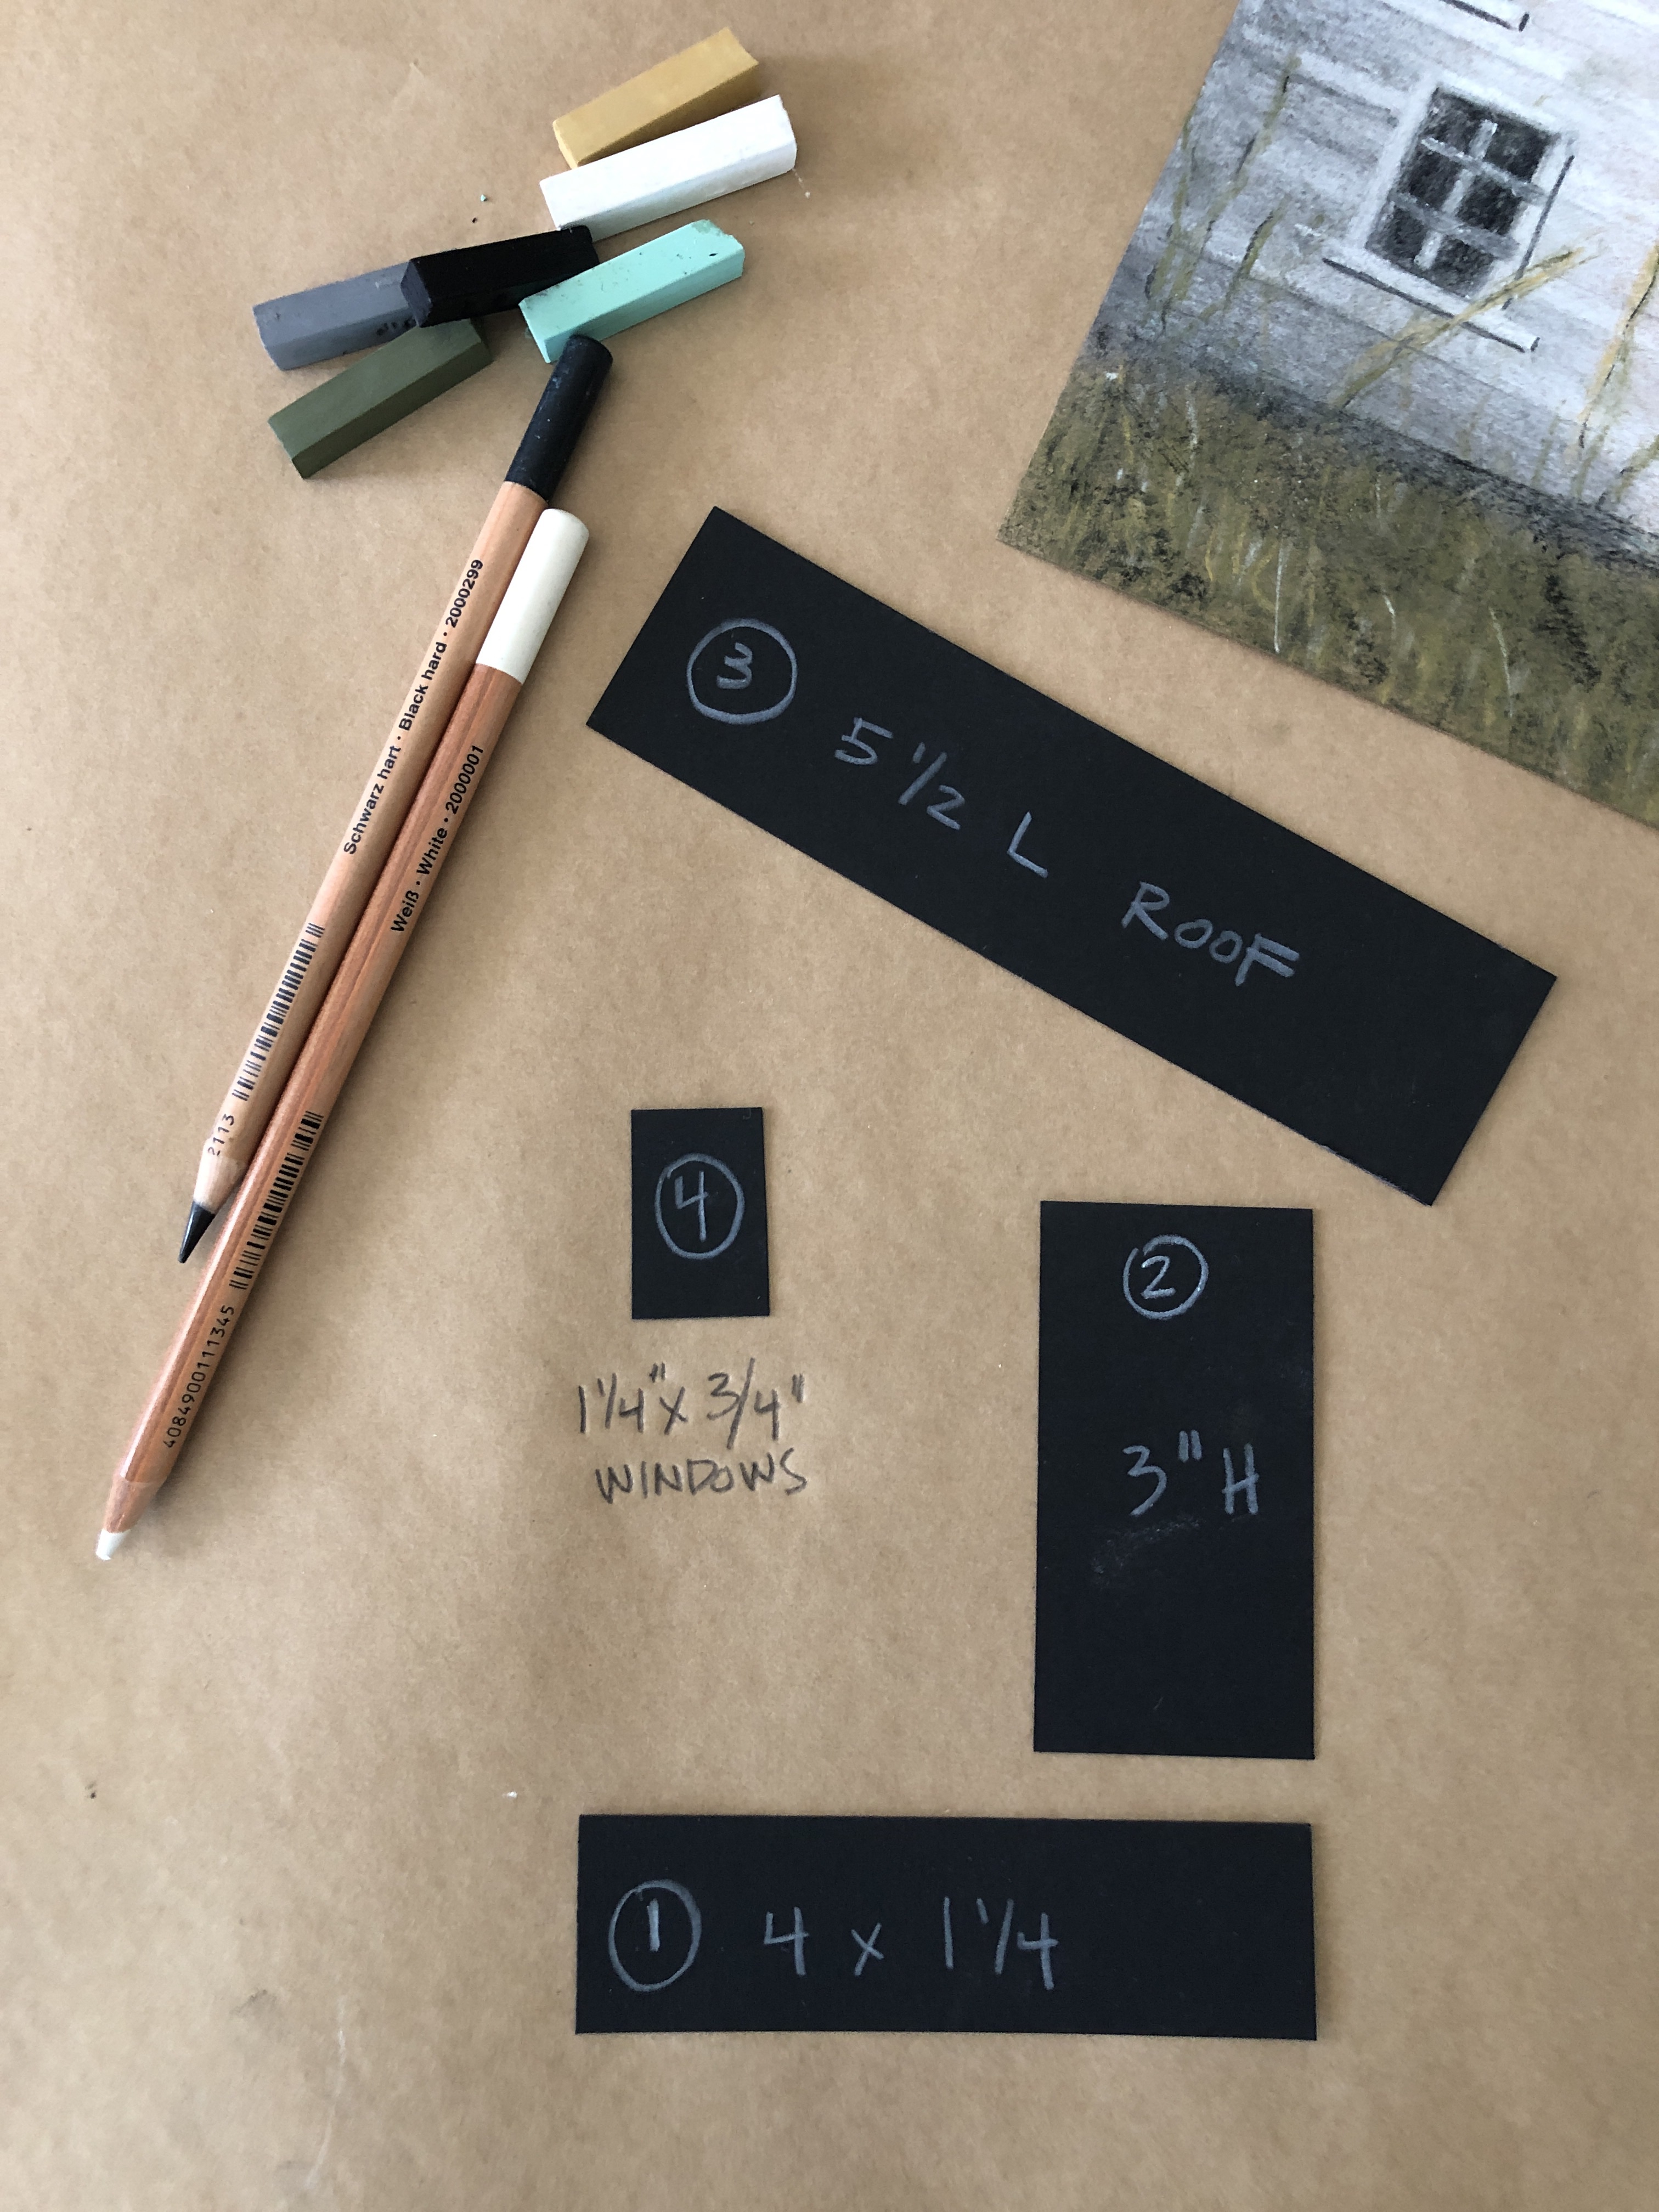
- Pastels: [prismacolor NuPastel color sticks] these can be broken into three pieces: Pistachio Green (288), white, black, warm medium gray (219), light ochre (243), Olive green (248)
- Pre-cut brown paper 7.5″ x 7.5″
- Pre-cut brown cardstock 8.5″x8.5″
- black color pencil
- white color pencil
- pencil sharpener
- 3 coffee filters per student
- 3M foam tape
- pre cut cardstock for measuring [see image below], one set per student
SEE VIDEO FOR WYETH INSPIRED ART PROJECT


NO.6 ROY LICHTENSTEIN 1923-1997


THE ARTIST+THE PROJECT
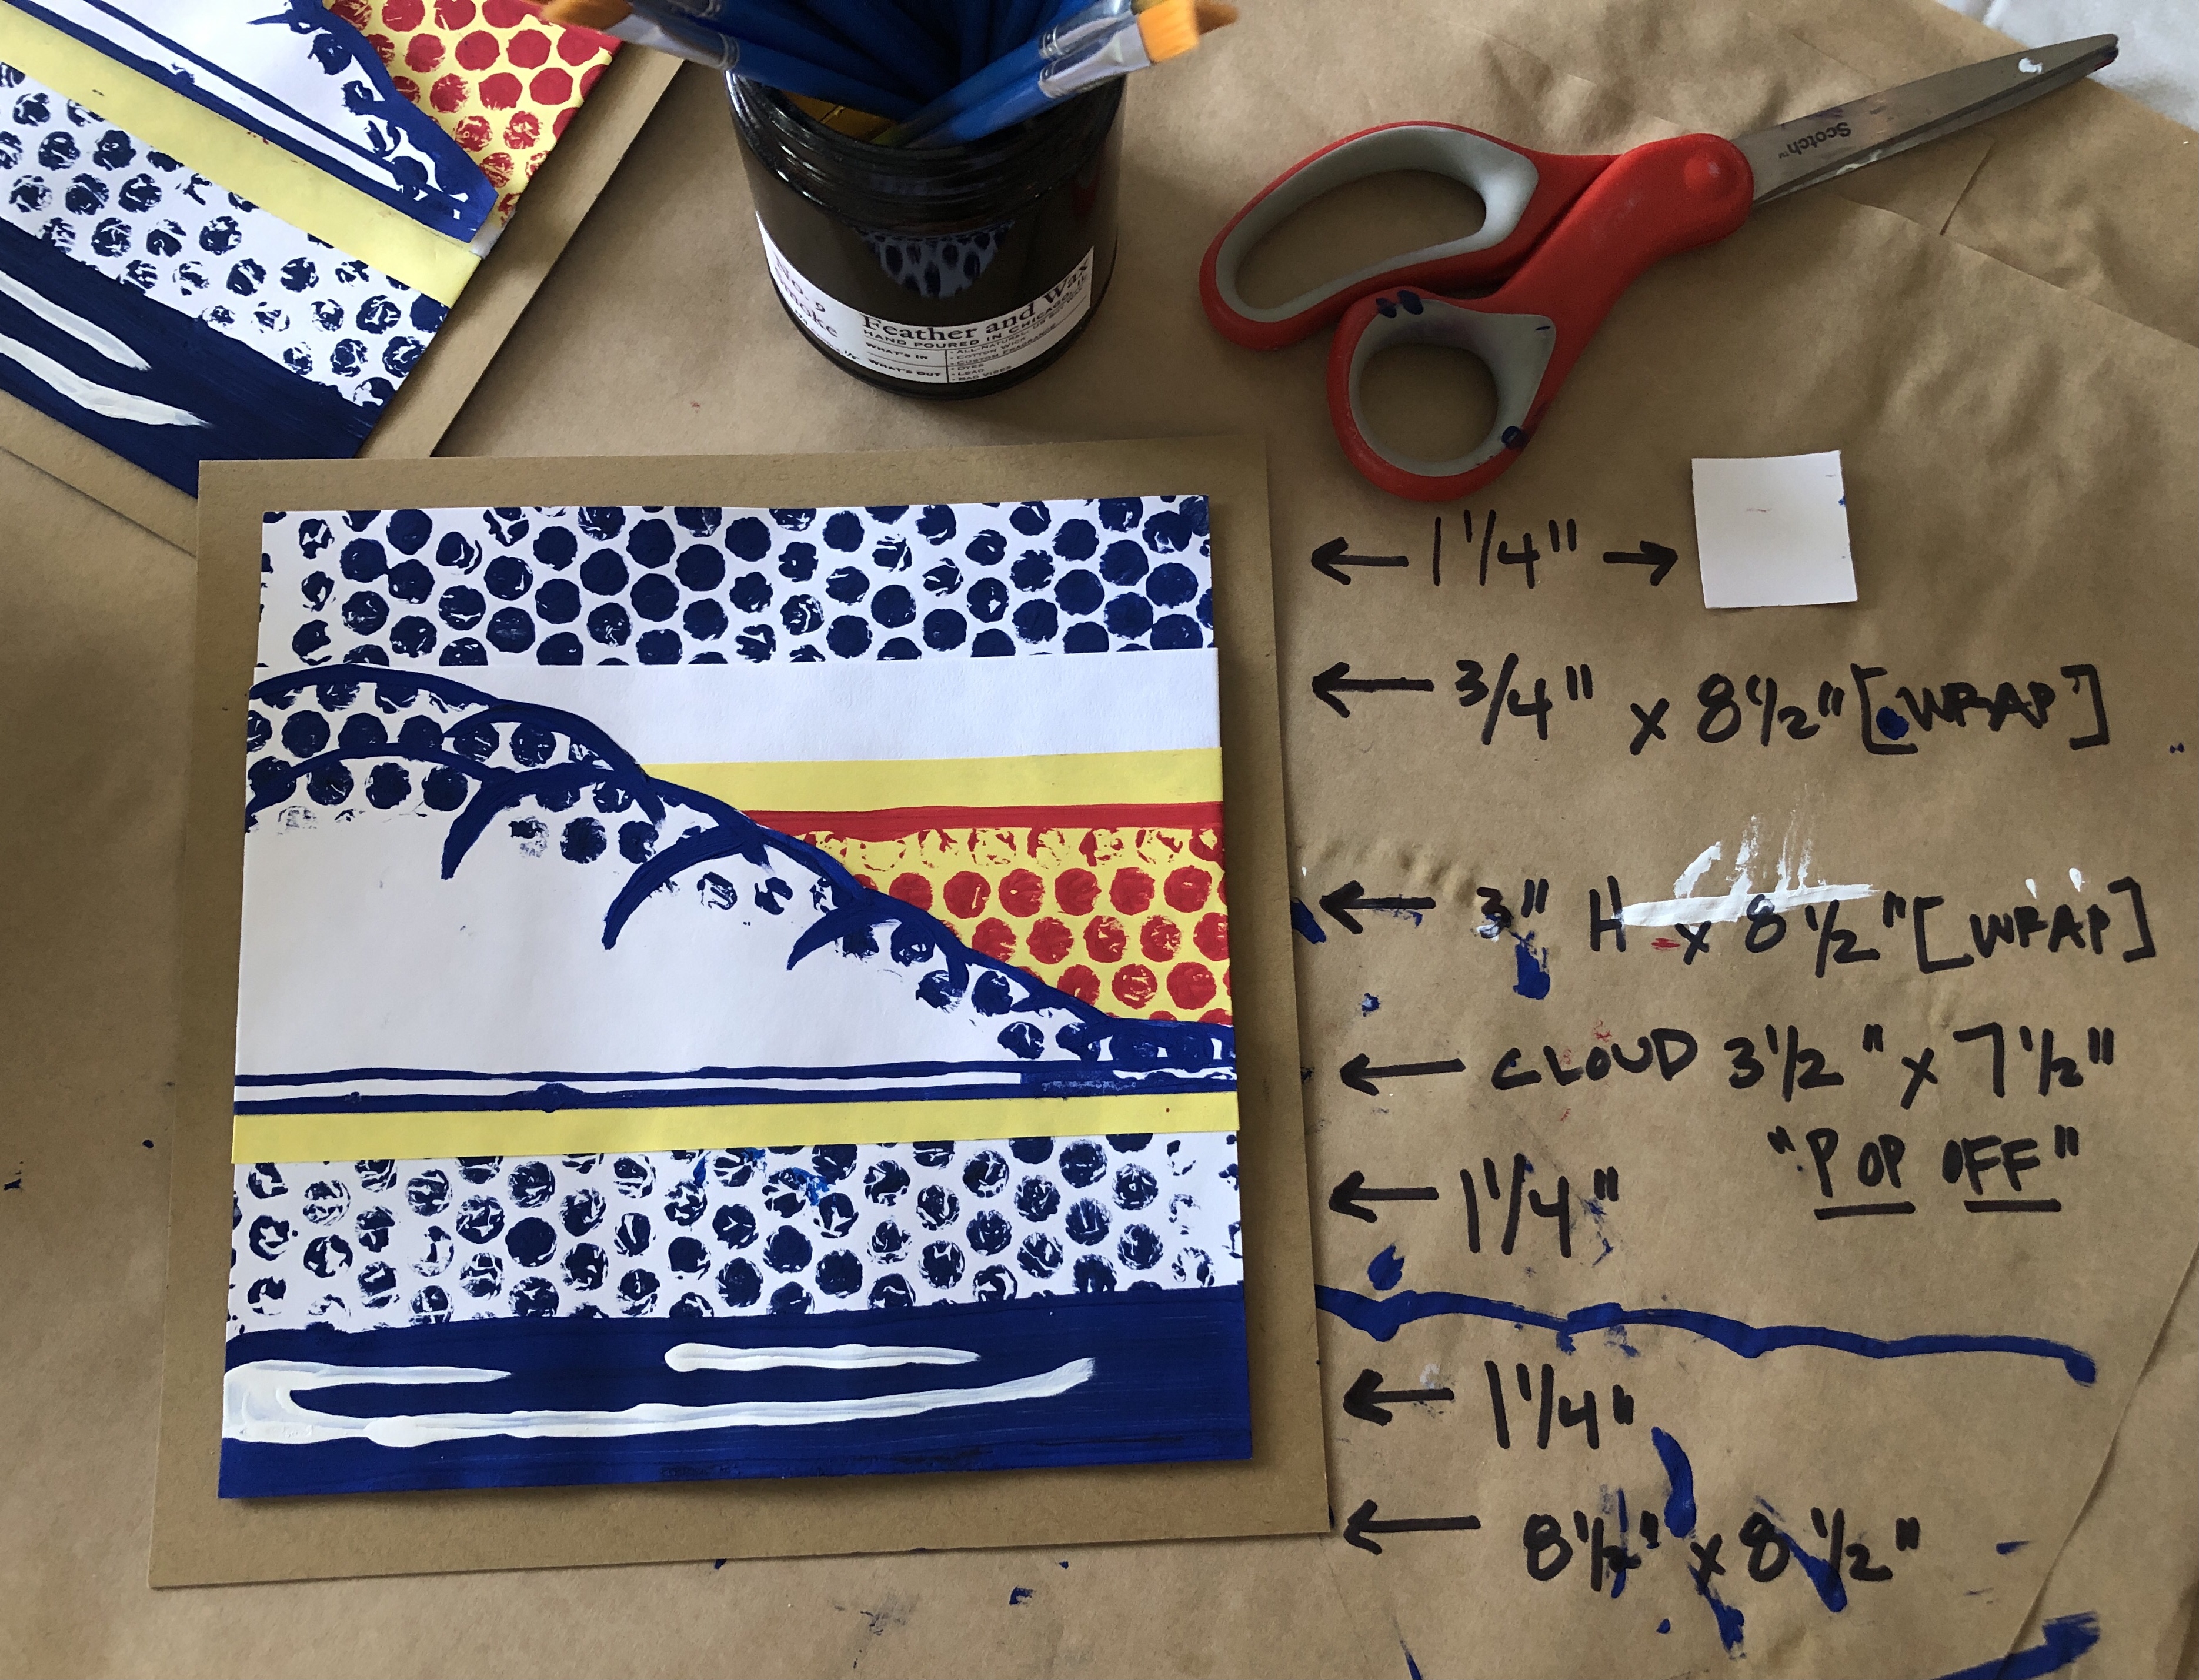
- draw inspiration from pop artist, roy lichtenstein’s “cloud and sea” painting 1969
- note: in the pop art movement, artist show what was popular in their culture and elevate common items to works of art… many of lichtenstein’s early paintings looked similar to comic books
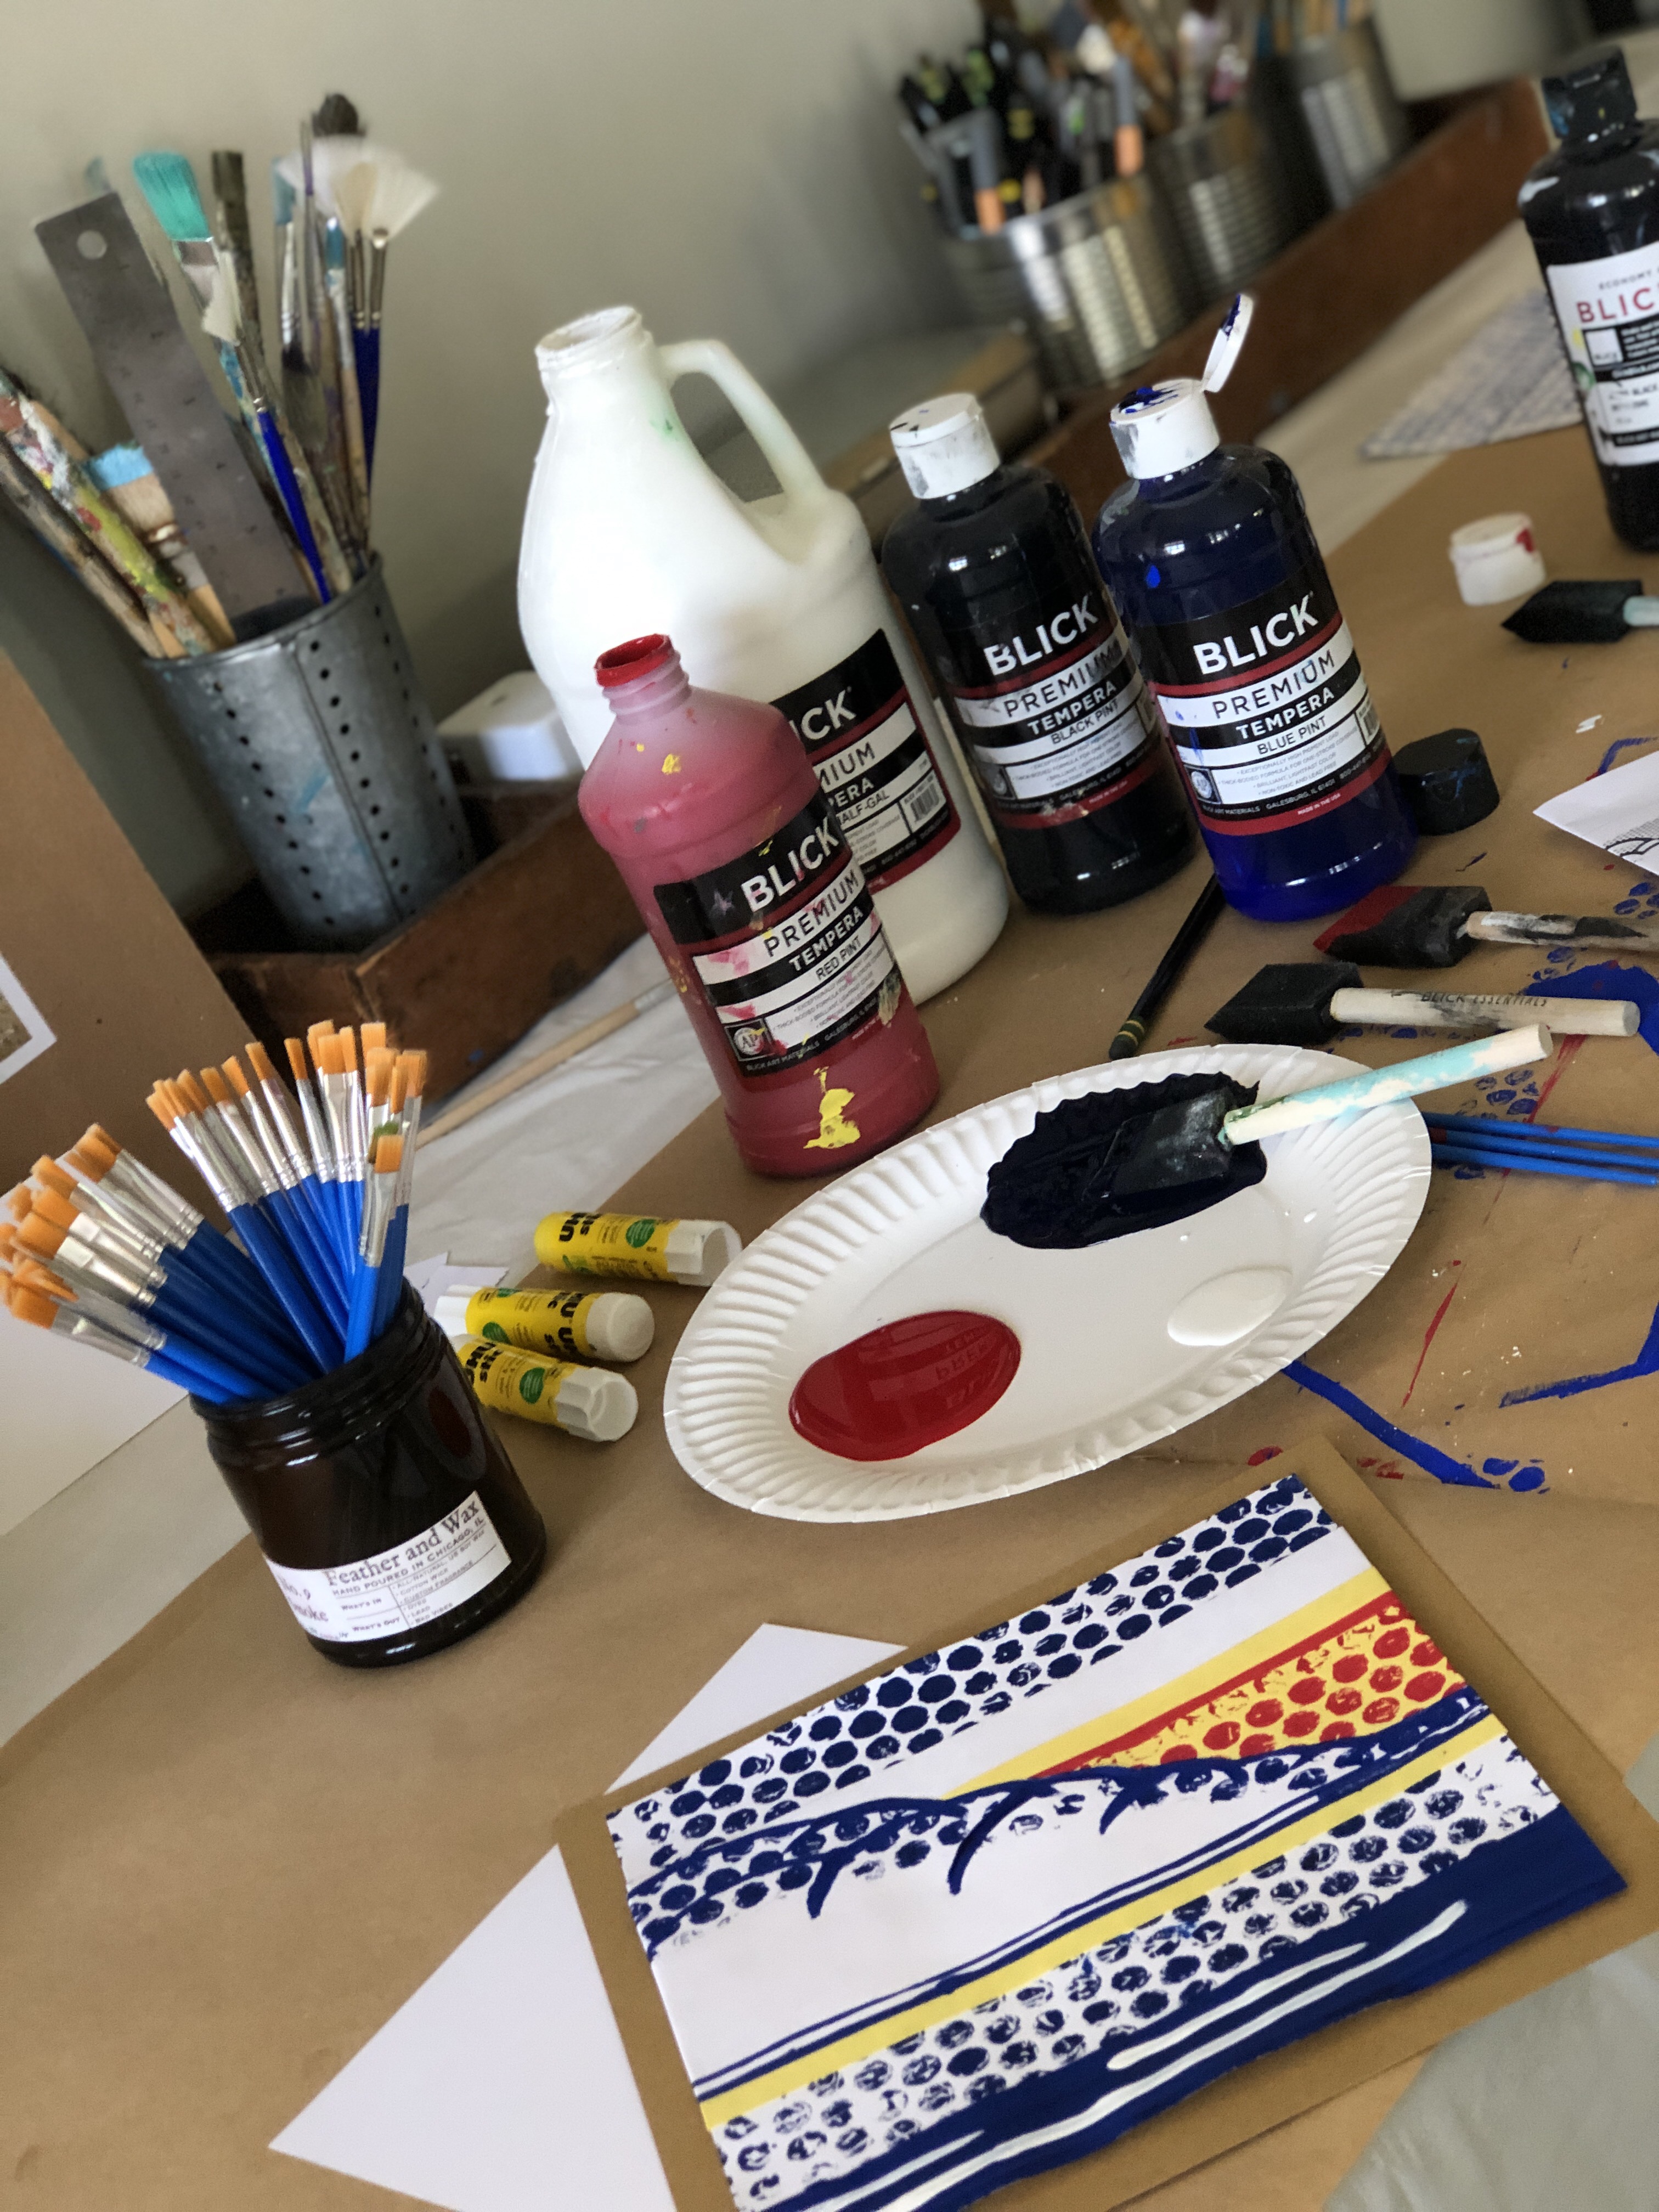
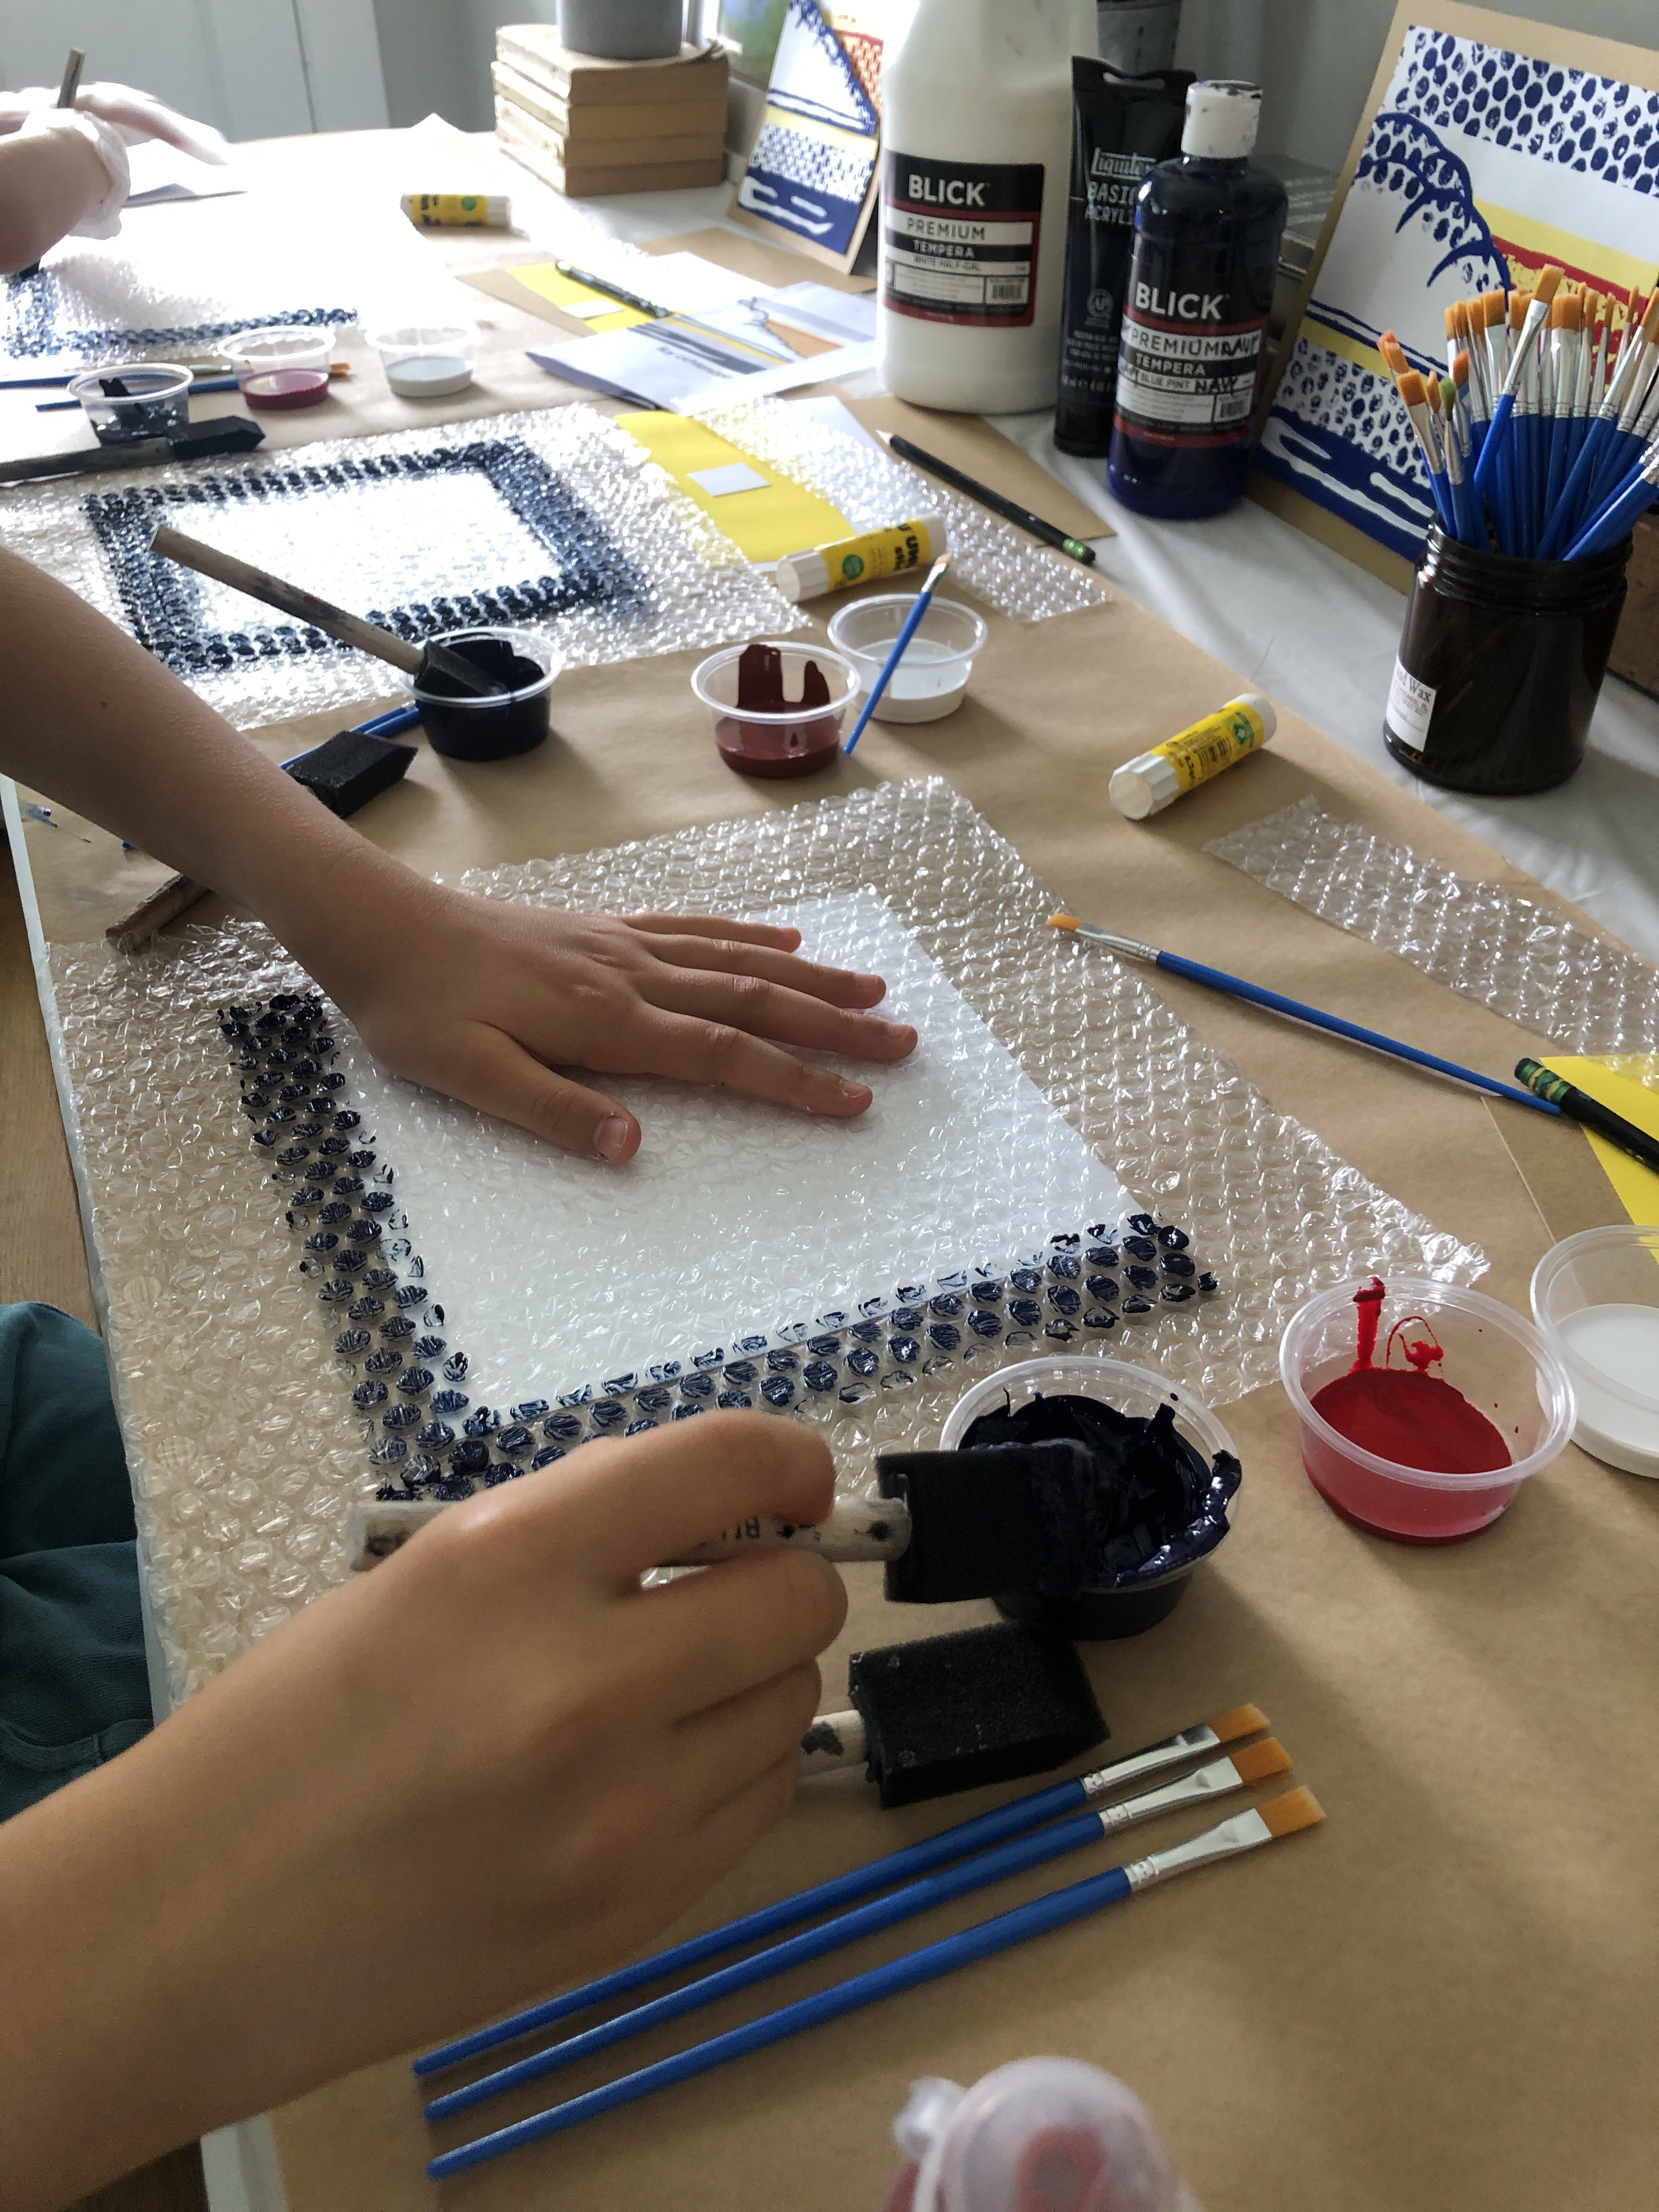
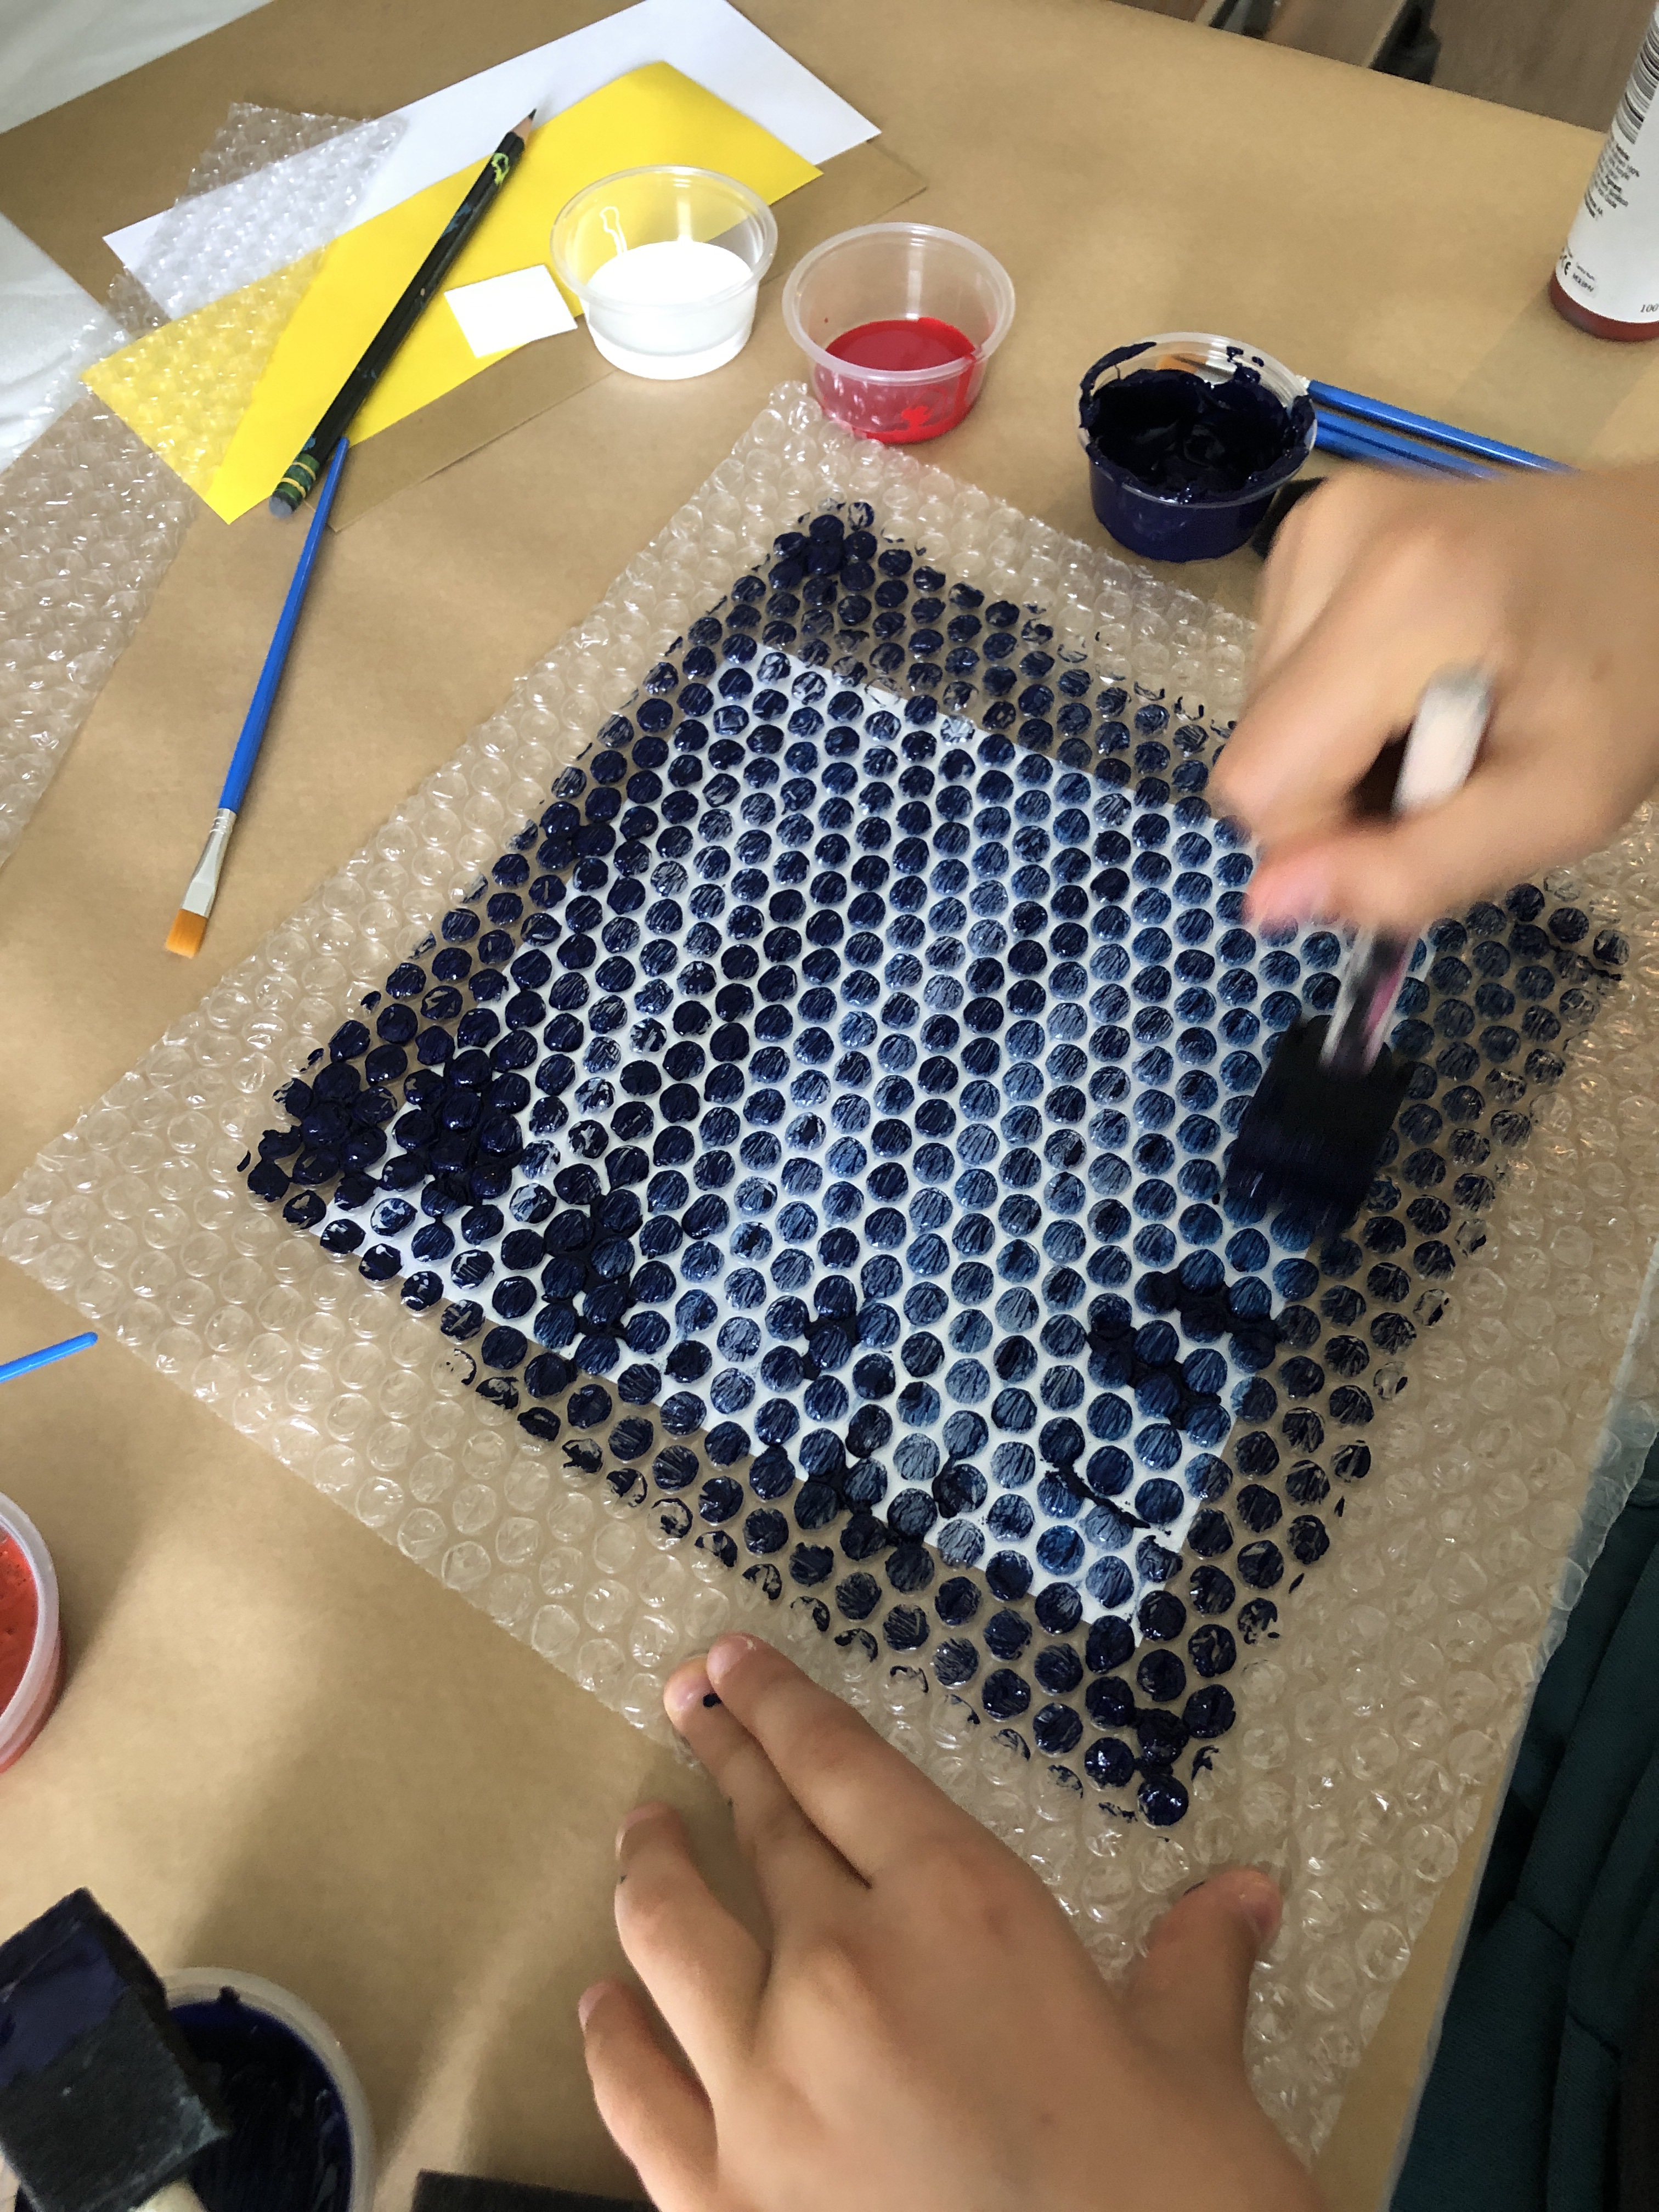
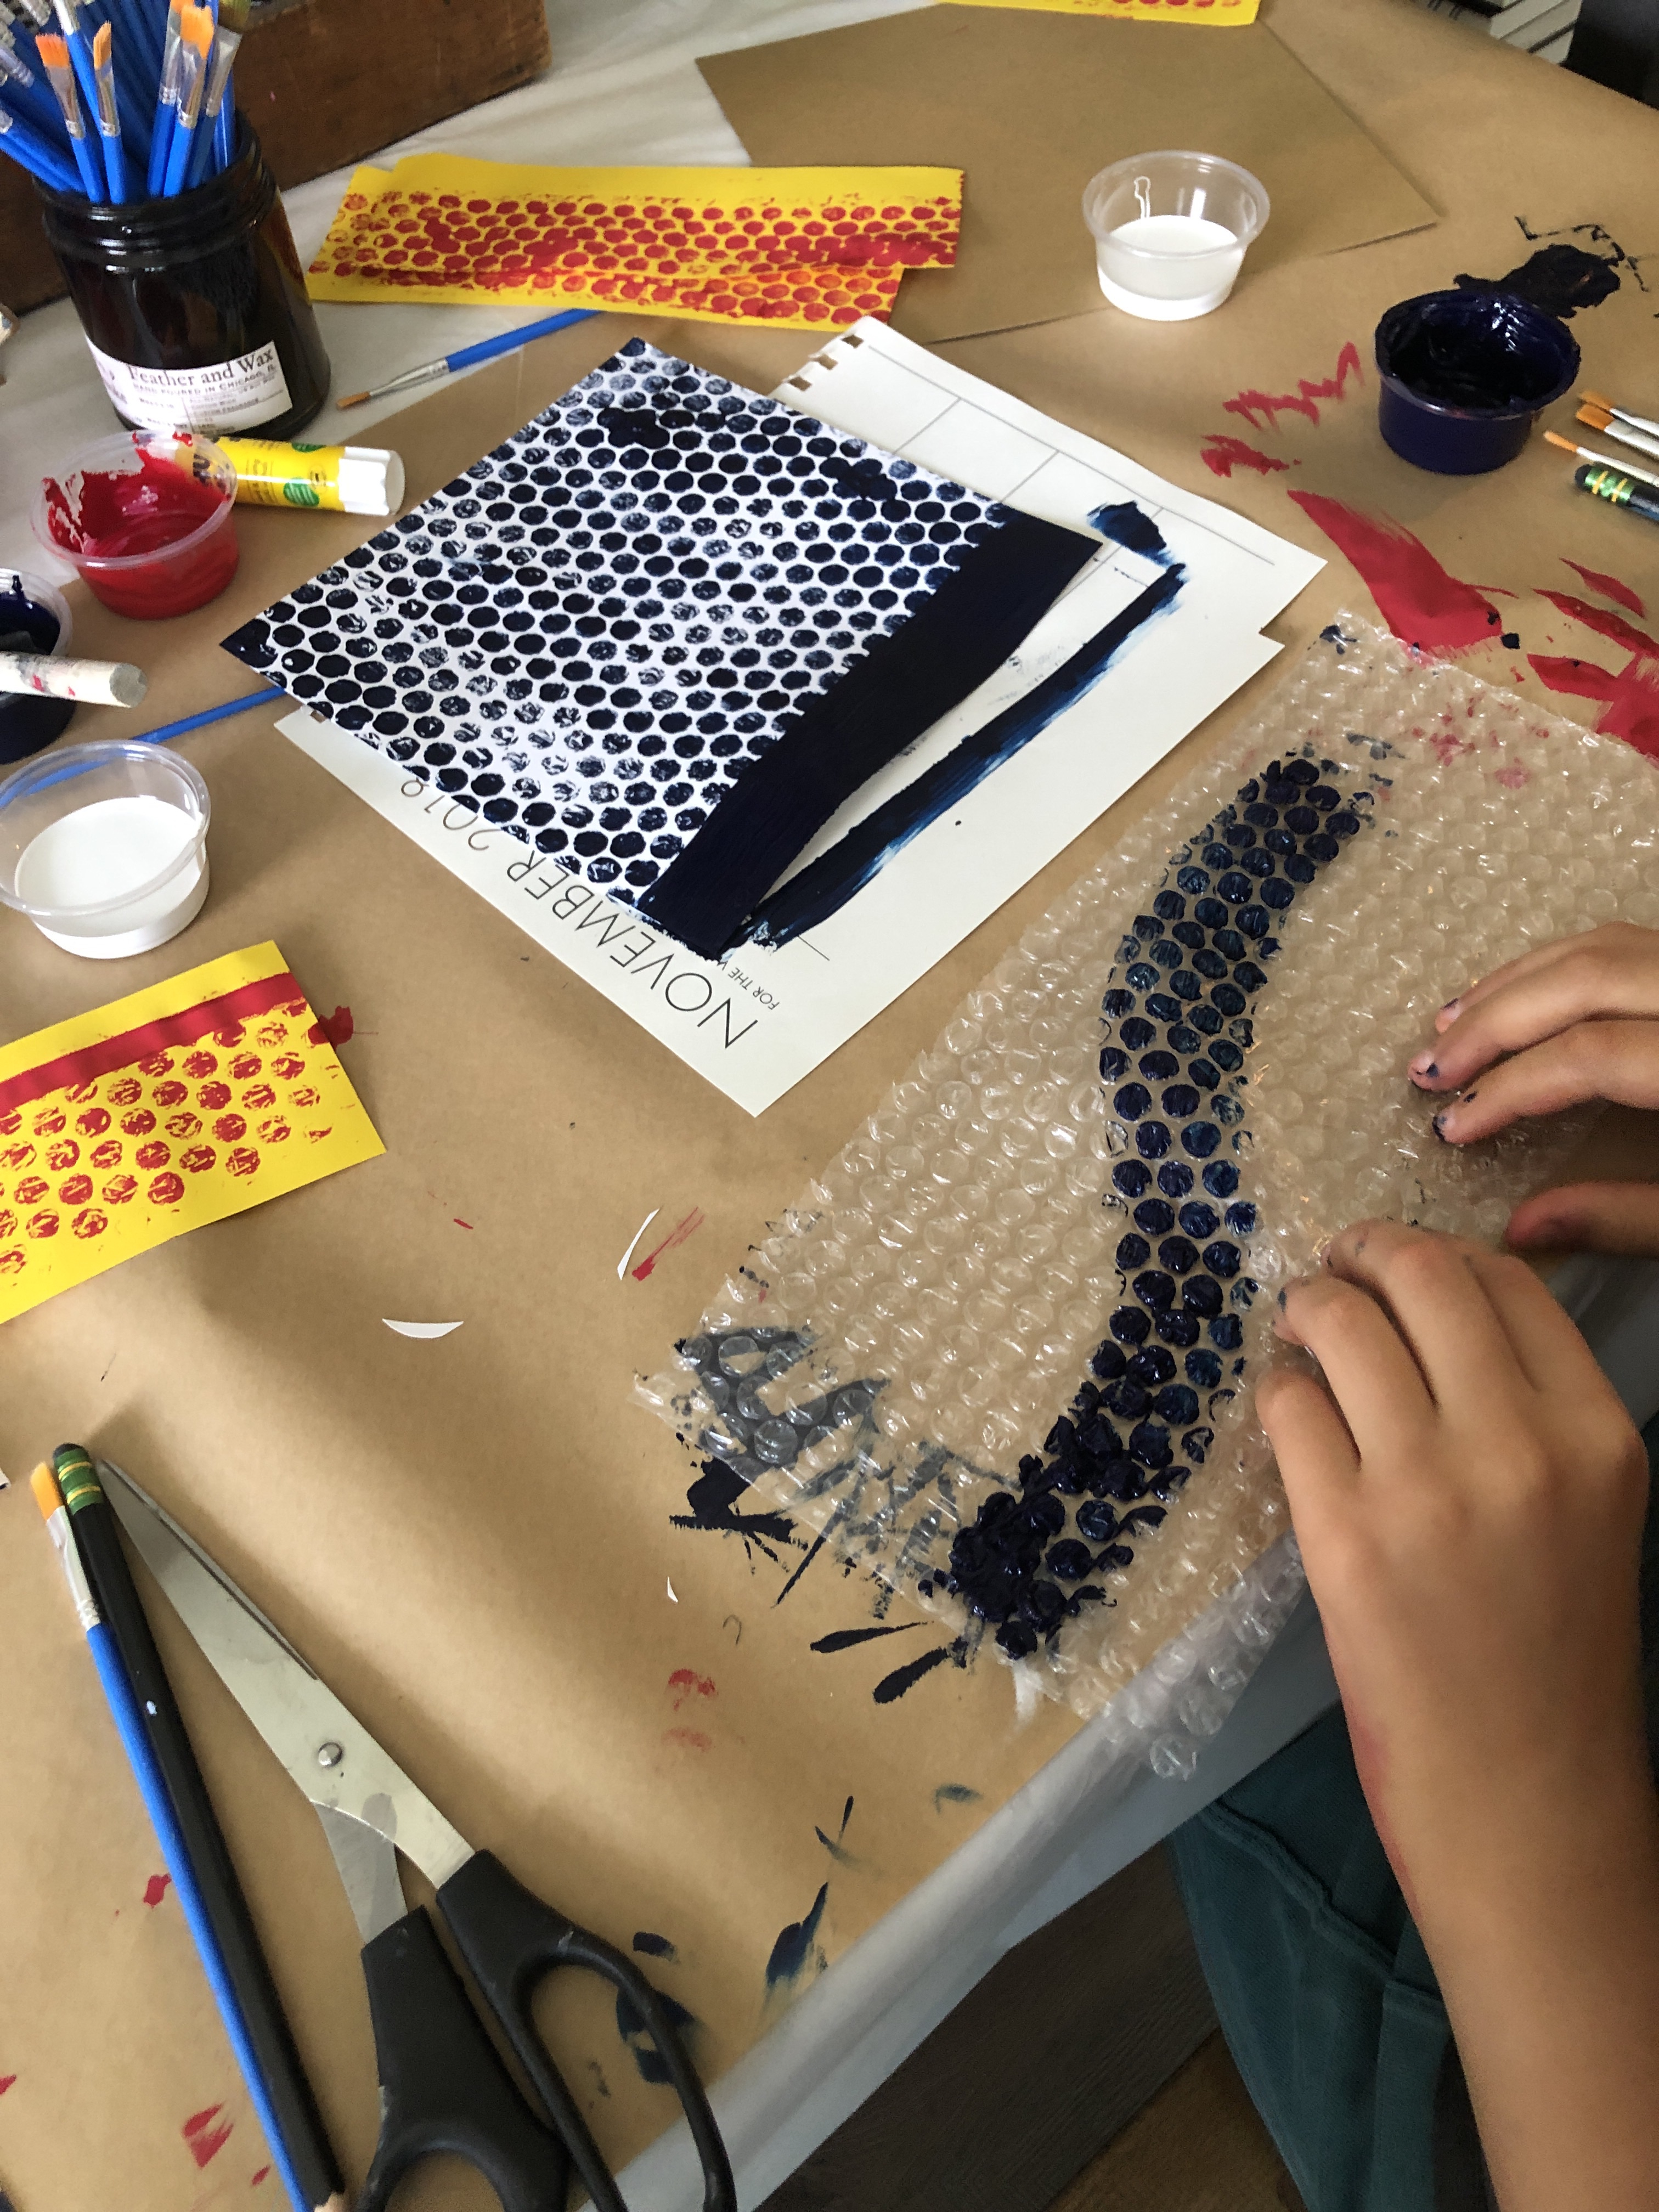
- apply lichtenstein stylized “ben-day dots”, which were originally invented by benjamin day for use in the printing industry
- notice that with the layers of firm lines and simple dots, lichtenstein creates a scene that feels alive, fresh, and eye-catching
- learn from Lichtenstein’s primary color palette, which contrasts well against each other
FROM THE LIPS OF ROY LICHTENSTEIN
- “I suppose I would still prefer to sit under a tree with a picnic basket rather than under a gas pump, but signs and comic strips are interesting as subject matter.” -Roy Lichtenstein
SEE VIDEO FOR HISTORY + INSPIRATION BEHIND THE PROJECT


MATERIALS
- 7.5″ x 7.5″ heavy weight white cardstock
- light weight white cardstock for white strip
- Yellow paper for strip
- 1 1/4″ x 1 1/4″ square of heavy weight cardstock for measuring
- Navy blue acrylic paint or primary blue tempra paint with a touch of black to make navy (apx.1oz/student)
- Red tempra paint (apx. 1/2 oz/student)
- White tempra paint (apx. 1/4 oz/student)
- 3 flat brushes (or one and clean well)
- 3 sponge brushes (or one and clean well)
- Scratch paper or butcher paper to put under painting
- Glue stick
- Pencil + pencil sharpener
- Scissors
- 3M foam tape
- Bubble wrap (for 7.5”x7.5” paper, 2” H for red dots, 1” strip for cloud)

FOLLOW VIDEO FOR LICHTENSTEIN INSPIRED POP ART


GOALS + DESIGN SKILLS TO LEARN:
- learn about + be inspired by the master artists in history and take away a quality visual to remember them by
- expose students to interesting and unique mediums (art supplies), which are forgiving and easily create successful projects
- identify that art goes beyond drawing people…. too often people think they must be able to draw a person to be creative, which is not true
- demonstrate a professional presentation of artwork
- provide an art gift for our students + their parents that they may desire to display in their home
- provide resources for students to use the tools learned in class at home [feel free to give parents the link to our blog so they can easily find supplies, tutorials, demos, and instructions to replicate the projects at home]
TIPS FOR INSTRUCTING AN ART ADVENTURE + SET UP:
- you will need a full 30 minutes to complete these projects
- consider using your morning assembly time to present the artist in detail and then briefly review how the project relates to the artist during art time
- set up only one art location for all classes to rotate through …. by doing this you only need to purchase 8 or so of most items
- invite at least two helpers who will familiarize themselves with the projects + help with all the classes rotating through…. one to help the class creating and one preparing supplies for the next class
- instructors should practice the project before class meets and provide a sample for students
- prepare and pre-cut as much as possible before class meets
- always start by having students write their name on the back of their project…. if they desire to write their name on the front encourage them to do it once they’ve completed their piece in tiny excellent lettering under the painting
- i highly recommend listening to the podcasts provided on ridge light ranch for the artists we will be studying …. they will help you prepare immensely
