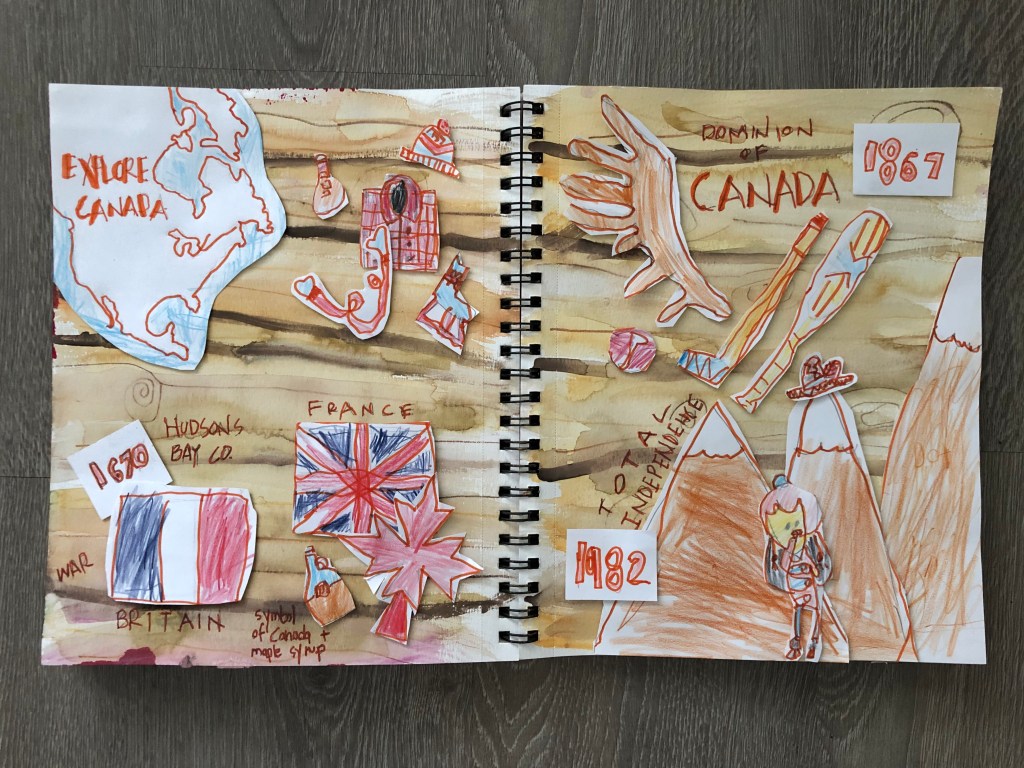
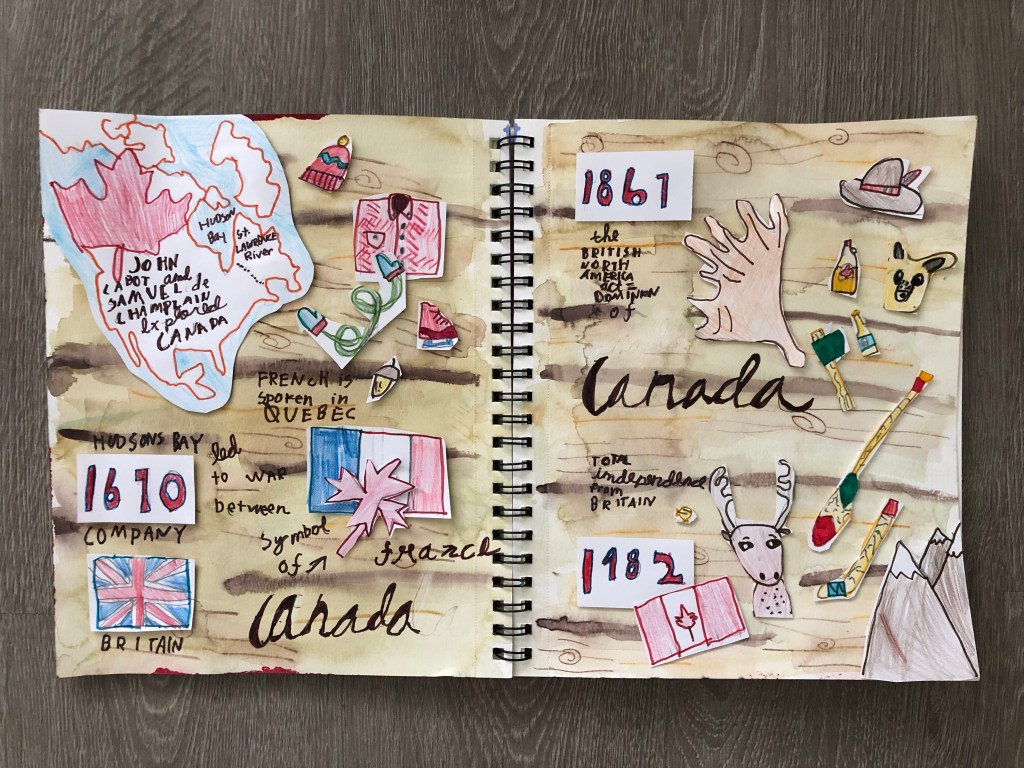
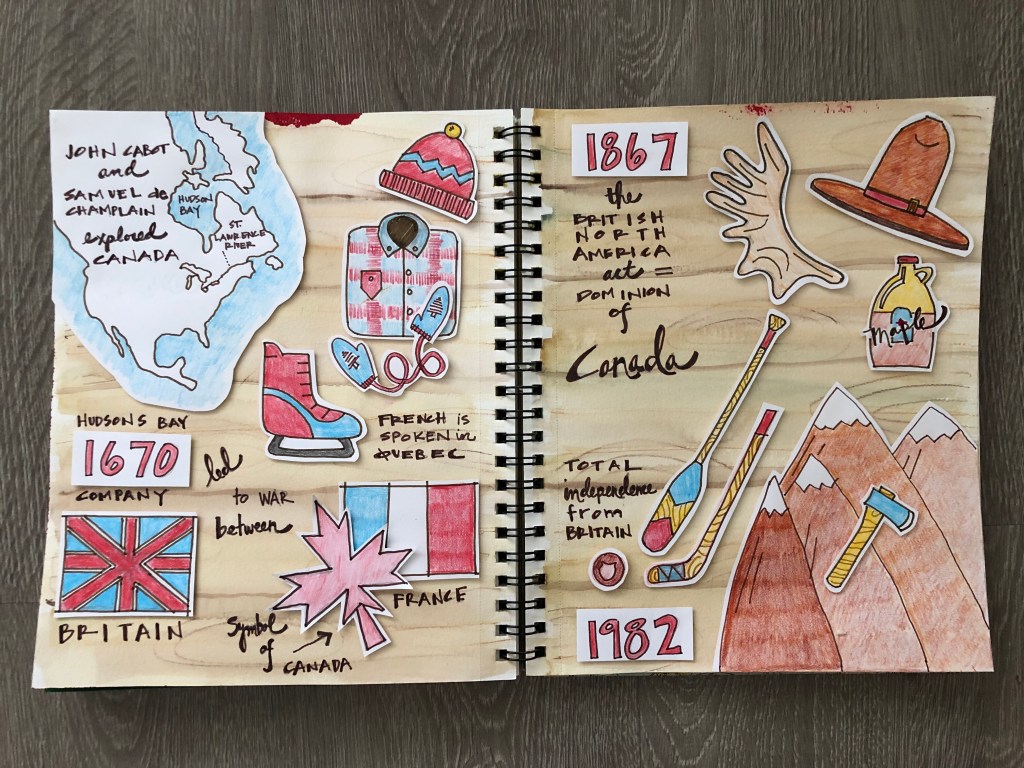
This is a fun project drawing all things Canadian! We focused on a graphic look using one color marker to outline our drawings and colored them in with a limited palette of color pencils. We learned how to paint woodgrain and have demos by special guests!
materials (see art tools in the menu for details)
- watercolor sketchbook or watercolor paper
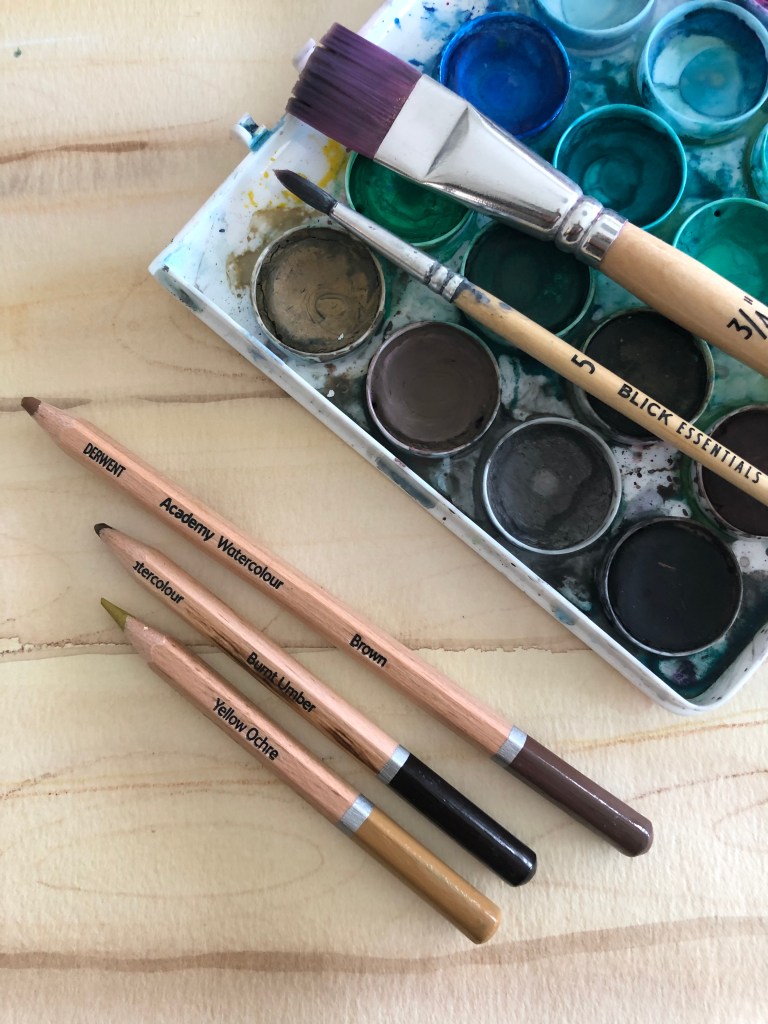
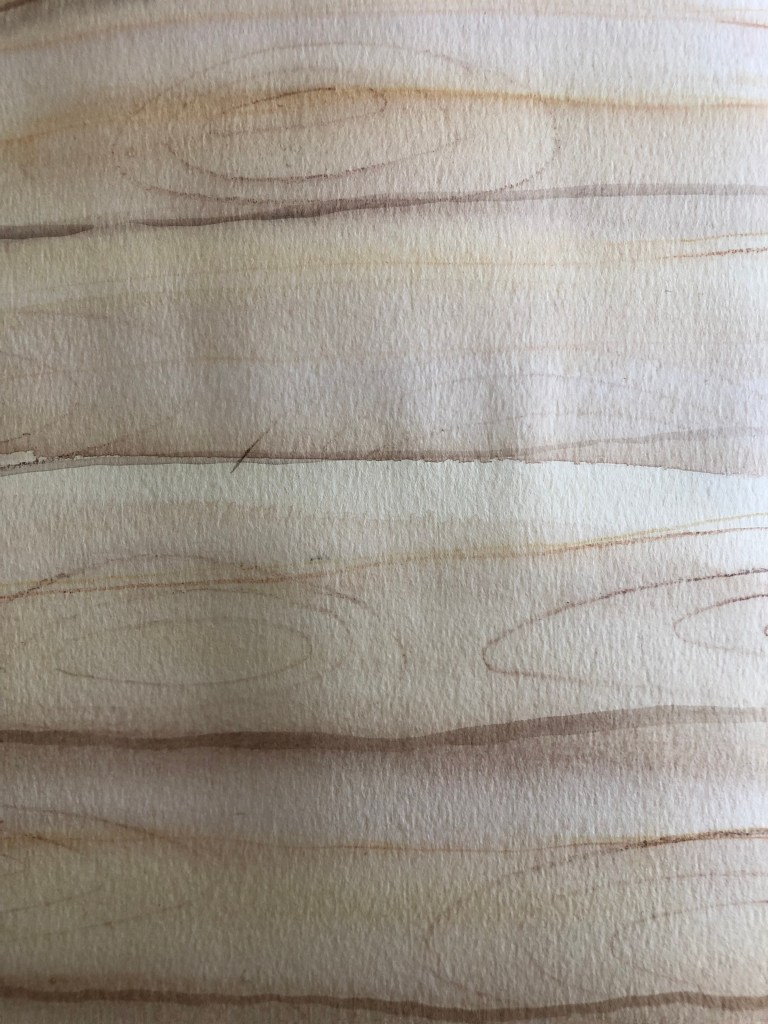
- for woodgrain background: watercolor paint palette, watercolor pencils
- white card stock or heavy white paper
- pencil
- thin color marker (burnt orange, burnt red or espresso brown work nicely)
- color pencils: pick about 4 for the entire project (I used red, turquoise, yellow, brown)
- scissors
- 3M foam tape

STEP NO. 1
- paint woodgrain background using watercolor paint palette and watercolor pencils
- follow demo from our special guest

step no. 2
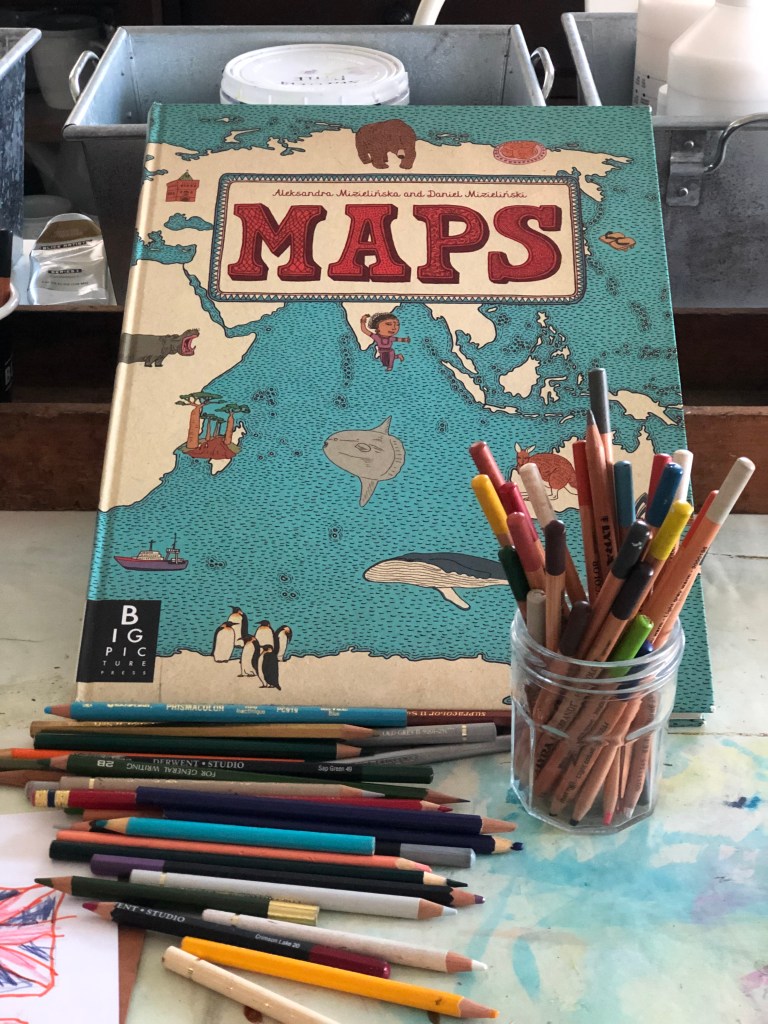
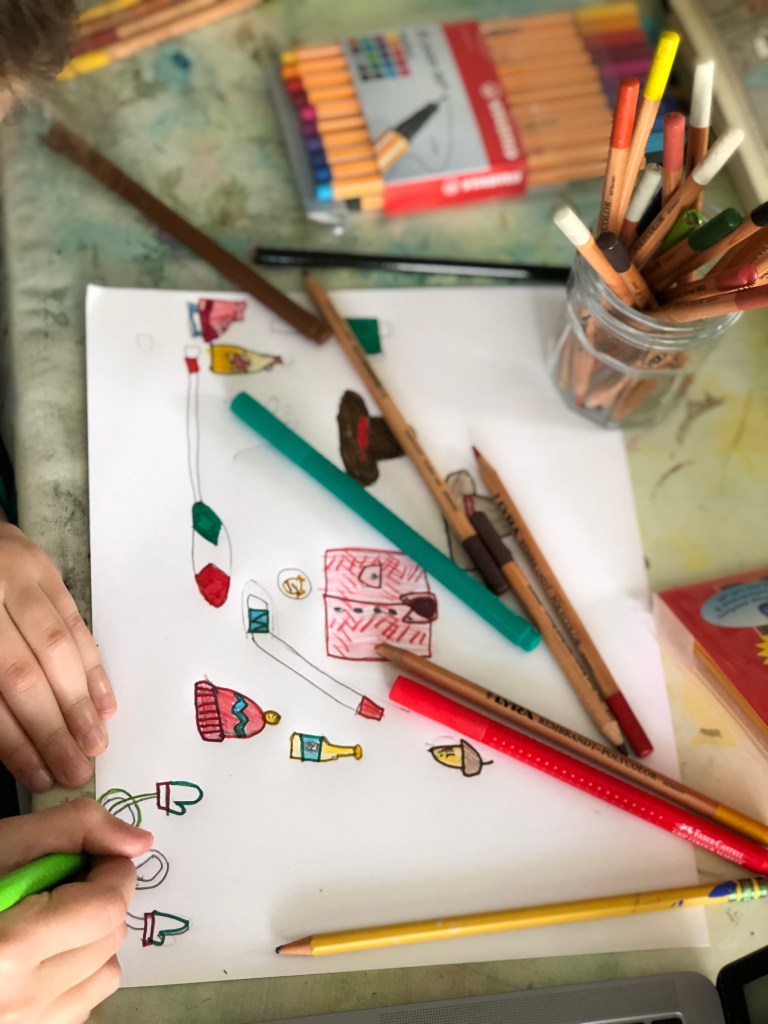
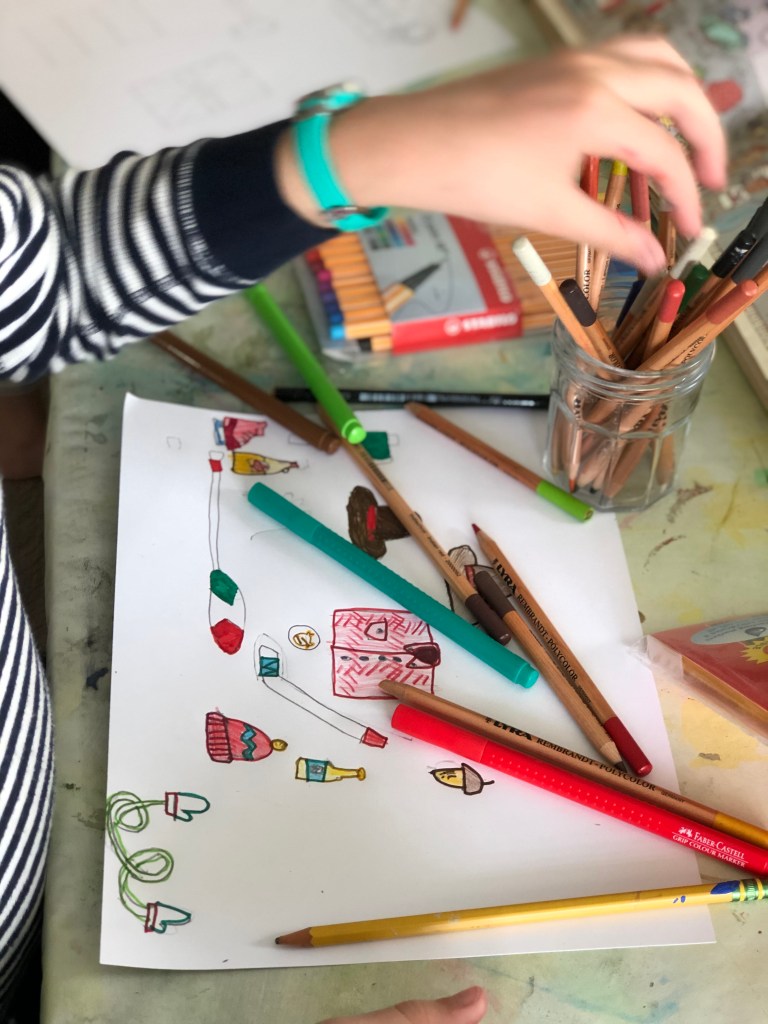
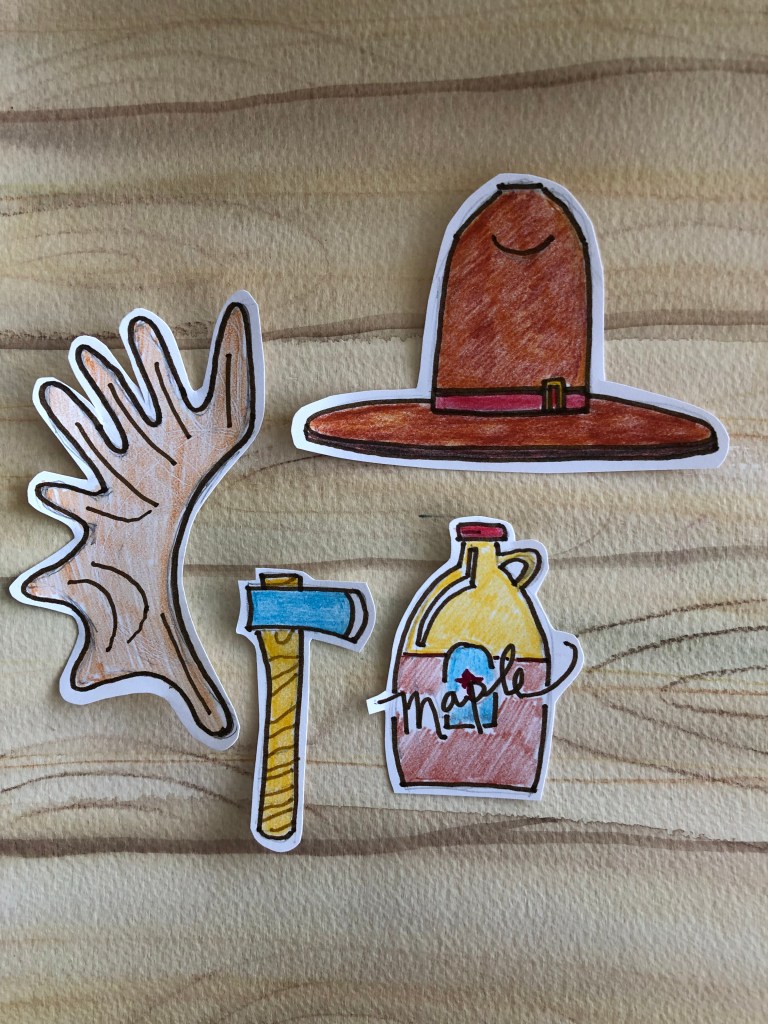
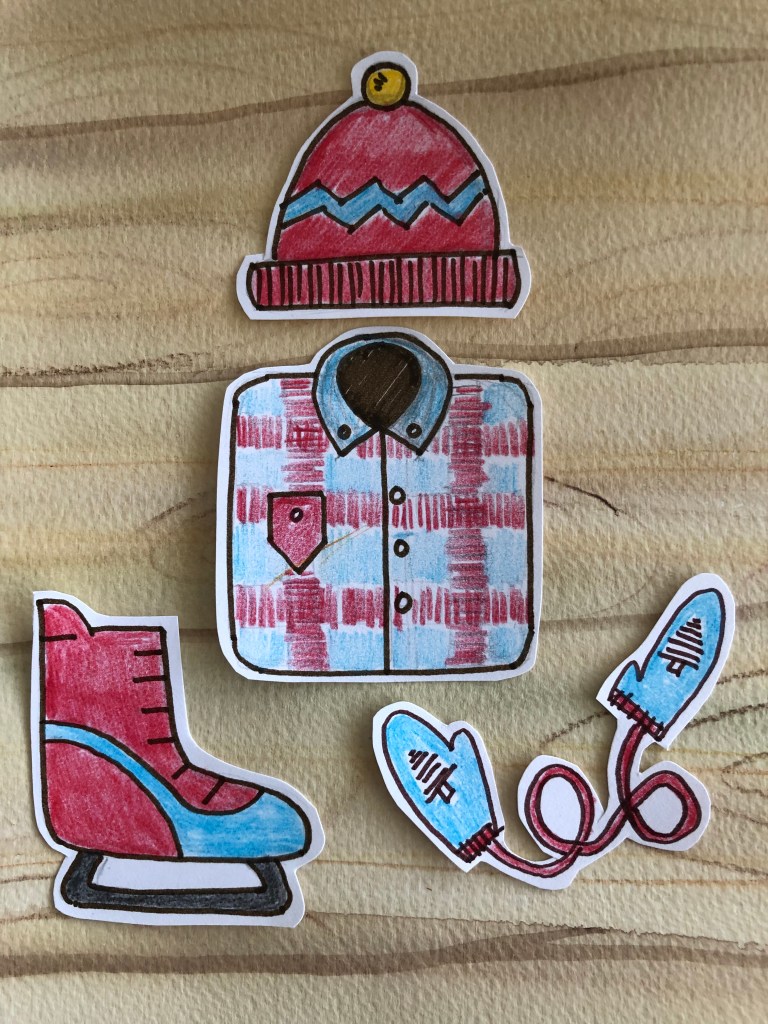
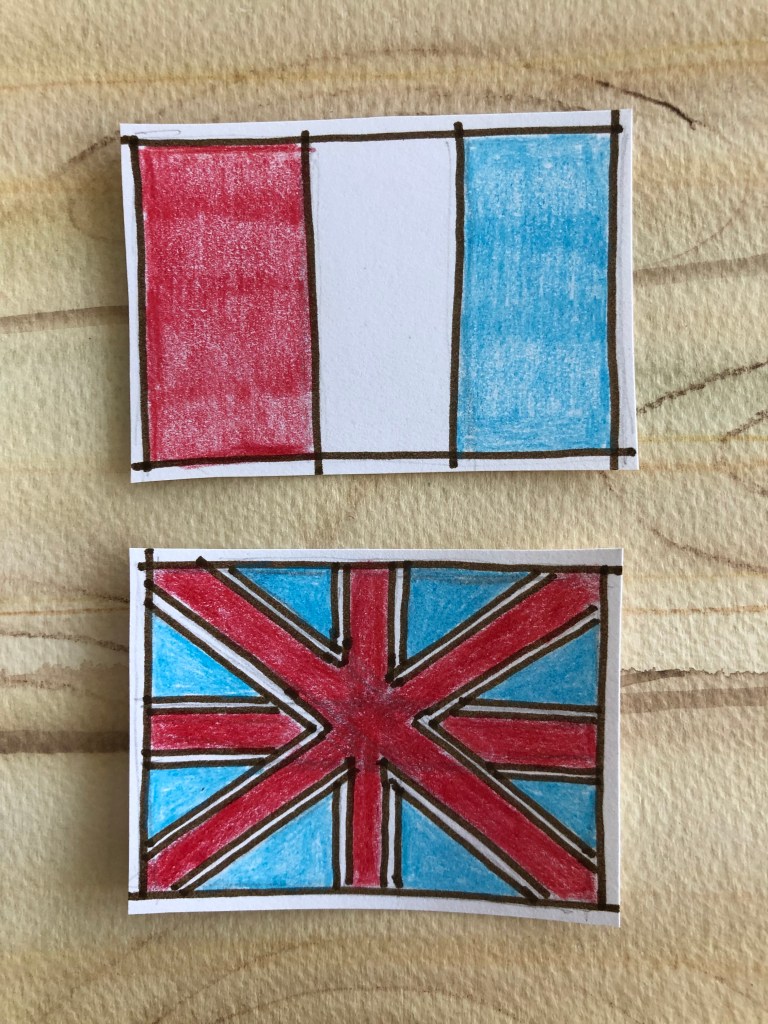
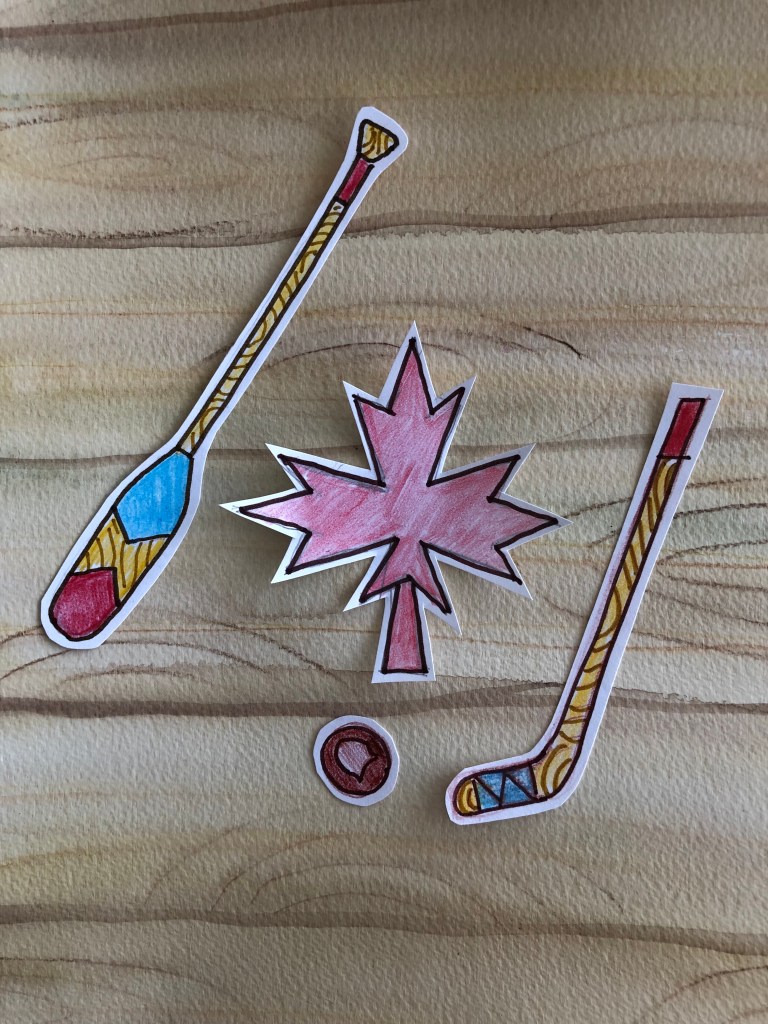
- draw all things Canadian on white card stock in pencil (we used a map book we love for ideas. for details see art tools in the menu)
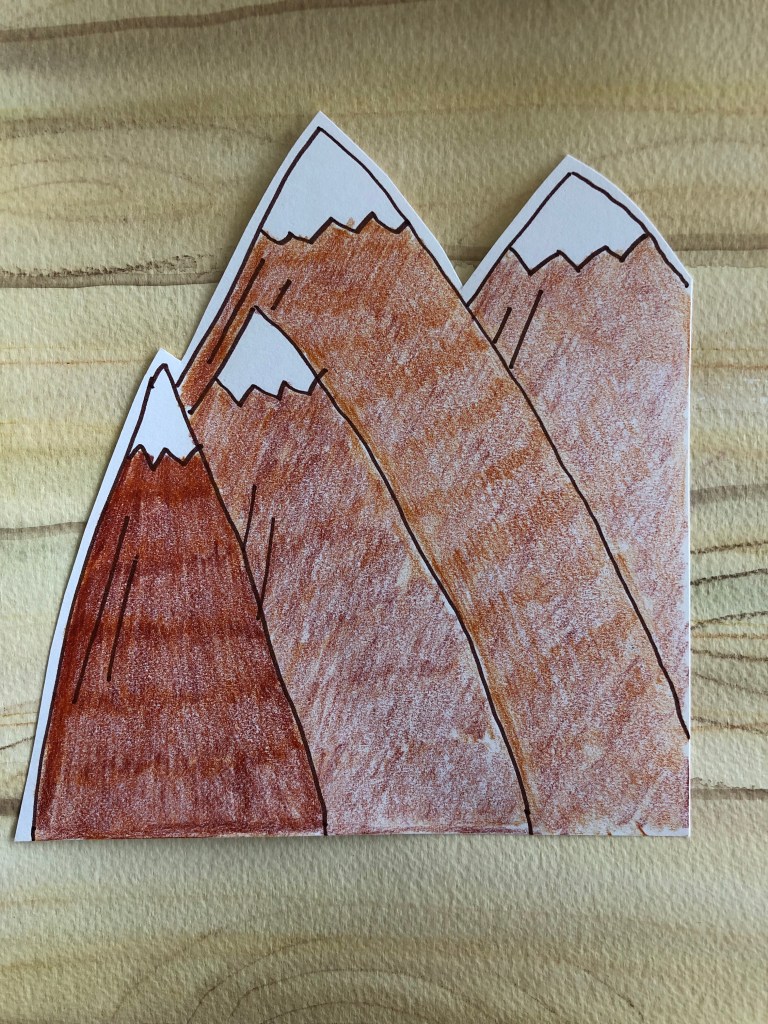
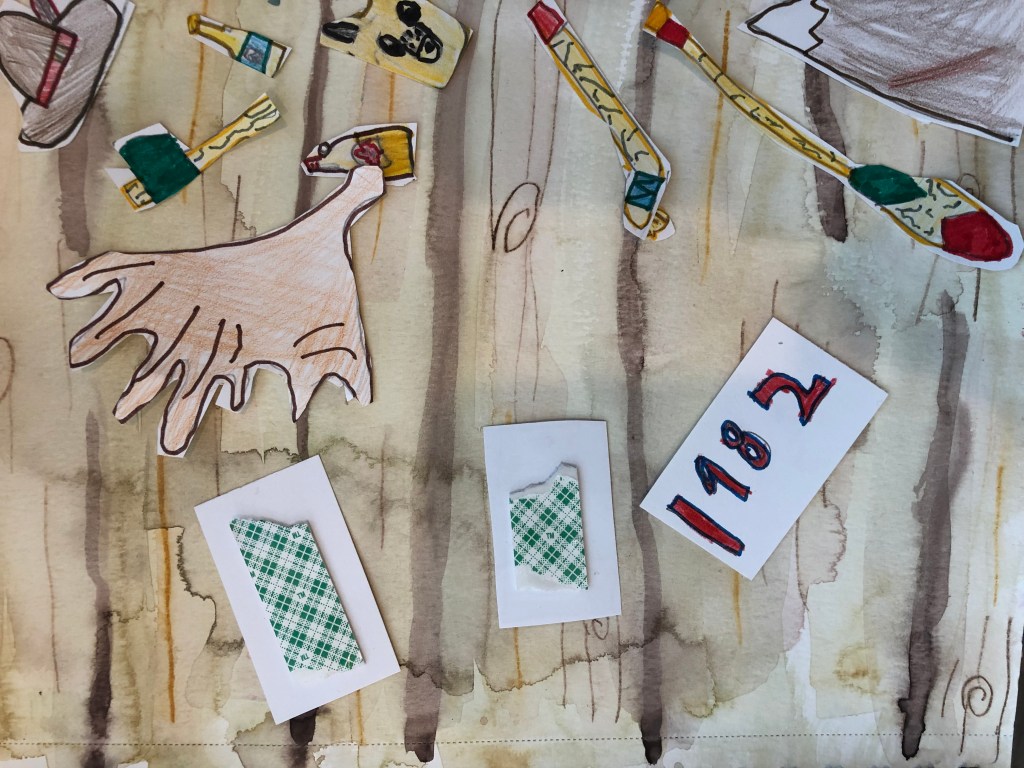
- follow tutorial from our friend for moose antlers and a maple leaf
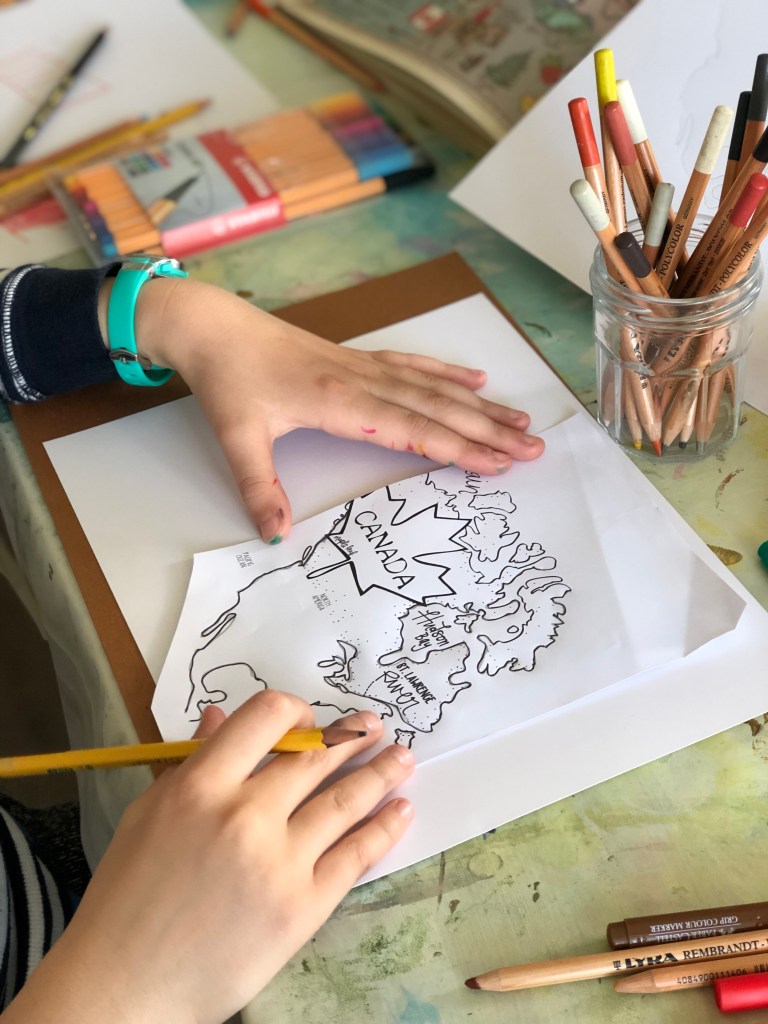
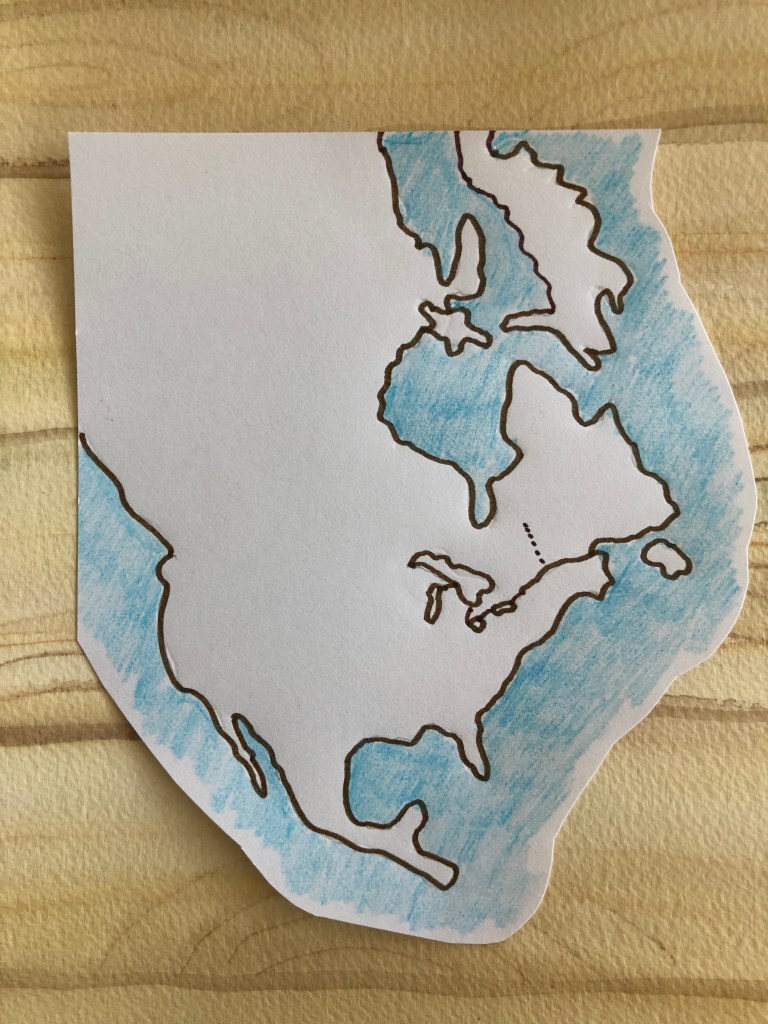
- follow our tutorial for a trick to drawing the Canadian map
- trace pencil lines with one color marker for everything (I used espresso brown)
- color images with color pencil using only four colors (I used red, turquoise, yellow, brown)
STEP NO.3
- cut out images
- use 3M foam tape to adhere to painted woodgrain background
STEP NO. 4
- write history sentence (NOTE: part of the history sentence is left out in order to stay clear of copyright infringement)
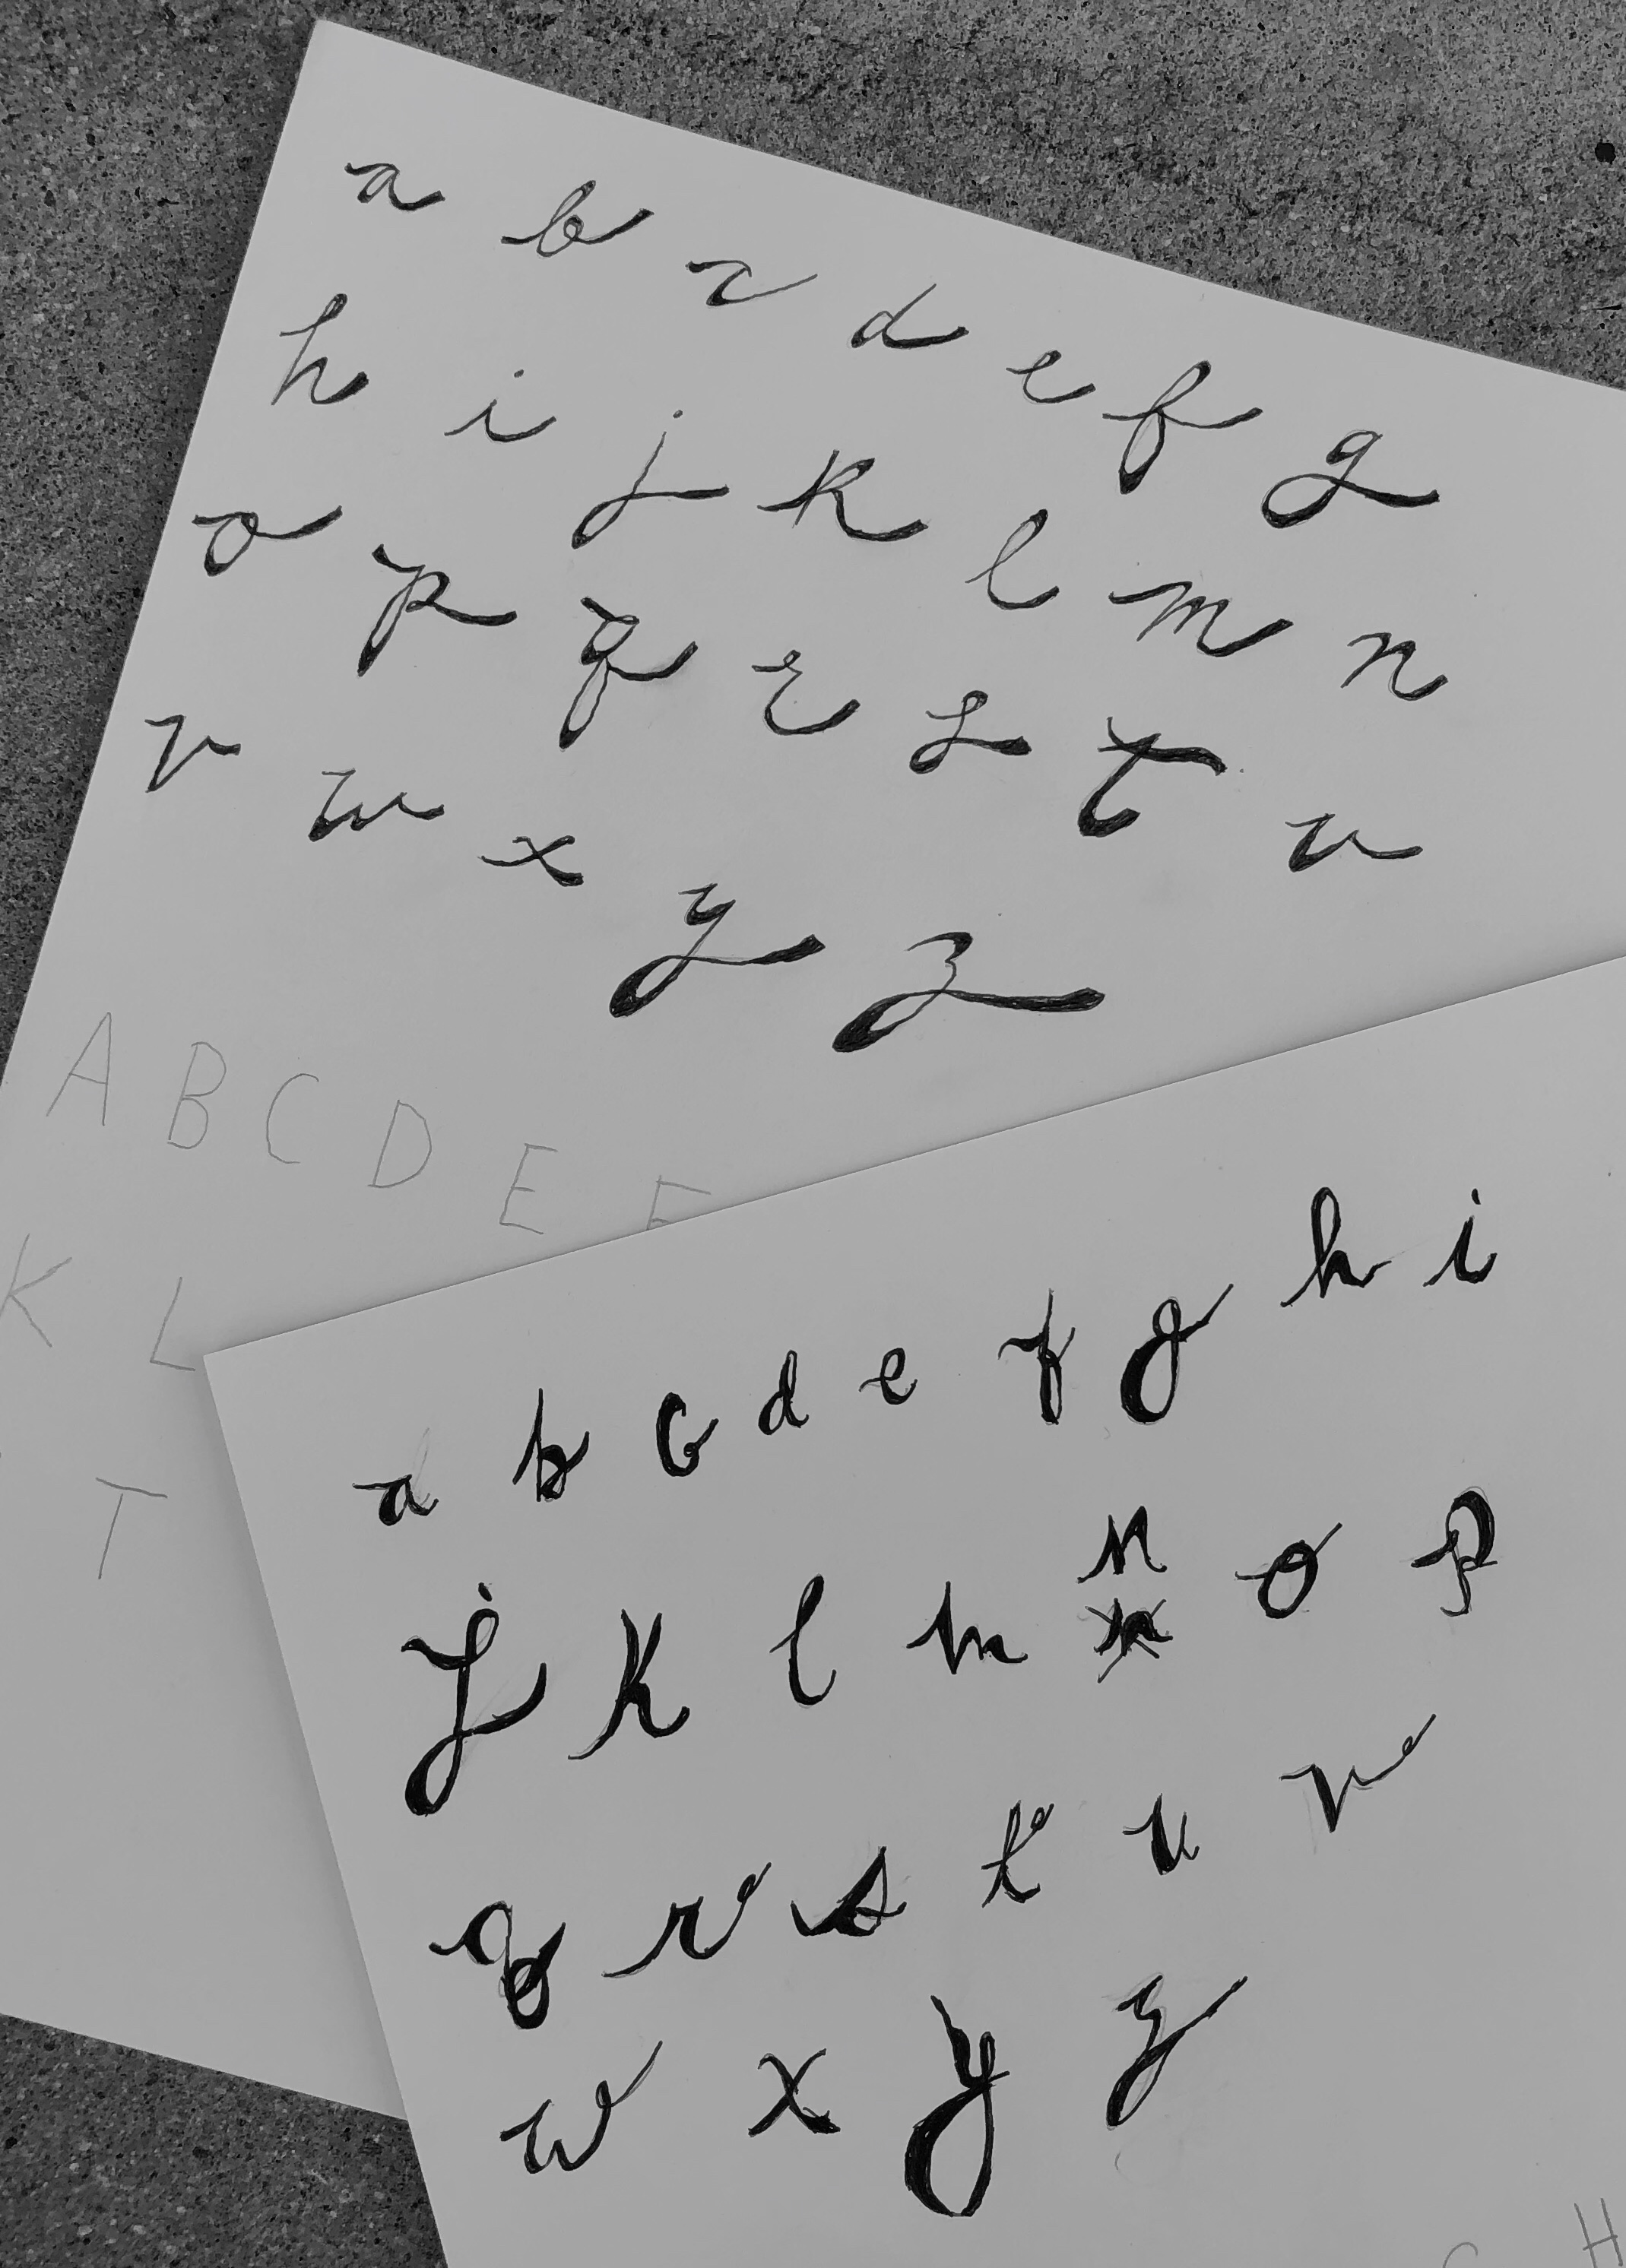
- see lettering demo from our special guests