
MATERIALS: SEE ART TOOLS IN THE MENU FOR DETAILS
- watercolor book or watercolor paper
- pencil
- watercolor pencils: tan, espresso brown, burnt orange, black
- light blue watercolor paint
- marker for labeling (we used a brush marker)
- print out of US map (jpeg provided for print)
- glue stick or print map on 8 1/2 x 11 printer sticker label (i love these)

STEP NO. 1 DRAW ANASAZI VILLAGE
I find the Anasazi villages fascinating! I was so excited to draw this. It’s a pretty simple line drawing. We did a short tutorial to show you what we did….
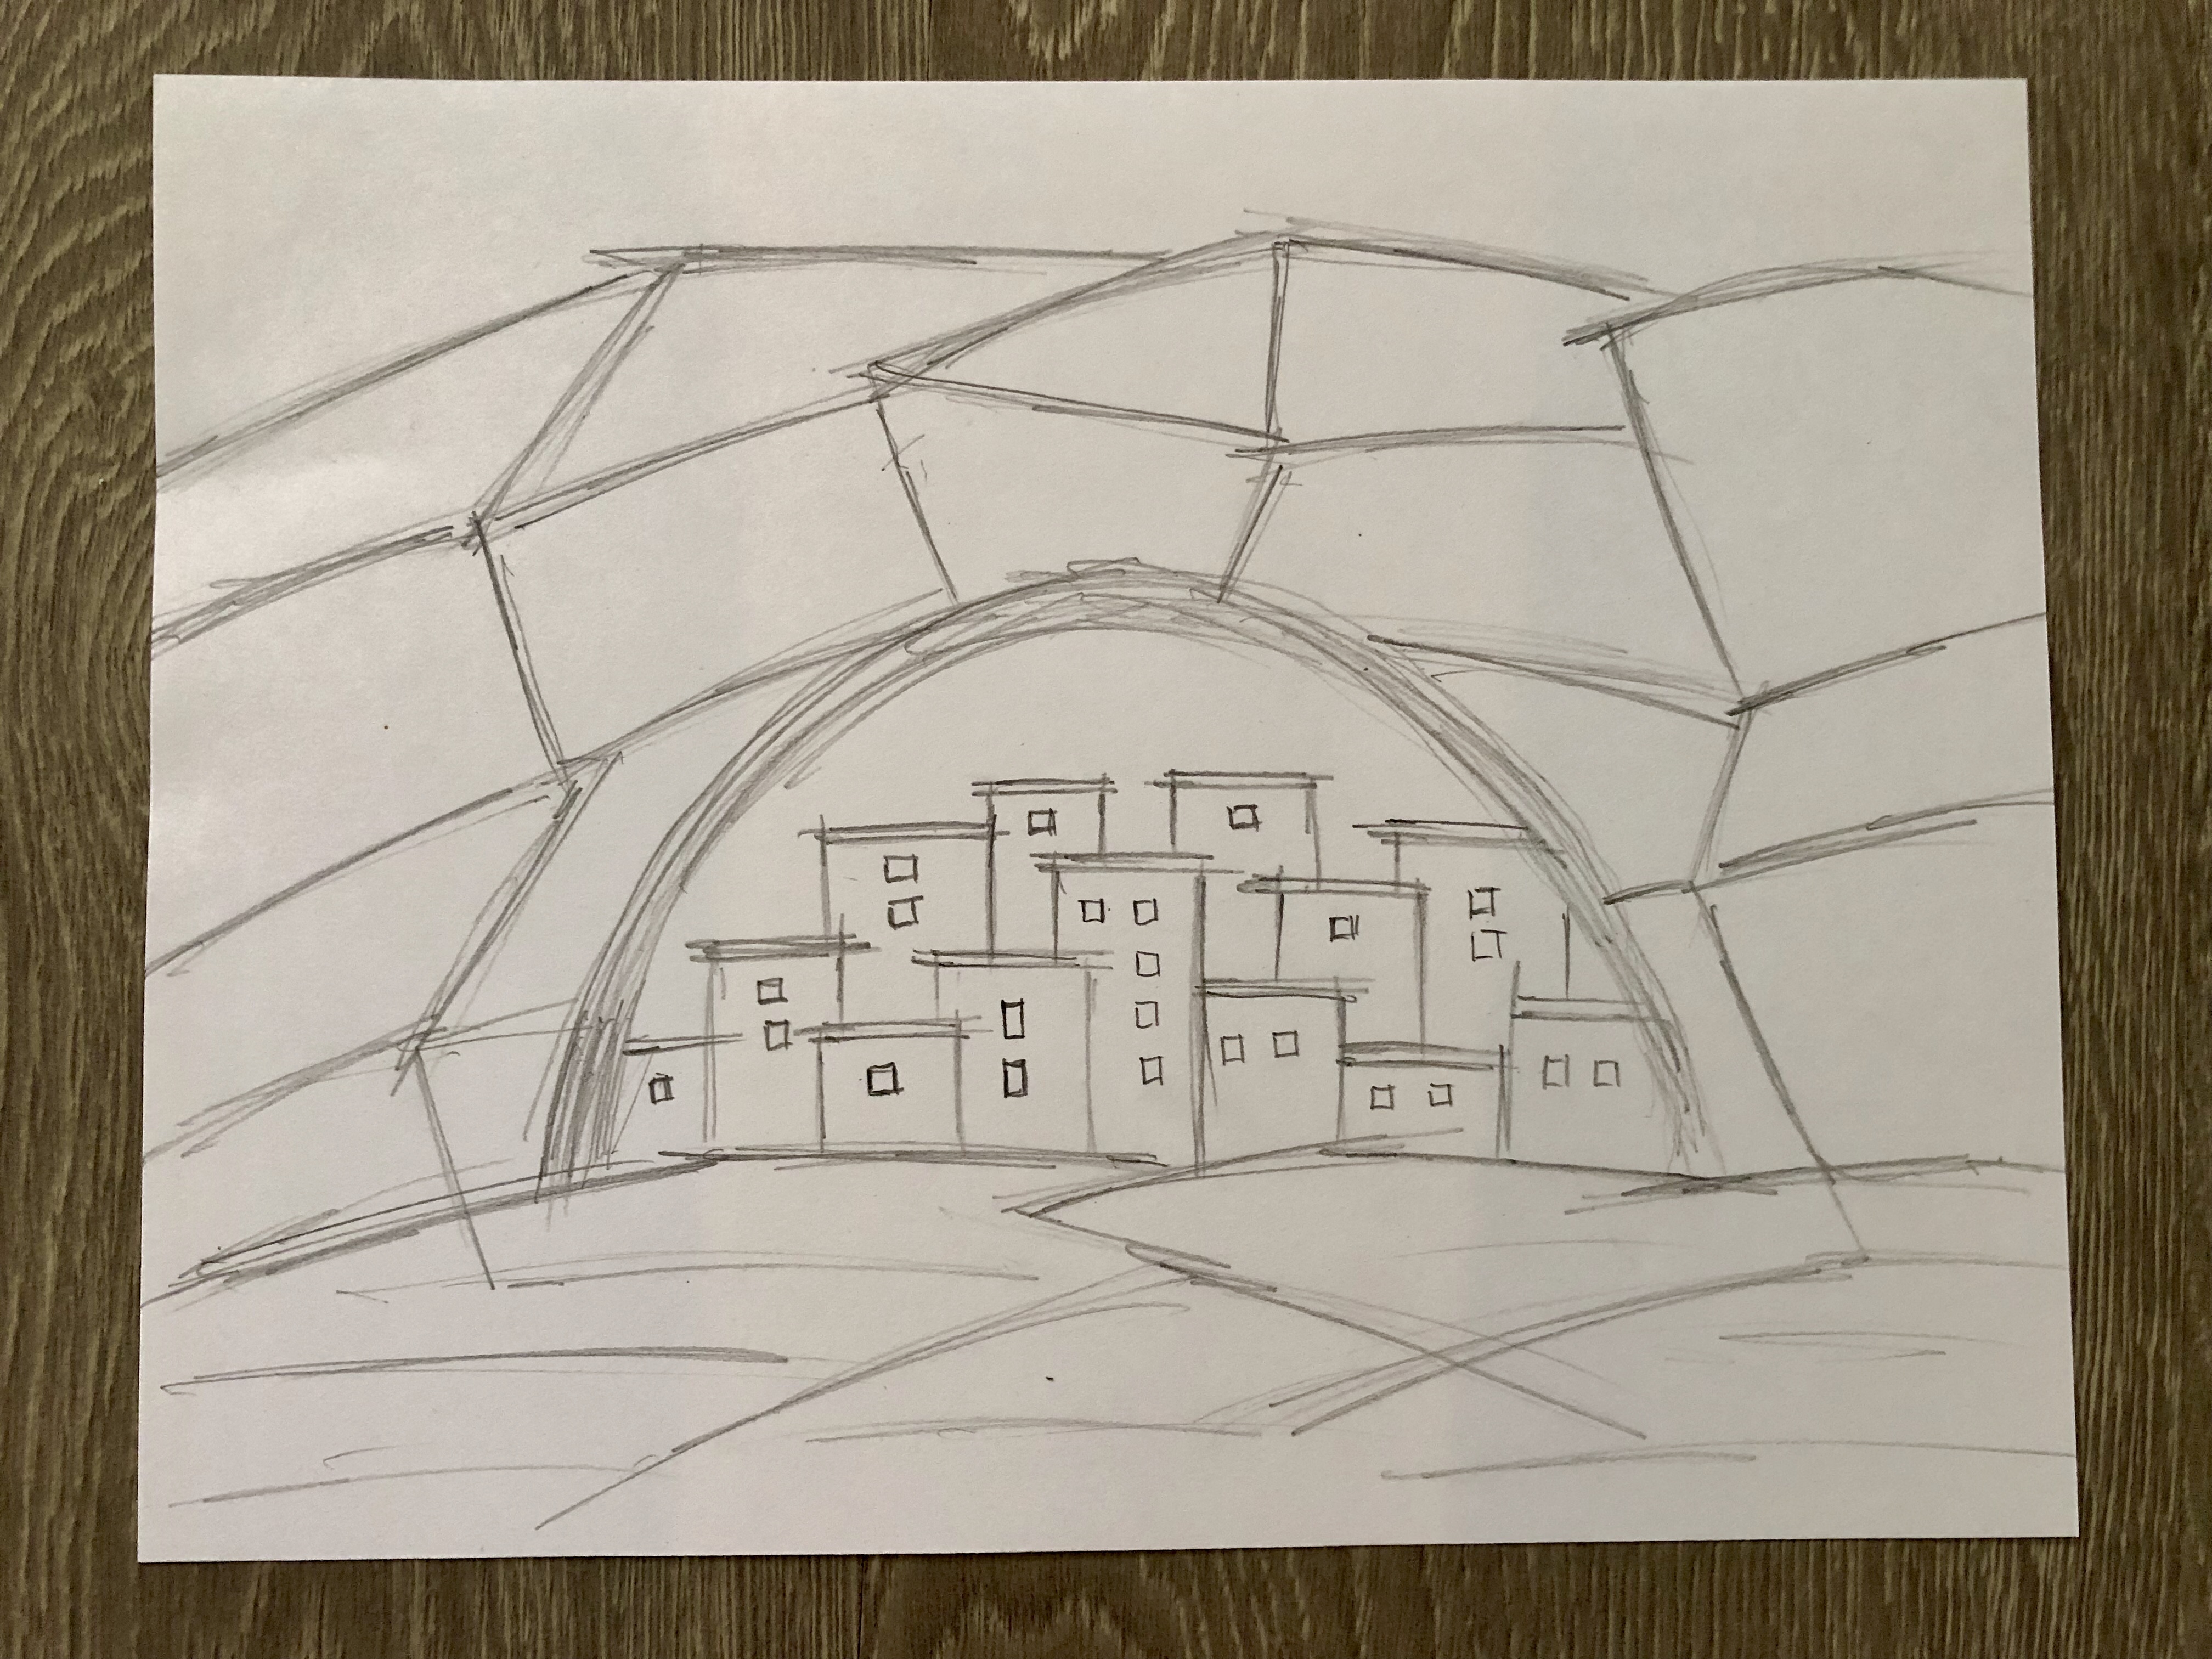
DEMO: DRAWING ANASAZI VILLAGE
STEP NO. 2 WATERCOLOR PENCILS


DEMO: ANASAZI VILLAGE WITH WATERCOLOR PENCILS
STEP NO. 3 ADD GREENERY IN ROCKS

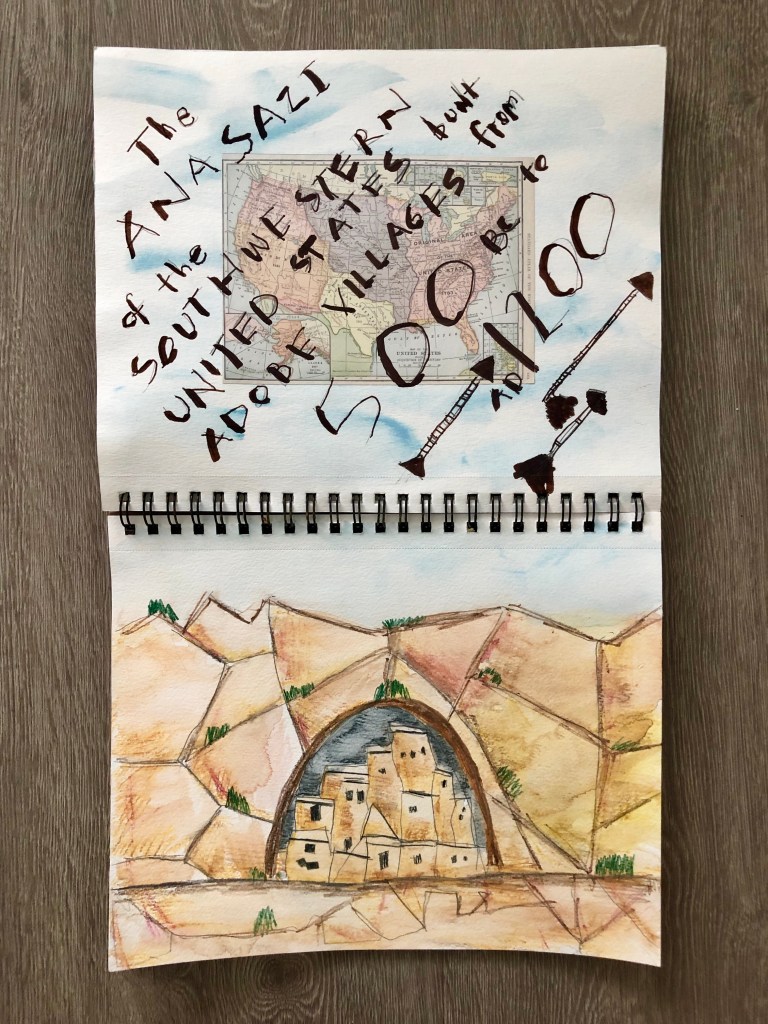
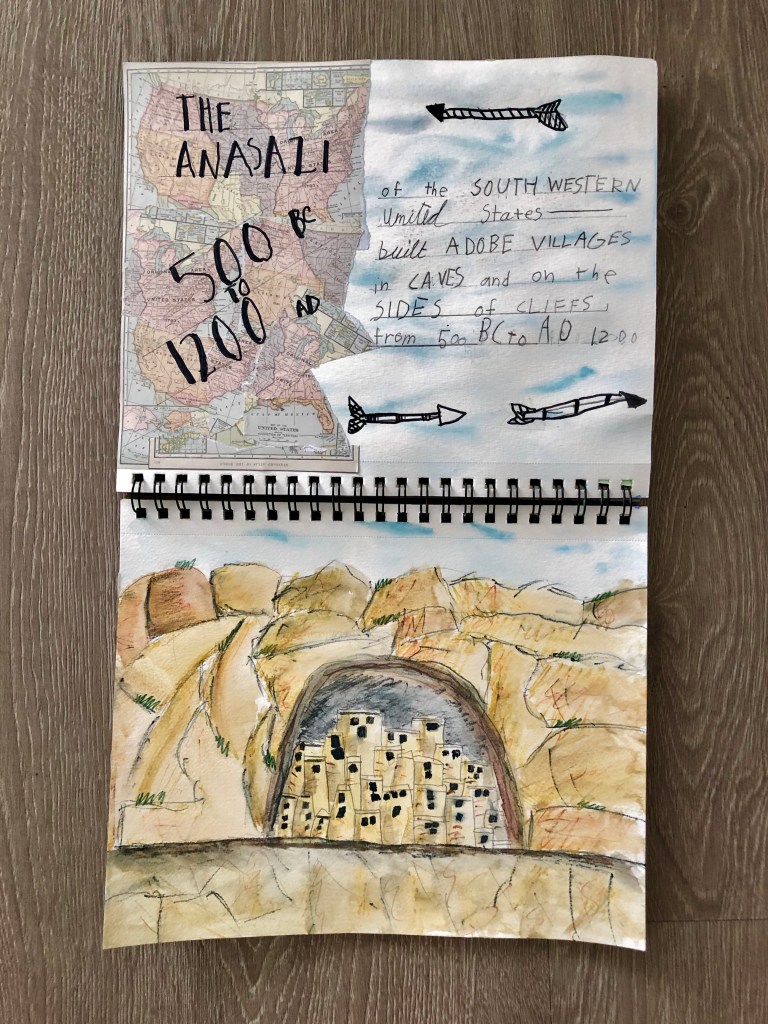
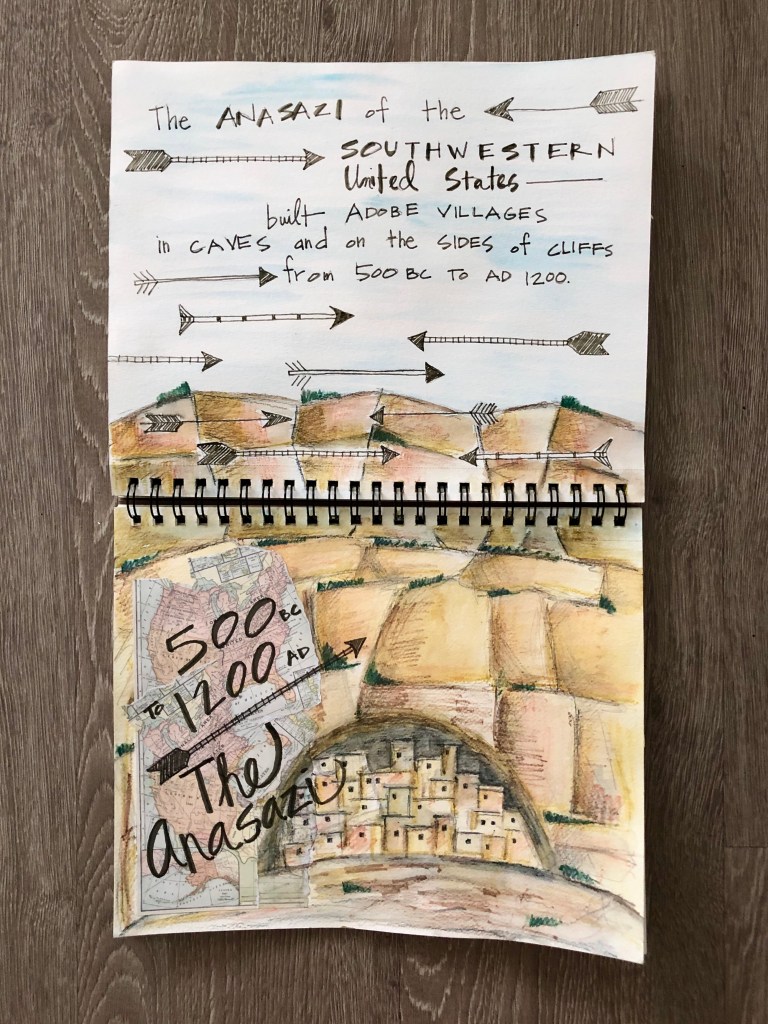
STEP No. 4 ADD MAP
We decided to use a little mixed medium for this project with some US map collaging. I included a jpeg of the map we used. I printed them on 8 1/2×11 sticker labels instead of using glue stick, but glue stick will work. I put the sticker labels I use in the art tools menu.

STEP No.3 LABEL & DRAW ARROWS
We use Tombow Brush markers (see art tools in the menu). We paint one day and write our history sentence a different day. I try to break the project up and do a little over a couple of days. Here is a demo we did on brush markers for even the youngest artist for week 19 science.
